Note
Access to this page requires authorization. You can try signing in or changing directories.
Access to this page requires authorization. You can try changing directories.
You can build flows to customize and add further value to Teams from within the new Power Apps app in Teams. You can create instant, scheduled, and automated flows, with access to over 350 connectors. This includes a connector to work with Microsoft Dataverse for Teams tables within Teams.
Note
You need a Power Automate license to access all Power Automate connectors, including the premium connectors. Users with a Microsoft 365 license can use all standard connectors.
Prerequisites
The Power Apps app must be installed before you can create flows in Teams. More information: Install the Power Apps personal app in Microsoft Teams
Before you can use the Power Apps app in Teams to create a cloud flow, a Dataverse for Teams environment must already exist for that team. A Dataverse for Teams environment is automatically provisioned when you create your first app in Teams.
Create a cloud flow in Teams
Go to the Build tab in your Power Apps app, and then select See all.
Select New, select Flow, and then select the type of flow you want to create. You can create only the following types of flows: instant, scheduled, and automated.

If this is your first time creating a cloud flow, you'll have to select your country/region, and then select Get started.

The Build an automated flow screen appears, where you can select a trigger, and create and save your flow.
Note
The screen that appears here will be different depending on whether you selected Instant or Scheduled in step 2 earlier.

Work with your flows
To find your saved flows:
Sign in to Teams.
On the left pane, select Power Apps.

On the Build tab, select the team in which you created your flow, and then select See all in the tree view.

Customize a cloud flow
In Teams, you might have acquired flows from an installed app or you might have created them yourself. You can update or customize either of these types of flows.
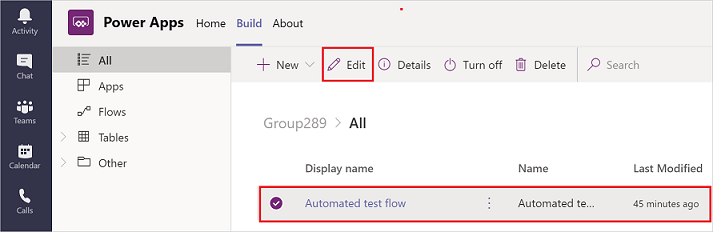
To update a cloud flow, select the Build tab, and then select See all to see all the apps and flows in this team.
Select the flow that you want to edit, and then select Edit.
View details and run history
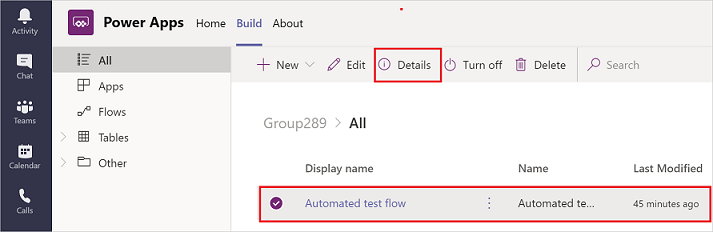
To view the details and run history for a cloud flow, select the Build tab, and then select See all.
Select the flow for which you want to view the details, and then select Details.