Build a custom engine agent
This tutorial shows how to create a custom engine agent using Microsoft 365 Agents Toolkit (previously known as Teams Toolkit) with OpenAI.
In this tutorial, you'll learn:
- How to create a new custom engine agent with Agents Toolkit.
- How to interact with your LLMs and data.
- The directory structure of your custom engine agent.
Note
- Custom engine agent support for Microsoft 365 Copilot Chat is available only in public developer preview.
- Custom engine agent isn't supported in Python.
Prerequisites
Ensure you install the following tools for building and deploying your apps:
| Install | For using... | |
|---|---|---|
| Agents Toolkit | A Microsoft Visual Studio Code extension that creates a project scaffolding for your app. Use the latest version. | |
| Node.js and NPM | Back-end JavaScript runtime environment. For more information, see Node.js version compatibility table for project type. | |
| Microsoft Edge (recommended) or Google Chrome | A browser with developer tools. | |
| Visual Studio Code | JavaScript, TypeScript, or SharePoint Framework (SPFx) build environments. Use the latest version. | |
| OpenAI | First create your OpenAI API key to use OpenAI's GPT. If you want to host your app or access resources in Microsoft Azure, you must create an Azure OpenAI service before you begin. |
Note
Add support for Microsoft 365 Copilot Chat in your custom engine agent
If you want your custom engine agent to support Microsoft 365 Copilot Chat, you must install a prerelease version of Microsoft 365 Agents Toolkit (previously known as Teams Toolkit). After you install the prerelease version, follow these steps:
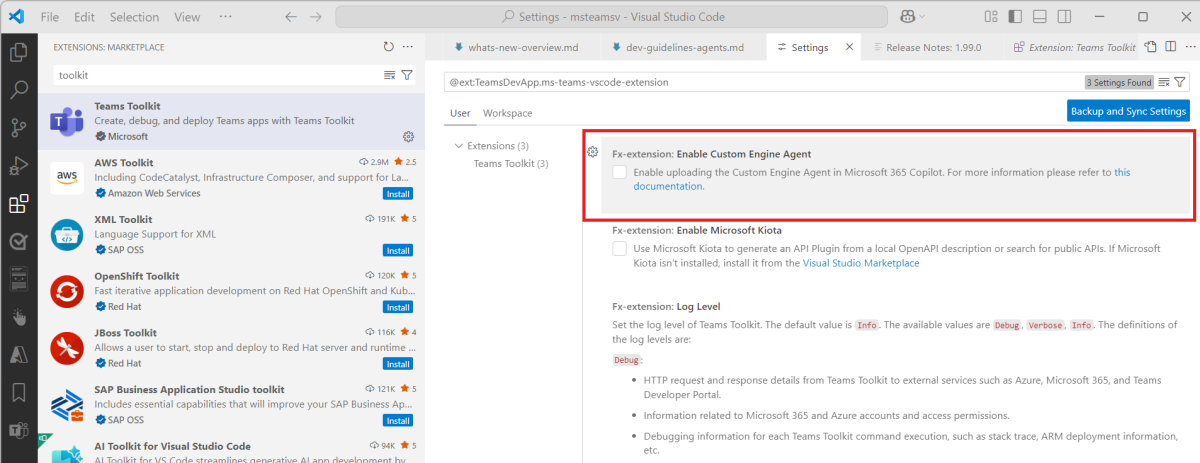
Ensure that you enable Fx-extension: Enable Custom Engine Agent in Agents Toolkit.
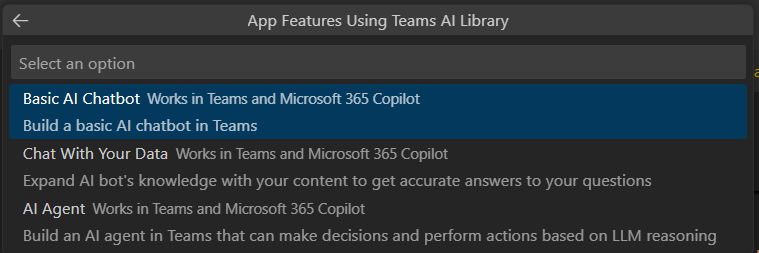
Perform step 1. to step 4. from create your custom engine agent and ensure you select the Basic AI Chatbot Works in Teams and Microsoft 365 Copilot for step 5. in Agents Toolkit. Continue with the rest of steps (step 6. to step 11.) to create your custom engine agent.
Configure your custom engine agent. Ensure you perform the following steps before you debug:
Ensure that the app manifest contains
copilotAgentsand its sub propertycustomEngineAgents:"copilotAgents": { "customEngineAgents": [ { "type": "bot", "id": "<Bot-Id-Guid>" } ] }Ensure that the
scopesis set aspersonalforbotsandcommandLists:"bots": [ { "botId": "<Bot-Id-Guid>", "scopes": [ "personal", "team", "groupChat" ], "commandLists": [ { "scopes": ["personal"], "commands": [ { "title": "Sample prompt title", "description": "Description of sample prompt" } ] }, { "scopes": ["personal"], "commands": [ { "title": "Sample prompt title", "description": "Description of sample prompt" } ] } ], } ],
Create your custom engine agent
Create a new custom engine agent using Agents Toolkit
Go to Visual Studio Code.
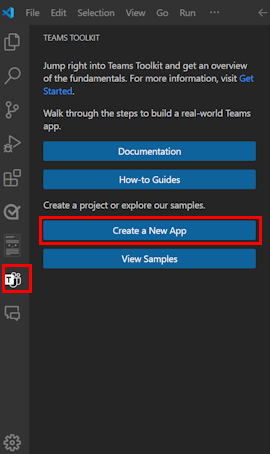
Select the Microsoft 365 Agents Toolkit
 icon in the Visual Studio Code Activity Bar.
Select Create a New App.
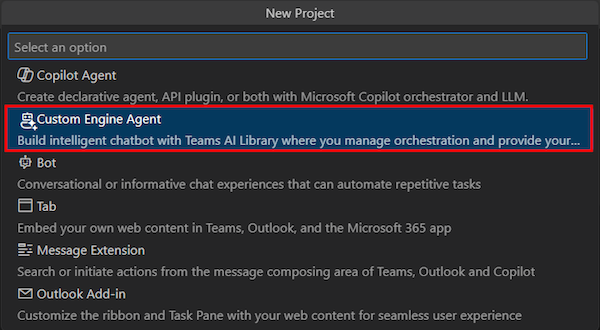
Select Custom Engine Agent.
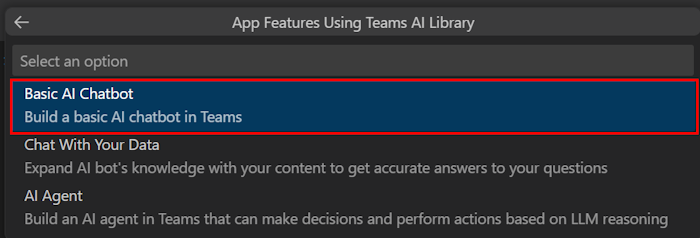
Select Basic AI Chatbot.
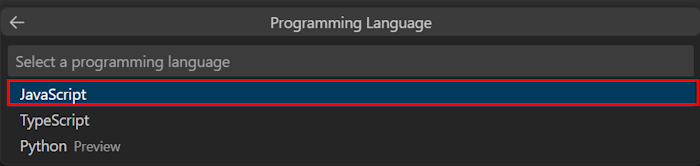
Select JavaScript as the programming language.
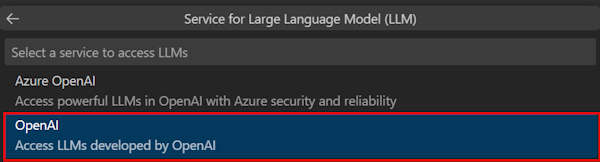
Select OpenAI.
Enter OpenAI Key.
Select Default folder to store your project root folder in default location.

You can also change the default location by the following steps:
Select Browse.

Select the location for project workspace.
Select the Select Folder.

Enter a suitable name for your app and then select Enter.

A dialog appears. Select Yes, I trust the authors or No, I don’t trust the authors based on your requirement.

Your custom engine agent is created in a few seconds.

After your app is created, Agents Toolkit displays the following message:


Take a tour of the source code
Have a look at what's inside this custom engine agent > Basic AI Chatbot template.
| Folder name | Contents |
|---|---|
.vscode |
VS Code files for debugging. |
appPackage |
Templates for the Teams application manifest. |
env |
Name or value pairs are stored in environment files and used by m365agents.yml to customize the provisioning and deployment rules. |
infra |
Templates for provisioning Azure resources. |
src/ |
The source code for the notification Teams application. |
src/index.js |
Sets up the bot app server. |
src/adapter.js |
Sets up the bot adapter. |
src/config.js |
Defines the environment variables. |
src/prompts/chat/skprompt.txt |
Defines the prompt. |
src/prompts/chat/config.json |
Configures the prompt. |
src/app/app.js |
Handles business logics for the Basic AI Chatbot. |
m365agents.yml |
Main project file describes your application configuration and defines the set of actions to run in each lifecycle stages. |
m365agents.local.yml |
This override m365agents.yml with actions that enable local execution and debugging. |
m365agents.playground.yml |
This override m365agents.yml with actions that enable local execution and debugging in Microsoft 365 Agents Playground (previously known as Teams App Test Tool). |
Configure your custom engine agent
After you create your custom engine agent, let's configure it.
Configure and debug your custom engine agent
Let's customize the prompt for your custom engine agent.
Go to
src/prompts/chat/skprompt.txtand update the following code inskprompt.txtfile:The following is a conversation with an AI assistant, who is an expert on answering questions over the given context. Responses should be in a short journalistic style with no more than 80 words.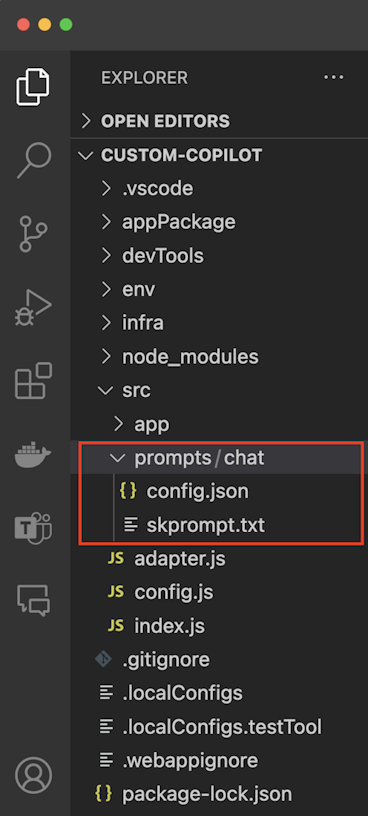
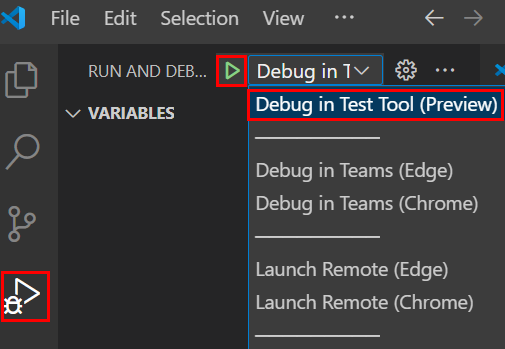
From the left pane, select Run and Debug (Ctrl+Shift+D).
Select Debug in Microsoft 365 Agents Playground.
Note
If you want to debug in either Teams or Copilot, select "Debug in Teams or Debug in Copilot.
Select the F5 key.
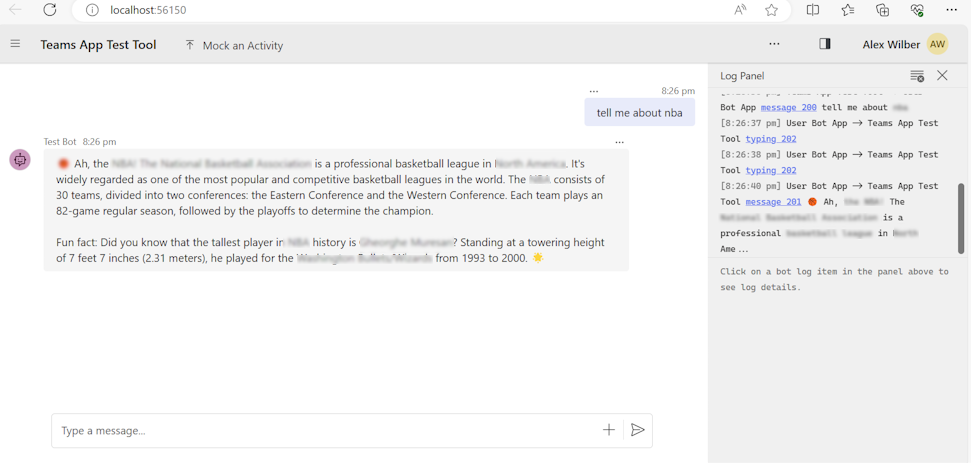
Custom engine agent runs within Agents Playground, which opens in your browser.
Complete challenge
In Agents Playground, ask questions related to your document and chat with your custom engine agent to learn more about your data.
Congratulations!
Congratulations, you completed this tutorial!
Have an issue with this section? If so, please give us some feedback so we can improve this section.
Platform Docs