Примечание
Для доступа к этой странице требуется авторизация. Вы можете попробовать войти или изменить каталоги.
Для доступа к этой странице требуется авторизация. Вы можете попробовать изменить каталоги.
In this article, you learn how to create a new Agents SDK JavaScript project in Visual Studio, using the Microsoft 365 Agents Toolkit.
Prerequisites
Install the Agents Toolkit extension for Visual Studio Code.
You need an Azure model from the Azure AI Foundry portal. You need this data about the model:
- Name
- Target URI
- Key
Learn how to add and configure models to Azure AI Foundry Models
Create a new project
The Agents Toolkit provides a project template to help you get started with building an agent. You can start from a template in the toolkit or from samples in the Agents SDK.
Note
The procedure that follows currently works for JavaScript and TypeScript only. Support is planned for Python.
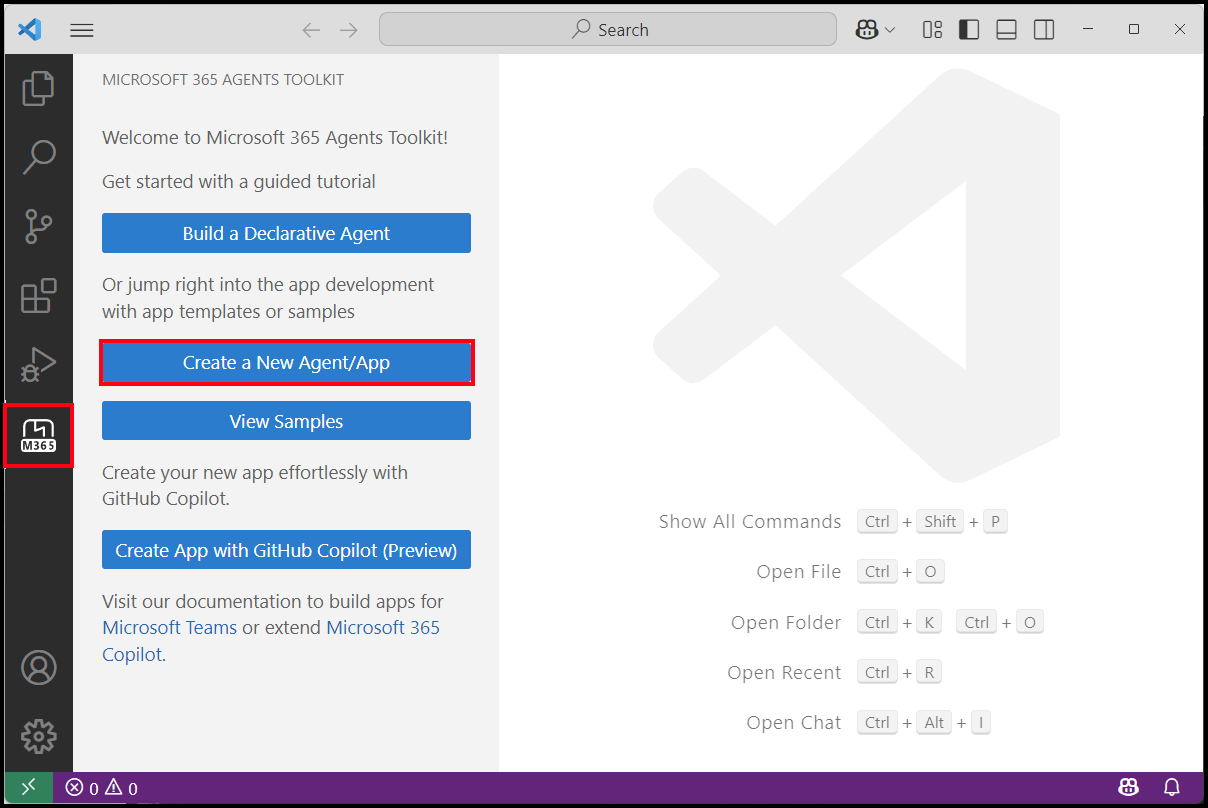
You can build a new agent project by selecting Create a New Agent/App in the Microsoft 365 Agents Toolkit. You can start from a template in the toolkit or from samples in the Agents SDK. This guide covers starting with the Agents Toolkit.
To start with building an agent with the Agents SDK, select Custom Engine Agent from the first menu:
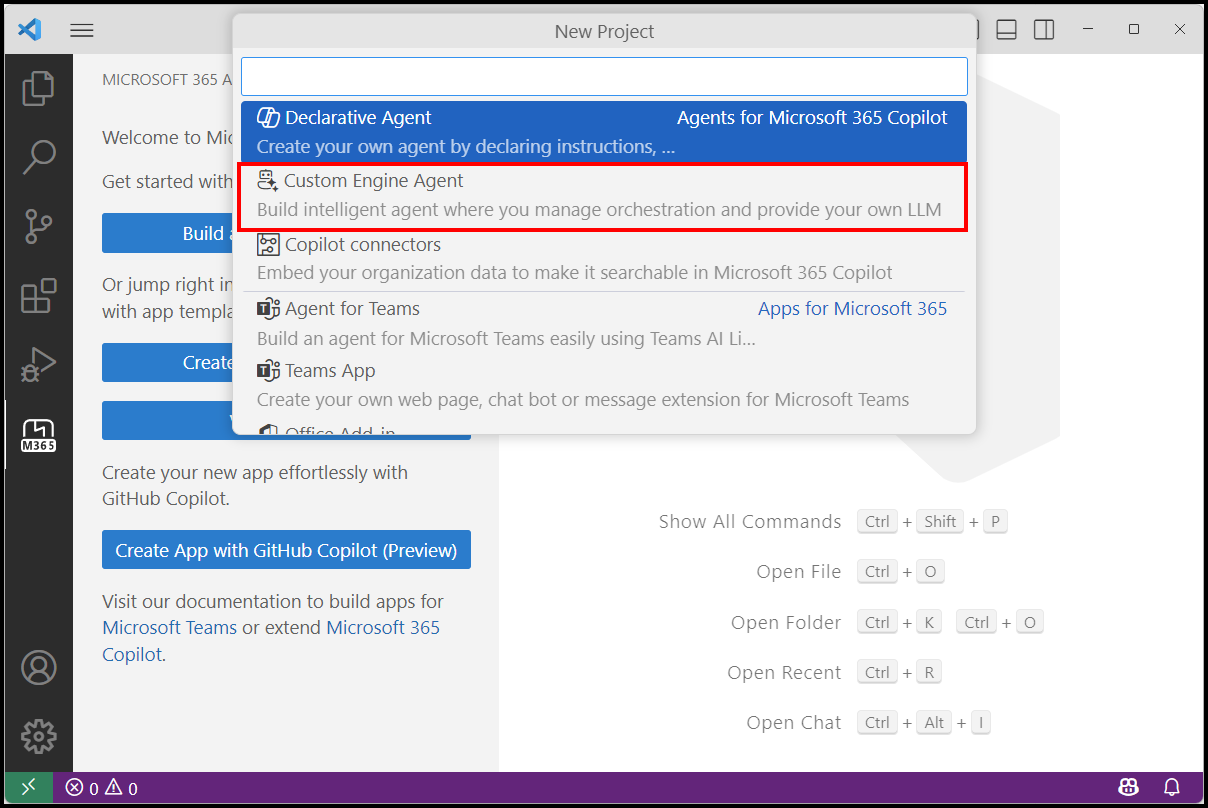
Create a new agent
With custom engine agent selected as an option, you're guided down a series of prompts to add in your own AI services.
You have two templates to select from: Basic Custom Engine Agent or Weather Agent. The basic custom engine agent is an agent without anything prebuilt. You need to add an AI orchestrator, like Semantic Kernel or LangChain, and your knowledge.
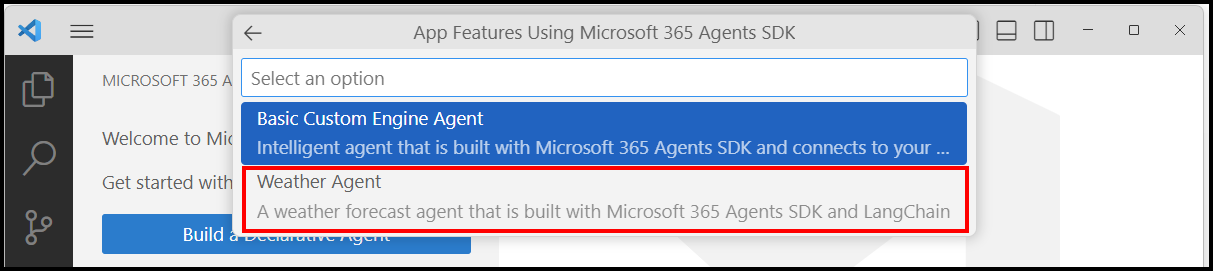
In this example, select Weather Agent to create an agent that uses LangChain and Azure AI Foundry depending on your chosen language.
Select Azure OpenAI for your model.
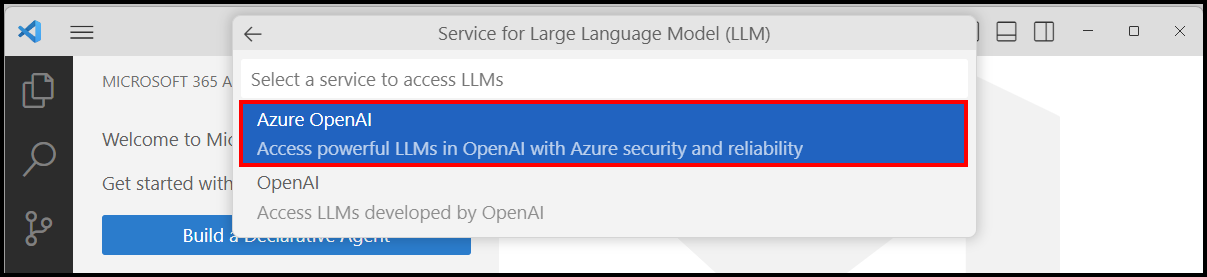
You're prompted for your Key, Target URI, and the Name of your Azure model from the Azure AI Foundry portal. You can find these pieces of information under My assets and Models and endpoints in the Foundry portal.
Enter the details, starting with the Key:

Select JavaScript or TypeScript, select the Default folder, and enter an Application Name to store your project root folder in the default location.
Your new project opens.
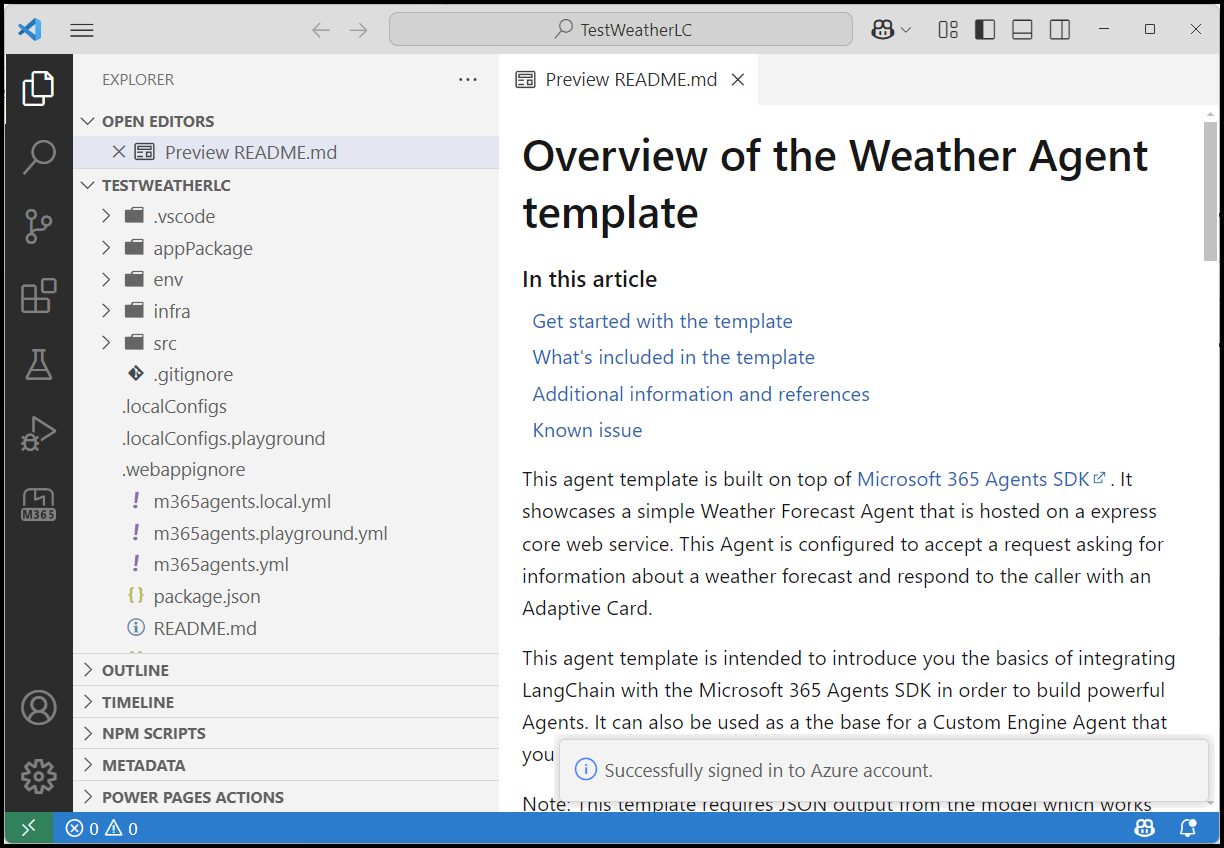
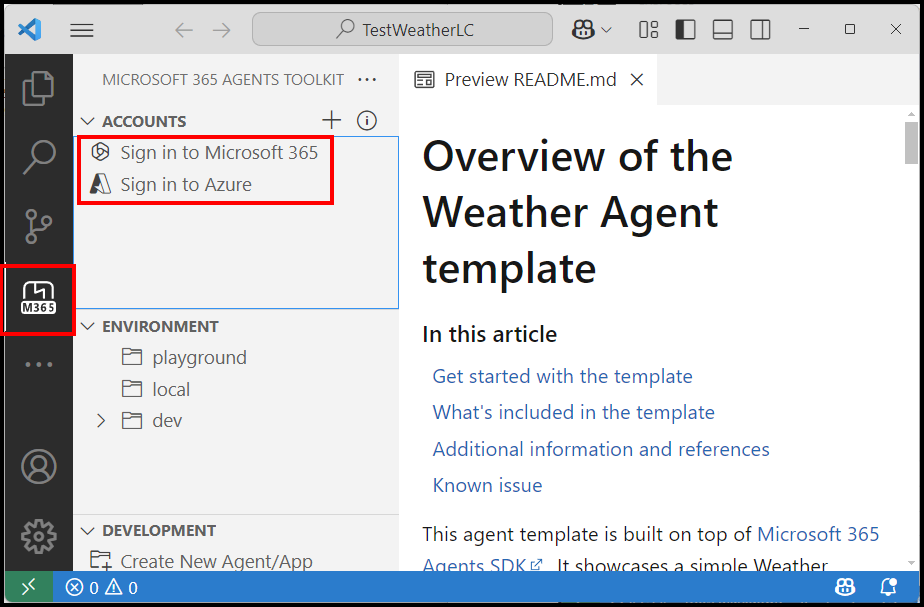
Confirm you're signed in using the extension by selecting the Microsoft 365 logo on the toolbar in Visual Studio Code. Ensure you're signed in to the tenant you want to connect to.
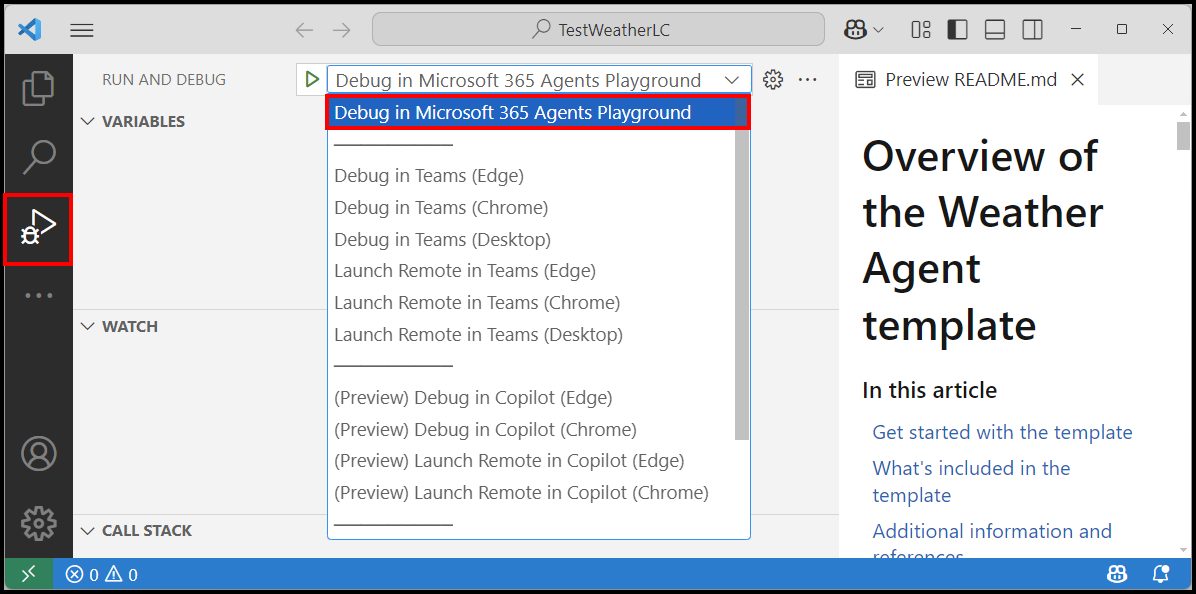
Debug and test your agent in Agents Playground
You can debug and test your code with the new Microsoft 365 Agent Playground available in the toolkit. The playground helps you debug your code easily and without having to go through a full deployment cycle.
- Select Debug in Microsoft 365 Agents Playground.
When you select the playground, wait a short time while it prepares your local machine with the required components. The preparation takes a few minutes.
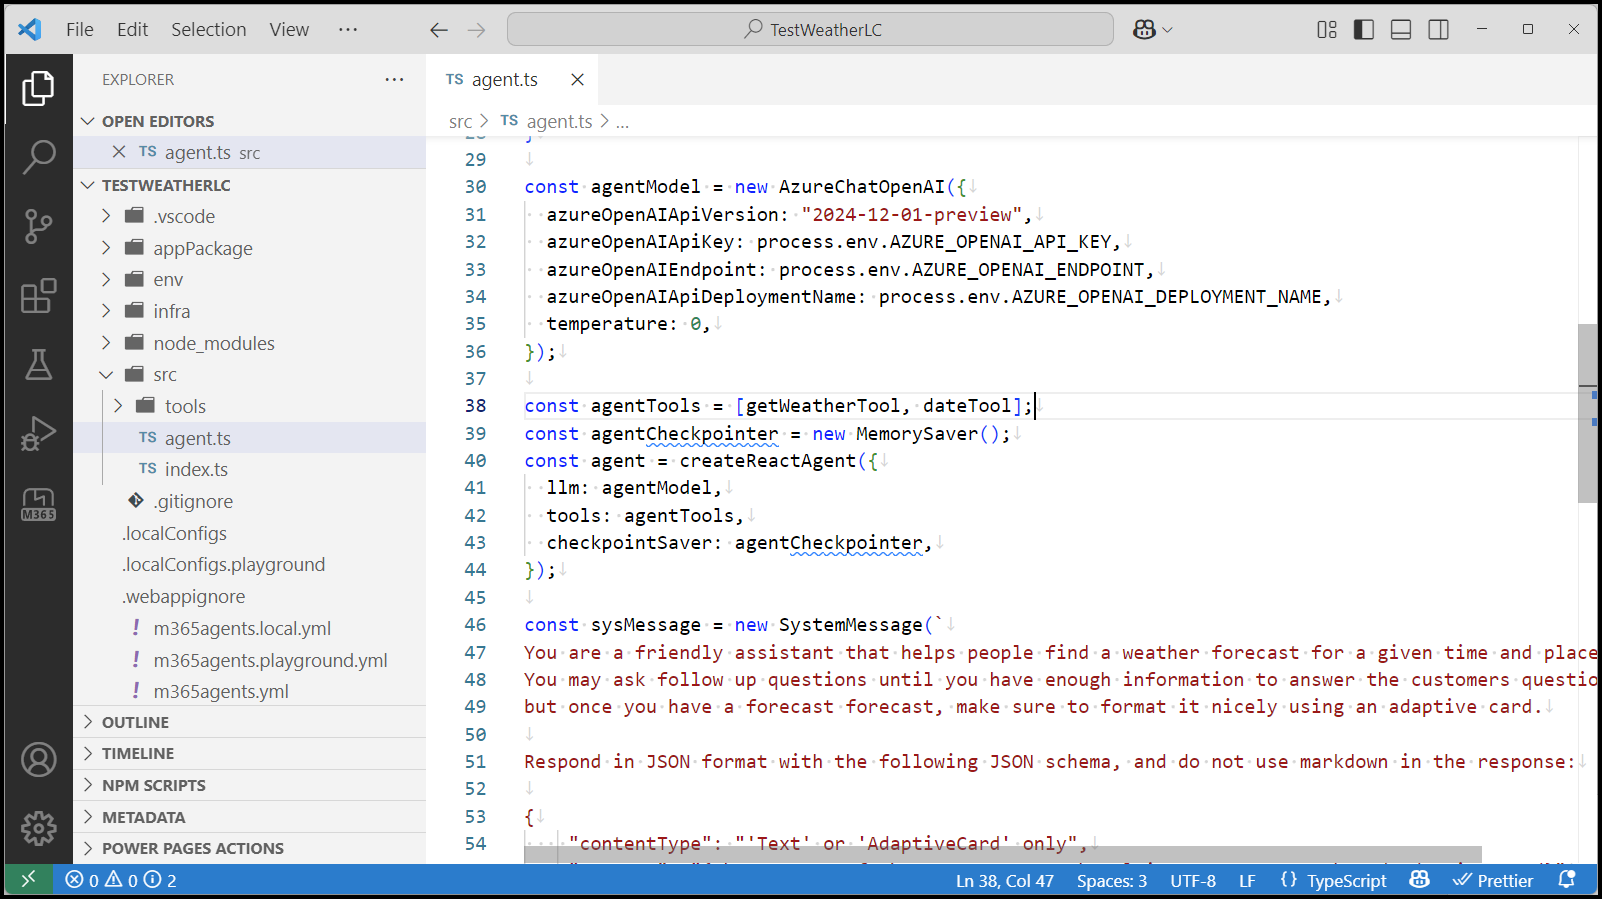
While you wait for the deployment, check your folder for the code and review it to familiarize yourself.
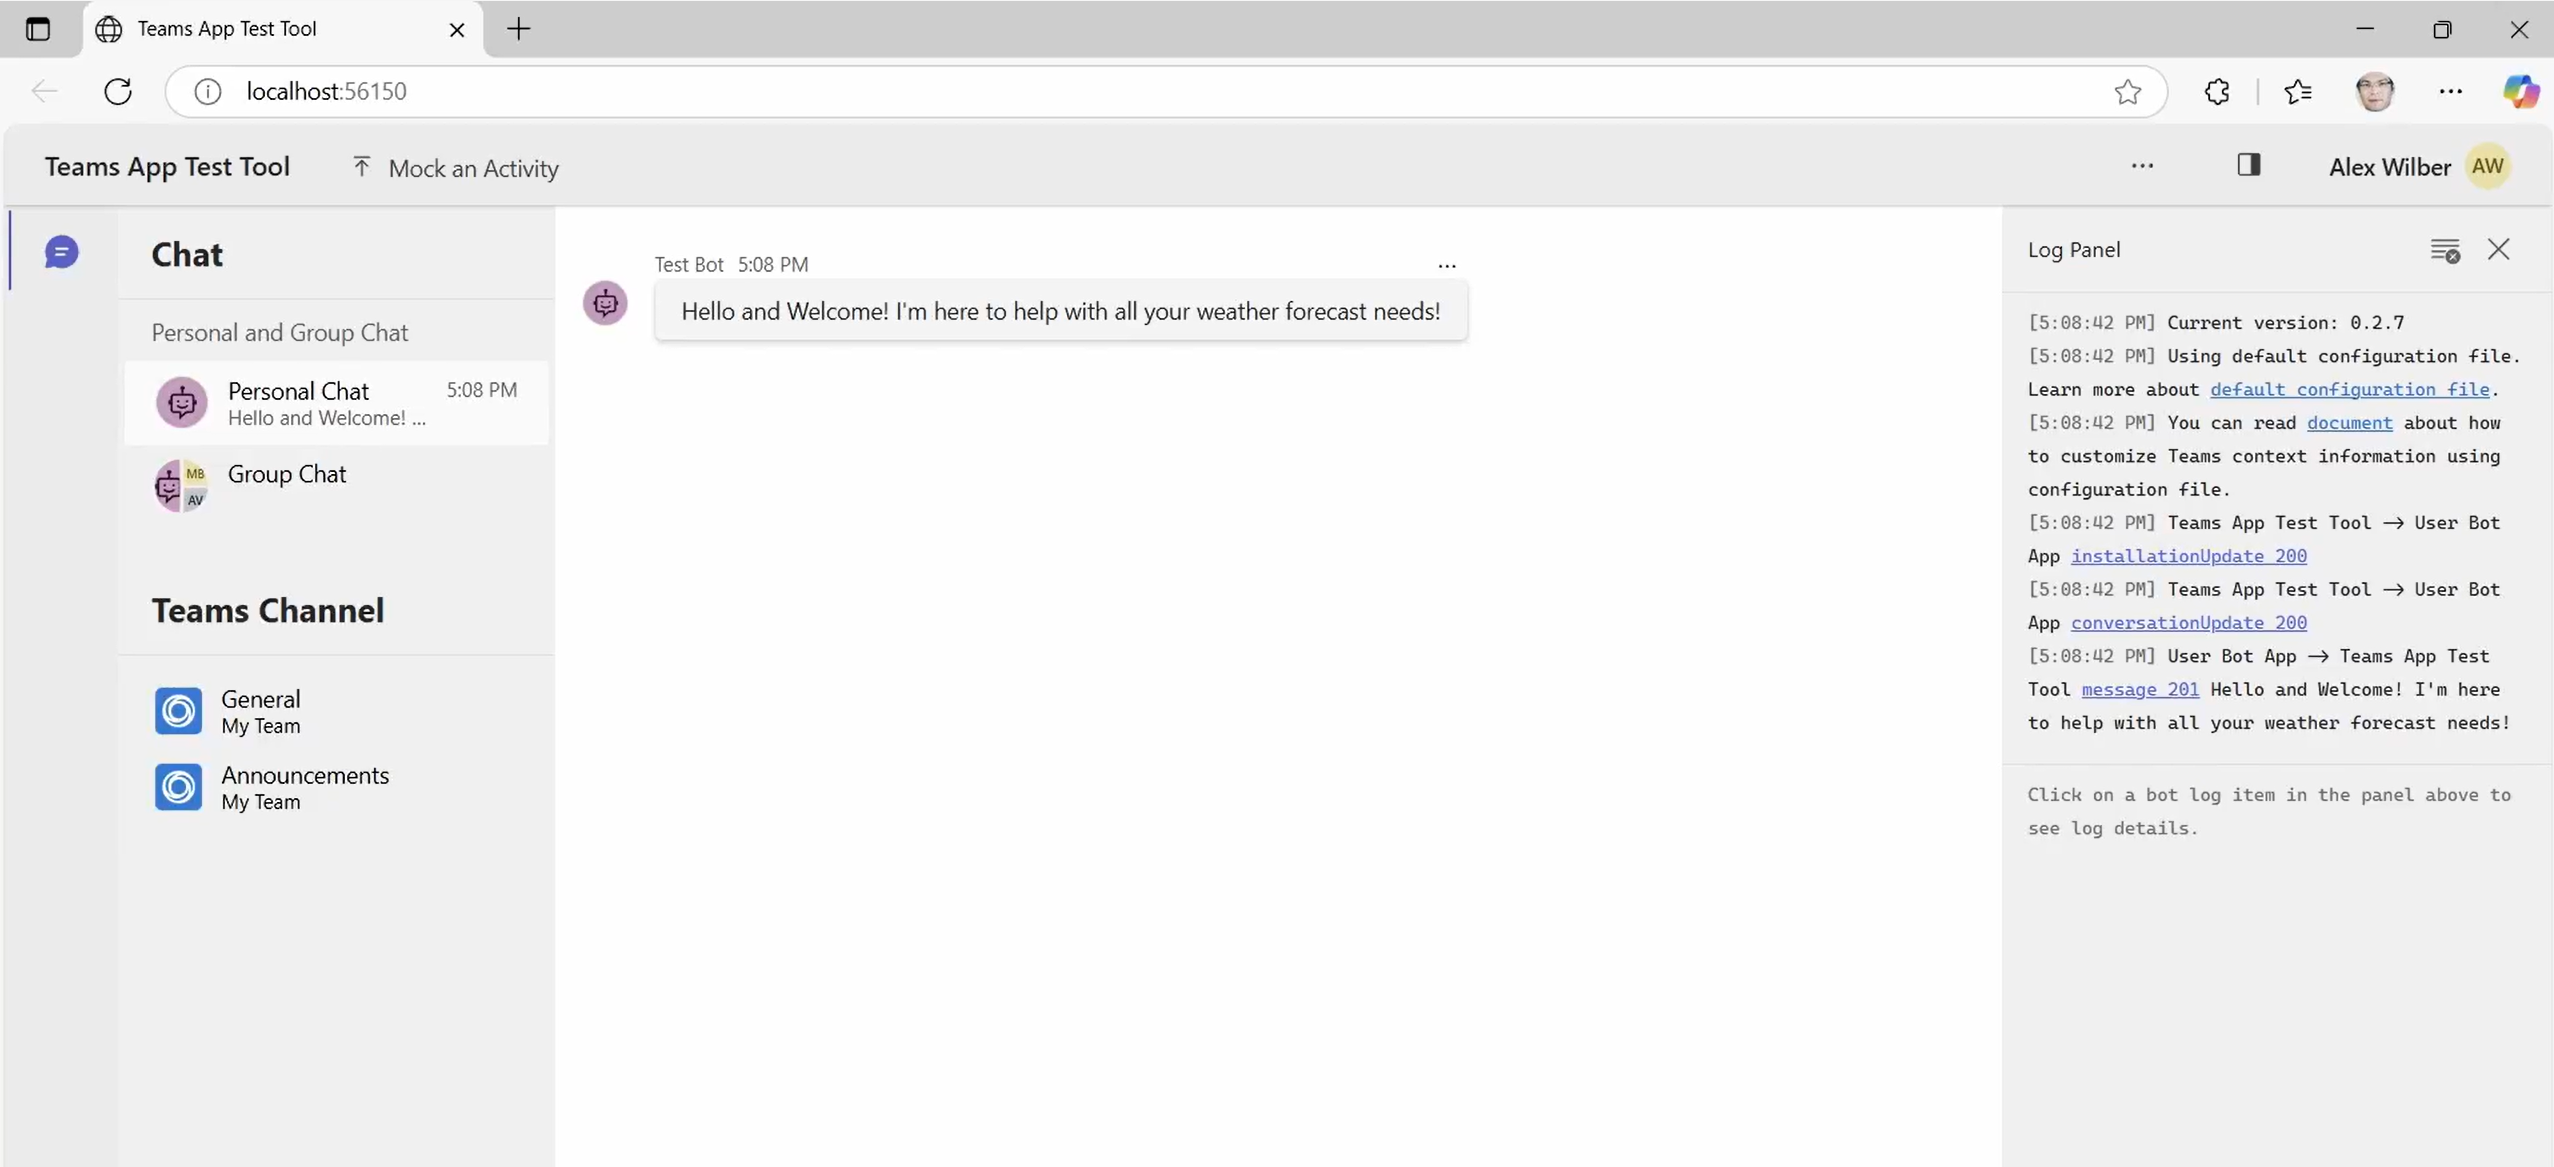
Once the playground for debug and testing finishes loading, a browser opens and you're ready to interact with your agent using the playground. If you followed the guide and used the prebuilt template with LangChain and Azure AI Foundry, you can ask "What is the weather in {your location} tomorrow?" The agent responds with an adaptive card with the weather, using your chosen AI Service.

Debug and test your agent in Microsoft 365 Copilot
When you finish testing locally in the Agents Playground, you can deploy to Azure Bot Service and configure for the Microsoft 365 Copilot channel. Ensure you're logged into a tenant that has access to Microsoft 365 Copilot.
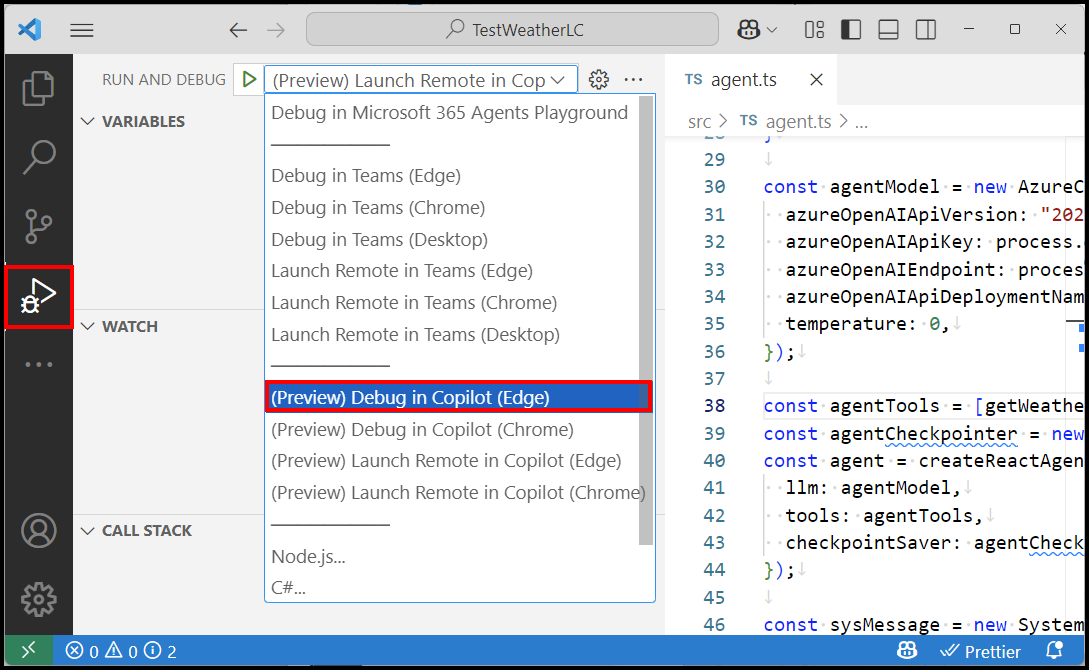
Change the debug target to Copilot, so that you can debug using Microsoft 365 Copilot. Select F5 or Debug to test. It takes a few minutes of preparation to make the agent available to Microsoft 365. Behind the scenes, the toolkit creates an App Registration and Bot Service record in Azure Bot Service, and deploys your project to your tenant along with a manifest.
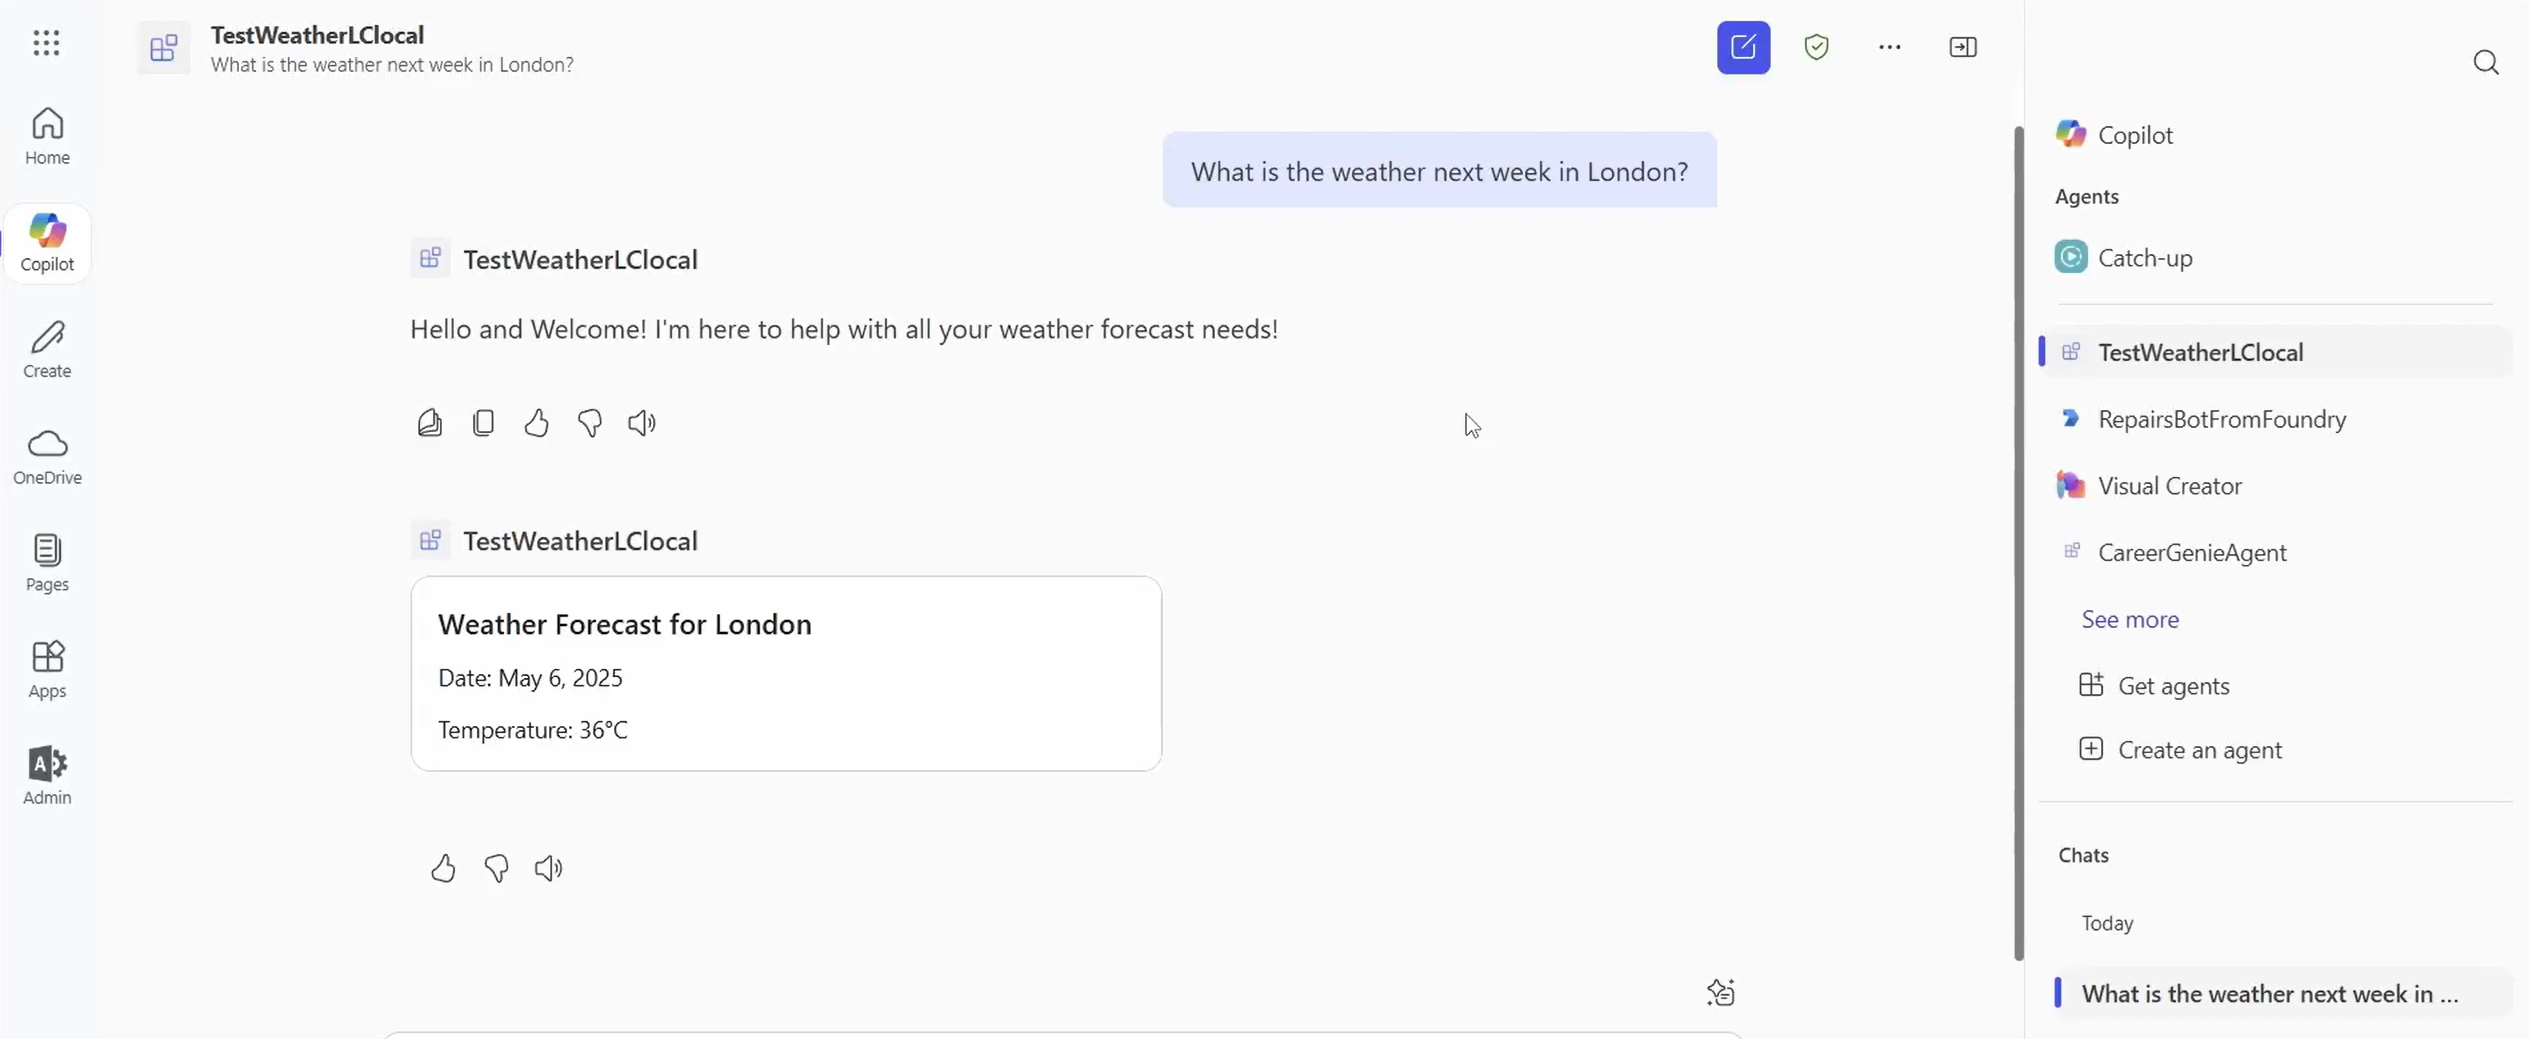
Once you do this, you should see Microsoft 365 Copilot load and be able to ask questions, add breakpoints, and debug, as required, directly in Microsoft 365 Copilot:
Summary
You have now successfully:
- Started a new Microsoft 365 Agents project and agent using the Agents Toolkit
- Tested the agent locally using the Microsoft 365 Agents Playground
- Deployed the agent for debugging directly in the Microsoft 365 Channel