The following table shows what you can services and products you can connect to from where you can use Windows App:
Connect to
Windows
macOS
iOS/iPadOS
Android/Chrome OS
Web browser
Azure Virtual Desktop
Windows 365
Microsoft Dev Box
Remote Desktop Services
Remote PC
This article shows you how to get started with Windows App on each platform. Make sure you select what you want to connect to using the buttons at the top of this article before continuing.
Before you can download Windows App and connect to your desktops and apps from Windows, you need:
Internet access to download Windows App from the Microsoft Store and connect to Azure Virtual Desktop. Most networks don't block access to the internet, but if your network does, you need to allow access to the list at Required FQDNs and endpoints for Azure Virtual Desktop. Contact your network administrator if you need help.
Your user account for Azure Virtual Desktop, and you're assigned devices or apps by your administrator. You can also sign in with multiple accounts and easily switch between them.
A device running a supported version of:
Windows 11 (x64 or Arm64).
Windows 10 (x64 or Arm64).
Before you can download Windows App and connect to your desktops and apps from macOS, you need:
Internet access to download Windows App from the Mac App Store and connect to Azure Virtual Desktop. Most networks don't block access to the internet, but if your network does, you need to allow access to the list at Required FQDNs and endpoints for Azure Virtual Desktop. Contact your network administrator if you need help.
Your user account for Azure Virtual Desktop, and you're assigned devices or apps by your administrator. You can also sign in with multiple accounts and easily switch between them.
A device running macOS 12.0 or later.
Before you can download Windows App and connect to your desktops and apps from iOS or iPadOS, you need:
Internet access to download Windows App from the App Store and connect to Azure Virtual Desktop. Most networks don't block access to the internet, but if your network does, you need to allow access to the list at Required FQDNs and endpoints for Azure Virtual Desktop. Contact your network administrator if you need help.
Your user account for Azure Virtual Desktop, and you're assigned devices or apps by your administrator. You can also sign in with multiple accounts and easily switch between them.
A device running iOS or iPadOS 16.0 or later.
Important
Windows App on Android is currently in PREVIEW.
This information relates to a prerelease product that may be substantially modified before it's released. Microsoft makes no warranties, expressed or implied, with respect to the information provided here.
Before you can download Windows App and connect to your desktops and apps from Android or Chrome OS, you need:
Internet access to download Windows App from the Google Play Store and connect to Azure Virtual Desktop. Most networks don't block access to the internet, but if your network does, you need to allow access to the list at Required FQDNs and endpoints for Azure Virtual Desktop. Contact your network administrator if you need help.
Your user account for Azure Virtual Desktop, and you're assigned devices or apps by your administrator. You can also sign in with multiple accounts and easily switch between them.
A device running:
Android 10 or later.
Chrome OS 126 or later.
Before you can connect to your desktops and apps from a web browser, you need:
Internet access to connect to Azure Virtual Desktop. Most networks don't block access to the internet, but if your network does, you need to allow access to the list at Required FQDNs and endpoints for Azure Virtual Desktop. Contact your network administrator if you need help.
Your user account for Azure Virtual Desktop, and you're assigned devices or apps by your administrator.
A supported web browser. Windows App works in the following web browsers on these supported platforms:
Before you can download Windows App and connect to your Cloud PC from Windows, you need:
Internet access to download Windows App from the Microsoft Store and connect to Windows 365. Most networks don't block access to the internet, but if your network does, you need to allow access to the list at Required FQDNs and endpoints. Contact your network administrator if you need help.
Your user account for Windows 365, and you're assigned a Cloud PC by your administrator. You can also sign in with multiple accounts and easily switch between them.
A device running a supported version of:
Windows 11
Windows 10
Before you can download Windows App and connect to your Cloud PC from macOS, you need:
Internet access to download Windows App from the Mac App Store and connect to Windows 365. Most networks don't block access to the internet, but if your network does, you need to allow access to the list at Required FQDNs and endpoints. Contact your network administrator if you need help.
Your user account for Windows 365, and you're assigned a Cloud PC by your administrator. You can also sign in with multiple accounts and easily switch between them.
A device running macOS 12.0 or later.
Before you can download Windows App and connect to your Cloud PC from iOS or iPadOS, you need:
Internet access to download Windows App from the App Store and connect to Windows 365. Most networks don't block access to the internet, but if your network does, you need to allow access to the list at Required FQDNs and endpoints. Contact your network administrator if you need help.
Your user account for Windows 365, and you're assigned a Cloud PC by your administrator. You can also sign in with multiple accounts and easily switch between them.
A device running iOS or iPadOS 16.0 or later.
Important
Windows App on Android is currently in PREVIEW.
This information relates to a prerelease product that may be substantially modified before it's released. Microsoft makes no warranties, expressed or implied, with respect to the information provided here.
Before you can download Windows App and connect to your Cloud PC from Android or Chrome OS, you need:
Internet access to download Windows App from the Google Play Store and connect to Windows 365. Most networks don't block access to the internet, but if your network does, you need to allow access to the list at Required FQDNs and endpoints. Contact your network administrator if you need help.
Your user account for Windows 365, and you're assigned a Cloud PC by your administrator. You can also sign in with multiple accounts and easily switch between them.
A device running:
Android 10 or later.
Chrome OS 126 or later.
Before you can connect to your Cloud PC from a web browser, you need:
Internet access to connect to Windows 365. Most networks don't block access to the internet, but if your network does, you need to allow access to the list at Required FQDNs and endpoints. Contact your network administrator if you need help.
Your user account for Windows 365, and you're assigned a Cloud PC by your administrator.
A supported web browser. Windows App works in the following web browsers on these supported platforms:
Before you can download Windows App and connect to your dev box from Windows, you need:
Internet access to download Windows App from the Microsoft Store and connect to Microsoft Dev Box. Most networks don't block access to the internet, but if your network does, you need to allow access to the list at Required FQDNs and endpoints. Contact your network administrator if you need help.
Your user account for Microsoft Dev Box, and you're assigned a dev box by your administrator. You can also sign in with multiple accounts and easily switch between them.
A device running a supported version of:
Windows 11
Windows 10
Before you can download Windows App and connect to your dev box from macOS, you need:
Internet access to download Windows App from the Mac App Store and connect to Microsoft Dev Box. Most networks don't block access to the internet, but if your network does, you need to allow access to the list at Required FQDNs and endpoints. Contact your network administrator if you need help.
Your user account for Microsoft Dev Box, and you're assigned a dev box by your administrator. You can also sign in with multiple accounts and easily switch between them.
A device running macOS 12.0 or later.
Before you can download Windows App and connect to your dev box from iOS or iPadOS, you need:
Internet access to download Windows App from the App Store and connect to Microsoft Dev Box. Most networks don't block access to the internet, but if your network does, you need to allow access to the list at Required FQDNs and endpoints. Contact your network administrator if you need help.
Your user account for Microsoft Dev Box, and you're assigned a dev box by your administrator. You can also sign in with multiple accounts and easily switch between them.
A device running iOS or iPadOS 16.0 or later.
Important
Windows App on Android is currently in PREVIEW.
This information relates to a prerelease product that may be substantially modified before it's released. Microsoft makes no warranties, expressed or implied, with respect to the information provided here.
Before you can download Windows App and connect to your dev box from Android or Chrome OS, you need:
Internet access to download Windows App from the Google Play Store and connect to Microsoft Dev Box. Most networks don't block access to the internet, but if your network does, you need to allow access to the list at Required FQDNs and endpoints. Contact your network administrator if you need help.
Your user account for Microsoft Dev Box, and you're assigned a dev box by your administrator. You can also sign in with multiple accounts and easily switch between them.
A device running:
Android 10 or later.
Chrome OS 126 or later.
Before you can connect to your dev box from a web browser, you need:
Internet access to connect to Microsoft Dev Box. Most networks don't block access to the internet, but if your network does, you need to allow access to the list at Required FQDNs and endpoints. Contact your network administrator if you need help.
Your user account for Microsoft Dev Box, and you're assigned a dev box by your administrator.
A supported web browser. Windows App works in the following web browsers on these supported platforms:
Before you can download Windows App and connect to your desktops and apps from macOS, you need:
Internet access to download Windows App from the Mac App Store.
Connection details for Remote Desktop Services from your administrator. You either need to use your email address or a URL.
Your user account for Remote Desktop Services, and you're assigned devices or apps by your administrator. You can also sign in with multiple accounts and easily switch between them.
A device running macOS 12.0 or later.
Before you can download Windows App and connect to your desktops and apps from iOS or iPadOS, you need:
Internet access to download Windows App from the App Store.
Connection details for Remote Desktop Services from your administrator. You either need to use your email address or a URL.
Your user account for Remote Desktop Services, and you're assigned devices or apps by your administrator. You can also sign in with multiple accounts and easily switch between them.
A device running iOS or iPadOS 16.0 or later.
Important
Windows App on Android is currently in PREVIEW.
This information relates to a prerelease product that may be substantially modified before it's released. Microsoft makes no warranties, expressed or implied, with respect to the information provided here.
Before you can download Windows App and connect to your desktops and apps from Android or Chrome OS, you need:
Internet access to download Windows App from the Google Play Store.
Connection details for Remote Desktop Services from your administrator. You either need to use your email address or a URL.
Your user account for Remote Desktop Services, and you're assigned devices or apps by your administrator. You can also sign in with multiple accounts and easily switch between them.
Before you can download Windows App and connect to a remote PC from macOS, you need:
Internet access to download Windows App from the Mac App Store.
Network connectivity to the remote PC.
A user account to access the remote PC.
A device running macOS 12.0 or later.
Before you can download Windows App and connect to a remote PC from iOS or iPadOS, you need:
Internet access to download Windows App from the App Store.
Network connectivity to the remote PC.
A user account to access the remote PC.
A device running iOS or iPadOS 16.0 or later.
Important
Windows App on Android is currently in PREVIEW.
This information relates to a prerelease product that may be substantially modified before it's released. Microsoft makes no warranties, expressed or implied, with respect to the information provided here.
Before you can download Windows App and connect to your desktops and apps from Android or Chrome OS, you need:
Internet access to download Windows App from the Google Play Store.
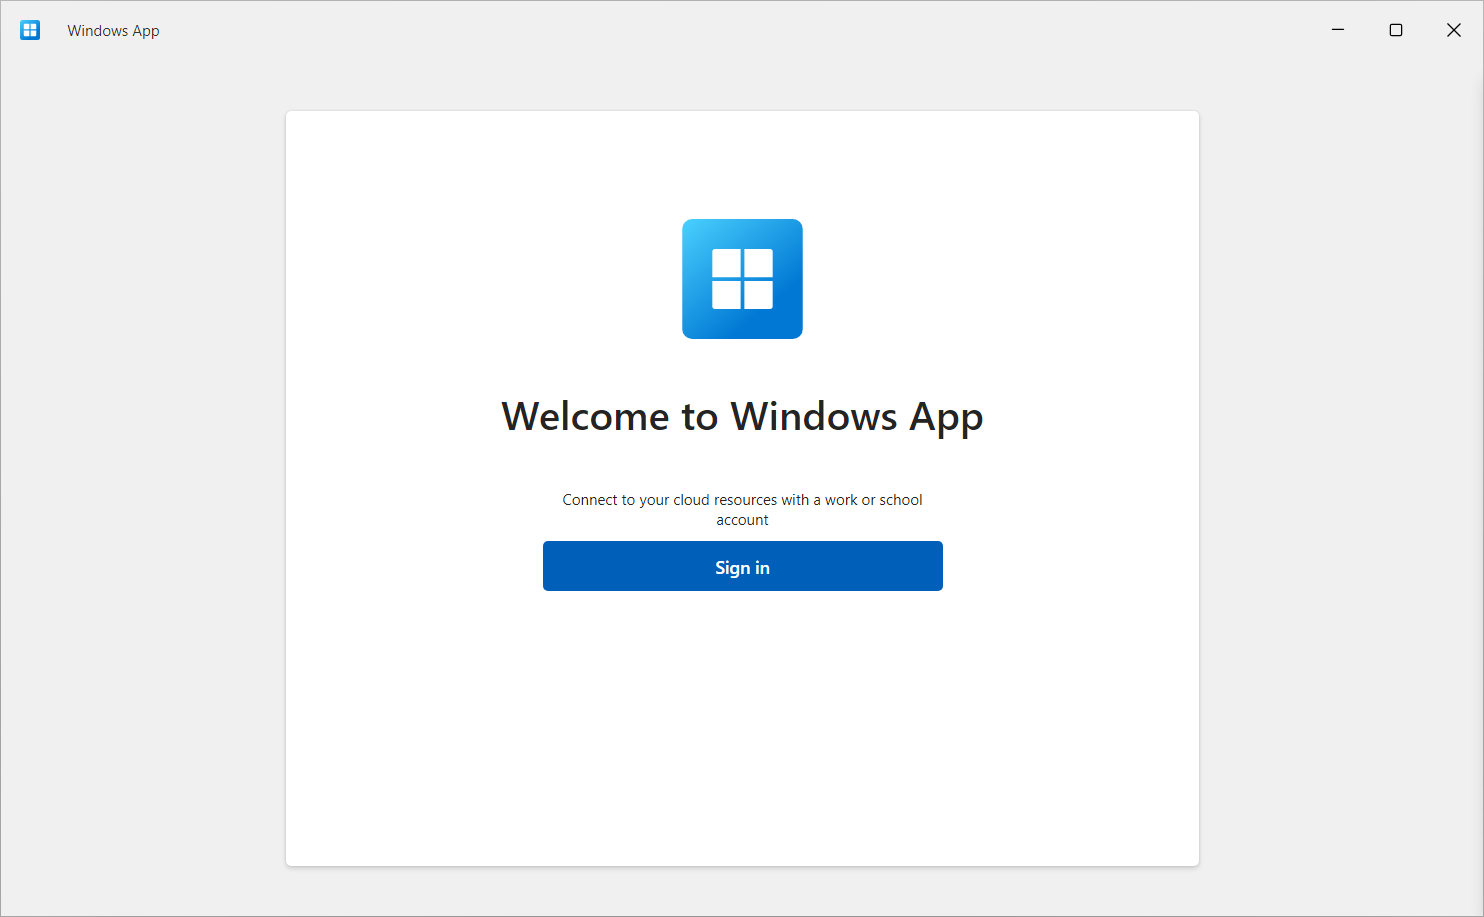
Select Sign in and sign in with your user account for Azure Virtual Desktop. If you're signed in to your local Windows device with a work or school account on a managed device, you're signed in automatically.
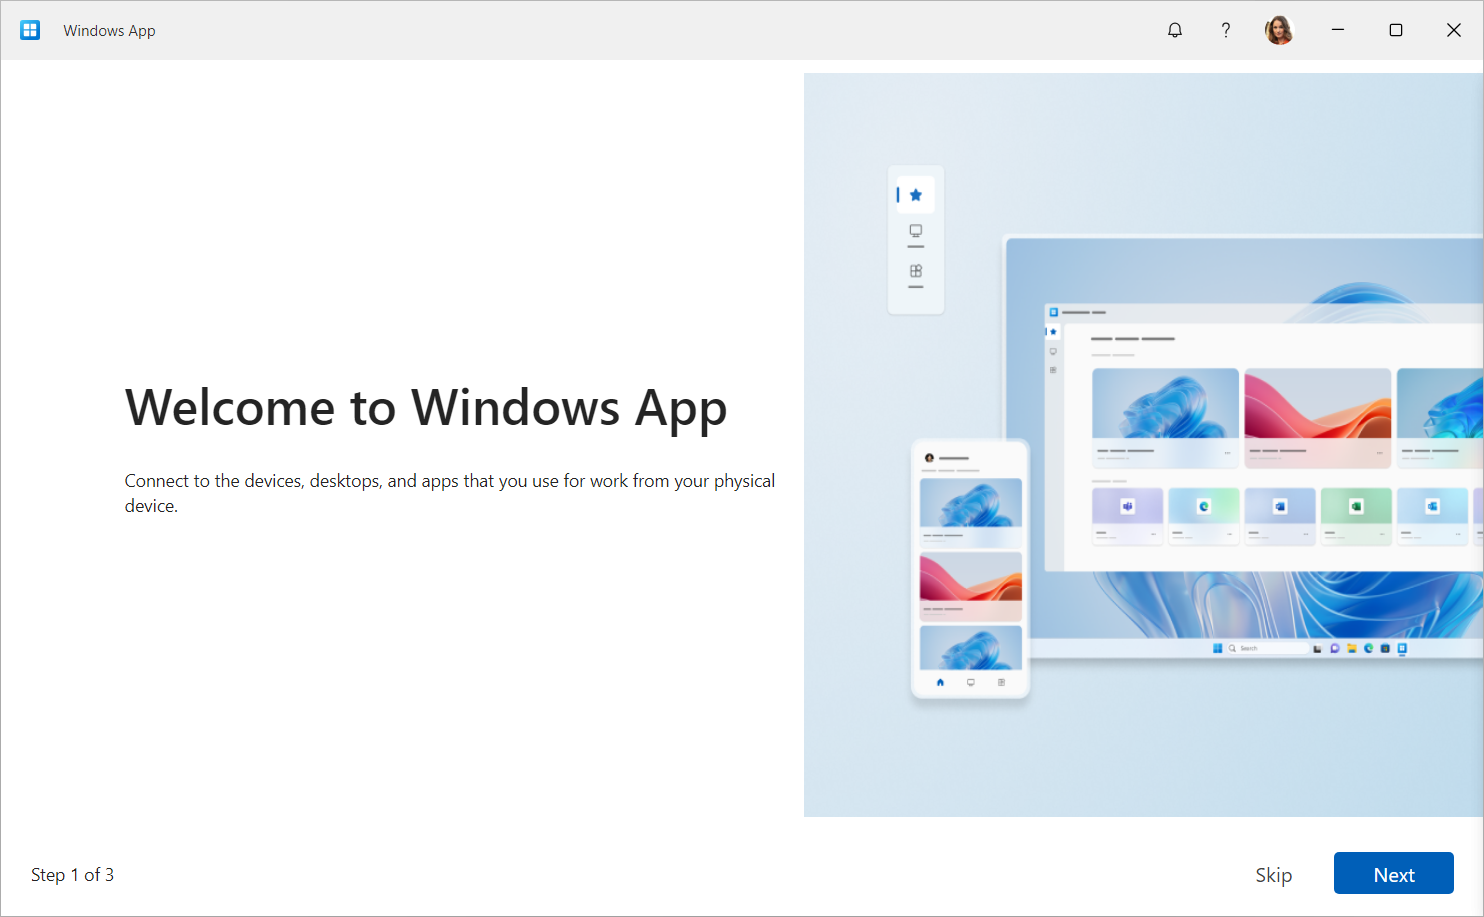
If it's your first time using Windows App, navigate through the tour to learn more about Windows App, then select Done, or select Skip.
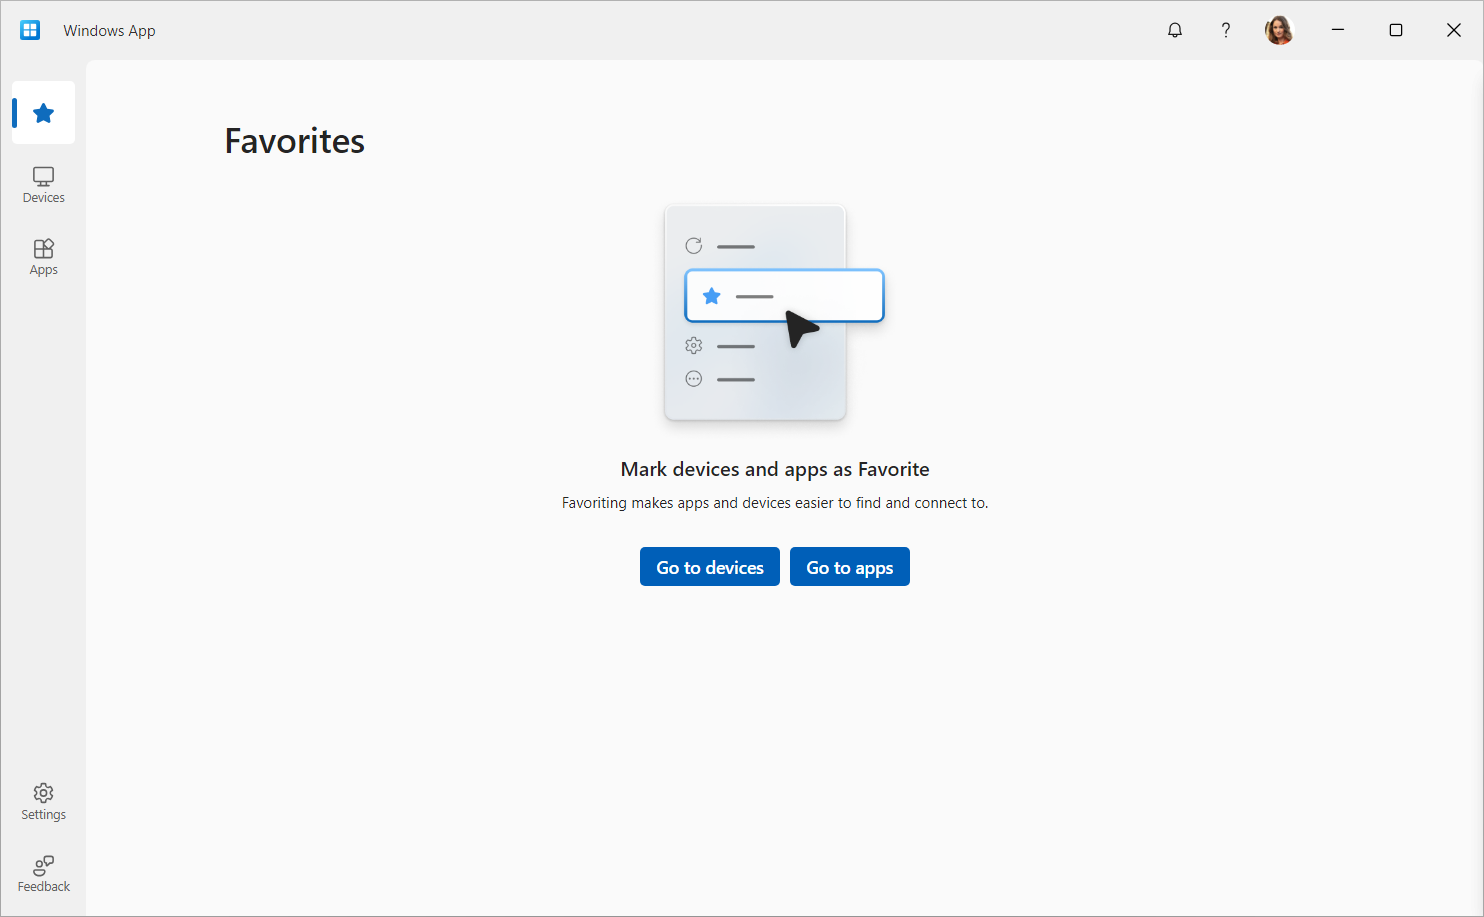
After you sign in, select the Devices tab or Apps tab to show your remote resources from Azure Virtual Desktop and any other services you have access to. Tabs are hidden if you don't have that type of resource assigned to you. If you don't see any devices or apps, contact your administrator.
Find the device or app you want to connect to. You can use the search box and filters to help you.
Select Connect on a device, or select an app to connect. You might be prompted to enter the password for your user account again, depending on how your administrator configures Azure Virtual Desktop.
Once the connection to your device or app is complete, you're ready to start using it.
For administrators: you can also download Windows App for Windows outside of the Microsoft Store as a .msix installer from What's new in Windows App.
Provide feedback
You can provide feedback about Windows App using Feedback Hub, which is installed on Windows by default, whether you want to make a suggestion or report a problem.
To easily provide feedback:
Open Windows App.
Select the Feedback tab. Feedback Hub automatically opens and shows all feedback provided for Windows App on Windows. You need to be signed in to Feedback Hub to provide feedback.
Select Give new feedback, then complete the form.
Once you've completed the form, select Submit. Feedback you post is public.
To connect to your desktops and apps from Azure Virtual Desktop on macOS, follow these steps:
If it's your first time using Windows App, navigate through the tour to learn more about Windows App, then select Done, or select Skip.
Windows App opens on the Devices tab. Select the plus (+) icon, then select Add Work or School Account. If you're connecting to a remote session hosted in a different cloud, such as Azure Government or Azure operated by 21Vianet, select Add Workspace instead, then expand the next sentence.
To connect to a remote session hosted in a different cloud, select to expand this section.
In the box that appears, enter the relevant workspace URL from the following table. The URL is checked to make sure it's valid. Once the check is complete, Select Add.
Sign in with your user account for Azure Virtual Desktop.
After you sign in, the Devices tab or Apps tab shows your remote resources from Azure Virtual Desktop and any other services you have access to. If you don't see any devices or apps, contact your administrator.
Find the device or app you want to connect to. You can use the search box to help you find what you want to connect to.
Double-click the device or app to connect. You might be prompted to enter the password for your user account again, depending on how your administrator configured Azure Virtual Desktop.
Once the connection to your device or app is complete, you're ready to start using it.
You might be prompted to allow Windows App to connect use bluetooth and connect to devices on your local network. Select Allow to both of these prompts to use bluetooth devices and if you want to connect to local PCs on your network.
If it's your first time using Windows App, navigate through the tour to learn more about Windows App, then select Done, or select Skip.
If it's your first time using Windows App, you're automatically prompted to add a new connection. Alternatively, tap the plus (+) icon from any of the tabs to add a new connection.
Tap Work or School Account. If you're connecting to a remote session hosted in a different cloud, such as Azure Government or Azure operated by 21Vianet, tap Workspace instead.
To connect to a remote session hosted in a different cloud, select to expand this section.
In the box that appears, enter the relevant workspace URL from the following table. The URL is checked to make sure it's valid. Once the check is complete, Select Next.
Sign in with your user account for Azure Virtual Desktop.
After you sign in, the Devices tab or Apps tab shows your remote resources from Azure Virtual Desktop and any other services you have access to. If you don't see any devices or apps, contact your administrator.
Find the device or app you want to connect to. You can use the search box to help you find what you want to connect to.
Tap the device or app to connect. You might be prompted to enter the password for your user account again, depending on how your administrator configures Azure Virtual Desktop.
Once the connection to your device or app is complete, you're ready to start using it.
If you want to provide feedback about Windows App on iOS/iPadOS, you can do so from Windows App itself.
Open Windows App on your device.
In the top left-hand corner, tap your profile icon or the settings icon (the cog), depending on whether you're signed into Windows App.
Tap Submit Feedback, which will open the feedback page in your browser.
Important
Windows App on Android is currently in PREVIEW.
This information relates to a prerelease product that may be substantially modified before it's released. Microsoft makes no warranties, expressed or implied, with respect to the information provided here.
To connect to your desktops and apps from Azure Virtual Desktop on Android or Chrome OS, follow these steps:
If it's your first time using Windows App, navigate through the tour to learn more about Windows App, then select Got it, or select Skip.
If it's your first time using Windows App, you're automatically prompted to add a new connection. Alternatively, tap the plus (+) icon from any of the tabs to add a new connection.
Tap Sign in. If you're connecting to a remote session hosted in a different cloud, such as Azure Government or Azure operated by 21Vianet, tap Workspace instead.
To connect to a remote session hosted in a different cloud, select to expand this section.
In the box that appears, enter the relevant workspace URL from the following table. The URL is checked to make sure it's valid. Once the check is complete, Select Next.
Sign in with your user account for Azure Virtual Desktop.
After you sign in, the Devices tab or Apps tab shows your remote resources from Azure Virtual Desktop and any other services you have access to. If you don't see any devices or apps, contact your administrator.
Find the device or app you want to connect to. You can use the search box to help you find what you want to connect to.
Tap the device or app to connect. Before the connection is made, you're prompted Make sure you trust the remote PC before you connect. Toggle the options to allow the remote session to access the different local resources on your device, and to prevent this prompt from showing in future, check the box Never ask again for connections to this PC, then tap Connect.
Your Android device might also prompt you to allow access to its local device features, such as camera, microphone, location, and files, which you should allow or deny based on your requirements.
You might be prompted to enter the password for your user account again, depending on how your administrator configures Azure Virtual Desktop.
Once the connection to your device or app is complete, you're ready to start using it.
Sign in with your user account for Azure Virtual Desktop. If you're signed in to your browser with a work or school account on a managed device, you're signed in automatically.
If it's your first time using Windows App, navigate through the tour to learn more about Windows App, then select Done, or select Skip.
After you sign in, you're on the Favorites tab.
Select the Devices tab or Apps tab to show your remote resources from Azure Virtual Desktop and any other services you have access to. Tabs are hidden if you don't have that type of resource assigned to you. If you don't see any devices or apps, contact your administrator.
Find the device or app you want to connect to. You can use the search box and filters to help you.
Select Connect on a device, or select an app to connect. A new tab or browser window opens for that device or app.
A prompt for In Session Settings asks you to confirm which local devices or features to use in the remote session. Make your selection, then select Connect. If you don't want to see this prompt each time you connect, check the box for Don't show again. You might be prompted to enter the password for your user account again, depending on how your administrator configures Azure Virtual Desktop.
Once the connection to your device or app is complete, you're ready to start using it.
Select Sign in and sign in with your user account for Windows 365. If you're signed in to your local Windows device with a work or school account on a managed device, you're signed in automatically.
If it's your first time using Windows App, navigate through the tour to learn more about Windows App, then select Done, or select Skip.
After you sign in, select the Devices tab to show your Cloud PC and any other services you have access to. If you don't see a Cloud PC, contact your administrator.
Find the Cloud PC you want to connect to. You can use the search box and filters to help you.
Select Connect on a Cloud PC to connect. Once the connection to your Cloud PC is complete, you're ready to start using it.
Tip
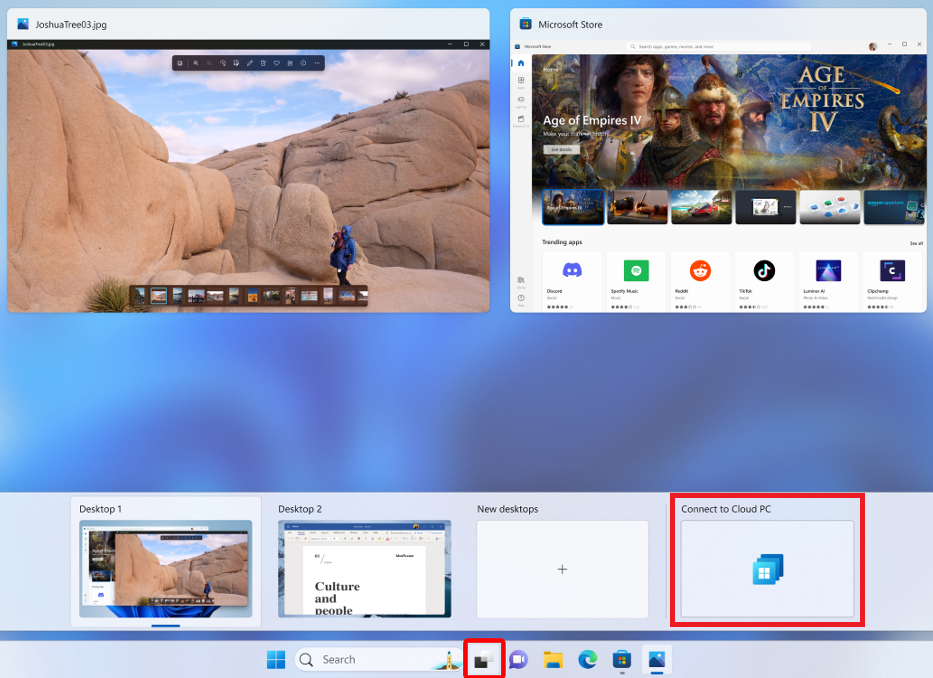
You can add your favorite Cloud PCs to Task view in Windows 11 or the Favorites tab of Windows App for quick access. To learn more, see Device and app actions in Windows App.
For administrators: you can also download Windows App for Windows outside of the Microsoft Store as a .msix installer from What's new in Windows App.
Provide feedback
You can provide feedback about Windows App using Feedback Hub, which is installed on Windows by default, whether you want to make a suggestion or report a problem.
To easily provide feedback:
Open Windows App.
Select the Feedback tab. Feedback Hub automatically opens and shows all feedback provided for Windows App on Windows. You need to be signed in to Feedback Hub to provide feedback.
Select Give new feedback, then complete the form.
Once you've completed the form, select Submit. Feedback you post is public.
To connect to your Cloud PC on macOS, follow these steps:
If it's your first time using Windows App, navigate through the tour to learn more about Windows App, then select Done, or select Skip.
Windows App opens on the Devices tab. Select the plus (+) icon, then select Add Work or School Account.
Sign in with your user account for Windows 365.
After you sign in, the Devices tab shows your Cloud PC and any other services you have access to. If you don't see a Cloud PC, contact your administrator.
Find the Cloud PC you want to connect to. You can use the search box to help you find what you want to connect to.
Double-click the Cloud PC to connect. Once the connection to your device or app is complete, you're ready to start using it.
You might be prompted to allow Windows App to connect use bluetooth and connect to devices on your local network. Select Allow to both of these prompts to use bluetooth devices and if you want to connect to local PCs on your network.
If it's your first time using Windows App, navigate through the tour to learn more about Windows App, then select Done, or select Skip.
If it's your first time using Windows App, you're automatically prompted to add a new connection. Alternatively, tap the plus (+) icon from any of the tabs to add a new connection.
Tap Work or School Account.
Sign in with your user account for Windows 365.
After you sign in, the Devices tab shows your Cloud PC and any other services you have access to. If you don't see a Cloud PC, contact your administrator.
Find the Cloud PC you want to connect to. You can use the search box to help you find what you want to connect to.
Tap the Cloud PC to connect. Once the connection to your device or app is complete, you're ready to start using it.
If you want to provide feedback about Windows App on iOS/iPadOS, you can do so from Windows App itself.
Open Windows App on your device.
In the top left-hand corner, tap your profile icon or the settings icon (the cog), depending on whether you're signed into Windows App.
Tap Submit Feedback, which will open the feedback page in your browser.
Important
Windows App on Android is currently in PREVIEW.
This information relates to a prerelease product that may be substantially modified before it's released. Microsoft makes no warranties, expressed or implied, with respect to the information provided here.
To connect to your Cloud PC on Android or Chrome OS, follow these steps:
If it's your first time using Windows App, navigate through the tour to learn more about Windows App, then select Got it, or select Skip.
If it's your first time using Windows App, you're automatically prompted to add a new connection. Alternatively, tap the plus (+) icon from any of the tabs to add a new connection.
Tap Sign in, then sign in with your user account for Windows 365.
After you sign in, the Devices tab shows your Cloud PC and any other services you have access to. If you don't see a Cloud PC, contact your administrator.
Find the Cloud PC you want to connect to. You can use the search box to help you find what you want to connect to.
Tap the Cloud PC to connect. Before the connection is made, you're prompted Make sure you trust the remote PC before you connect. Toggle the options to allow the Cloud PC to access the different local resources on your device, and to prevent this prompt from showing in future, check the box Never ask again for connections to this PC, then tap Connect.
Your Android device might also prompt you to allow access to its local device features, such as camera, microphone, location, and files, which you should allow or deny based on your requirements.
Once the connection to your device or app is complete, you're ready to start using it.
Sign in with your user account for Windows 365. If you're signed in to your browser with a work or school account on a managed device, you're signed in automatically.
If it's your first time using Windows App, navigate through the tour to learn more about Windows App, then select Done, or select Skip.
After you sign in, you're on the Favorites tab.
Select the Devices tab to show your Cloud PC and any other services you have access to. If you don't see a Cloud PC, contact your administrator.
Find the Cloud PC you want to connect to. You can use the search box and filters to help you.
Select Connect on a Cloud PC to connect. A new tab or browser window opens for that Cloud PC.
A prompt for In Session Settings asks you to confirm which local devices or features to use in the remote session. Make your selection, then select Connect. If you don't want to see this prompt each time you connect, check the box for Don't show again.
Once the connection to your device or app is complete, you're ready to start using it.
Select Sign in and sign in with your user account for Microsoft Dev Box. If you're signed in to your local Windows device with a work or school account on a managed device, you're signed in automatically.
If it's your first time using Windows App, navigate through the tour to learn more about Windows App, then select Done, or select Skip.
After you sign in, select the Devices tab to show your dev box and any other services you have access to. If you don't see a dev box, contact your administrator.
Find the dev box you want to connect to. You can use the search box and filters to help you.
Select Connect on a dev box to connect. Once the connection to your dev box is complete, you're ready to start using it.
Tip
You can add your favorite dev boxes to Task view in Windows 11 or the Favorites tab of Windows App for quick access. To learn more, see Device and app actions in Windows App.
Provide feedback
You can provide feedback about Windows App using Feedback Hub, which is installed on Windows by default, whether you want to make a suggestion or report a problem.
To easily provide feedback:
Open Windows App.
Select the Feedback tab. Feedback Hub automatically opens and shows all feedback provided for Windows App on Windows. You need to be signed in to Feedback Hub to provide feedback.
Select Give new feedback, then complete the form.
Once you've completed the form, select Submit. Feedback you post is public.
For administrators: you can also download Windows App for Windows outside of the Microsoft Store as a .msix installer from What's new in Windows App.
To connect to your dev box on macOS, follow these steps:
If it's your first time using Windows App, navigate through the tour to learn more about Windows App, then select Done, or select Skip.
Windows App opens on the Devices tab. Select the plus (+) icon, then select Add Work or School Account.
Sign in with your user account for Microsoft Dev Box.
After you sign in, the Devices tab shows your dev box and any other services you have access to. If you don't see a dev box, contact your administrator.
Find the dev box you want to connect to. You can use the search box to help you find what you want to connect to.
Double-click the dev box to connect. Once the connection to your device or app is complete, you're ready to start using it.
You might be prompted to allow Windows App to connect use bluetooth and connect to devices on your local network. Select Allow to both of these prompts to use bluetooth devices and if you want to connect to local PCs on your network.
If it's your first time using Windows App, navigate through the tour to learn more about Windows App, then select Done, or select Skip.
If it's your first time using Windows App, you're automatically prompted to add a new connection. Alternatively, tap the plus (+) icon from any of the tabs to add a new connection.
Tap Work or School Account.
Sign in with your user account for Microsoft Dev Box.
After you sign in, the Devices tab shows your dev box and any other services you have access to. If you don't see a dev box, contact your administrator.
Find the dev box you want to connect to. You can use the search box to help you find what you want to connect to.
Tap the dev box to connect. Once the connection to your device or app is complete, you're ready to start using it.
If you want to provide feedback about Windows App on iOS/iPadOS, you can do so from Windows App itself.
Open Windows App on your device.
In the top left-hand corner, tap your profile icon or the settings icon (the cog), depending on whether you're signed into Windows App.
Tap Submit Feedback, which will open the feedback page in your browser.
Important
Windows App on Android is currently in PREVIEW.
This information relates to a prerelease product that may be substantially modified before it's released. Microsoft makes no warranties, expressed or implied, with respect to the information provided here.
To connect to your dev box on Android or Chrome OS, follow these steps:
If it's your first time using Windows App, navigate through the tour to learn more about Windows App, then select Got it, or select Skip.
If it's your first time using Windows App, you're automatically prompted to add a new connection. Alternatively, tap the plus (+) icon from any of the tabs to add a new connection.
Tap Sign in, then sign in with your user account for Windows 365.
After you sign in, the Devices tab shows your Cloud PC and any other services you have access to. If you don't see a Cloud PC, contact your administrator.
Find the Cloud PC you want to connect to. You can use the search box to help you find what you want to connect to.
Tap the Cloud PC to connect. Before the connection is made, you're prompted Make sure you trust the remote PC before you connect. Toggle the options to allow the Cloud PC to access the different local resources on your device, and to prevent this prompt from showing in future, check the box Never ask again for connections to this PC, then tap Connect.
Once the connection to your device or app is complete, you're ready to start using it.
Sign in with your user account for Microsoft Dev Box. If you're signed in to your browser with a work or school account on a managed device, you're signed in automatically.
If it's your first time using Windows App, navigate through the tour to learn more about Windows App, then select Done, or select Skip.
After you sign in, you're on the Favorites tab.
Select the Devices tab to show your dev box and any other services you have access to. If you don't see a dev box, contact your administrator.
Find the dev box you want to connect to. You can use the search box and filters to help you.
Select Connect on a dev box to connect. A new tab or browser window opens for that dev box.
A prompt for In Session Settings asks you to confirm which local devices or features to use in the remote session. Make your selection, then select Connect. If you don't want to see this prompt each time you connect, check the box for Don't show again.
Once the connection to your device or app is complete, you're ready to start using it.
If it's your first time using Windows App, navigate through the tour to learn more about Windows App, then select Done, or select Skip.
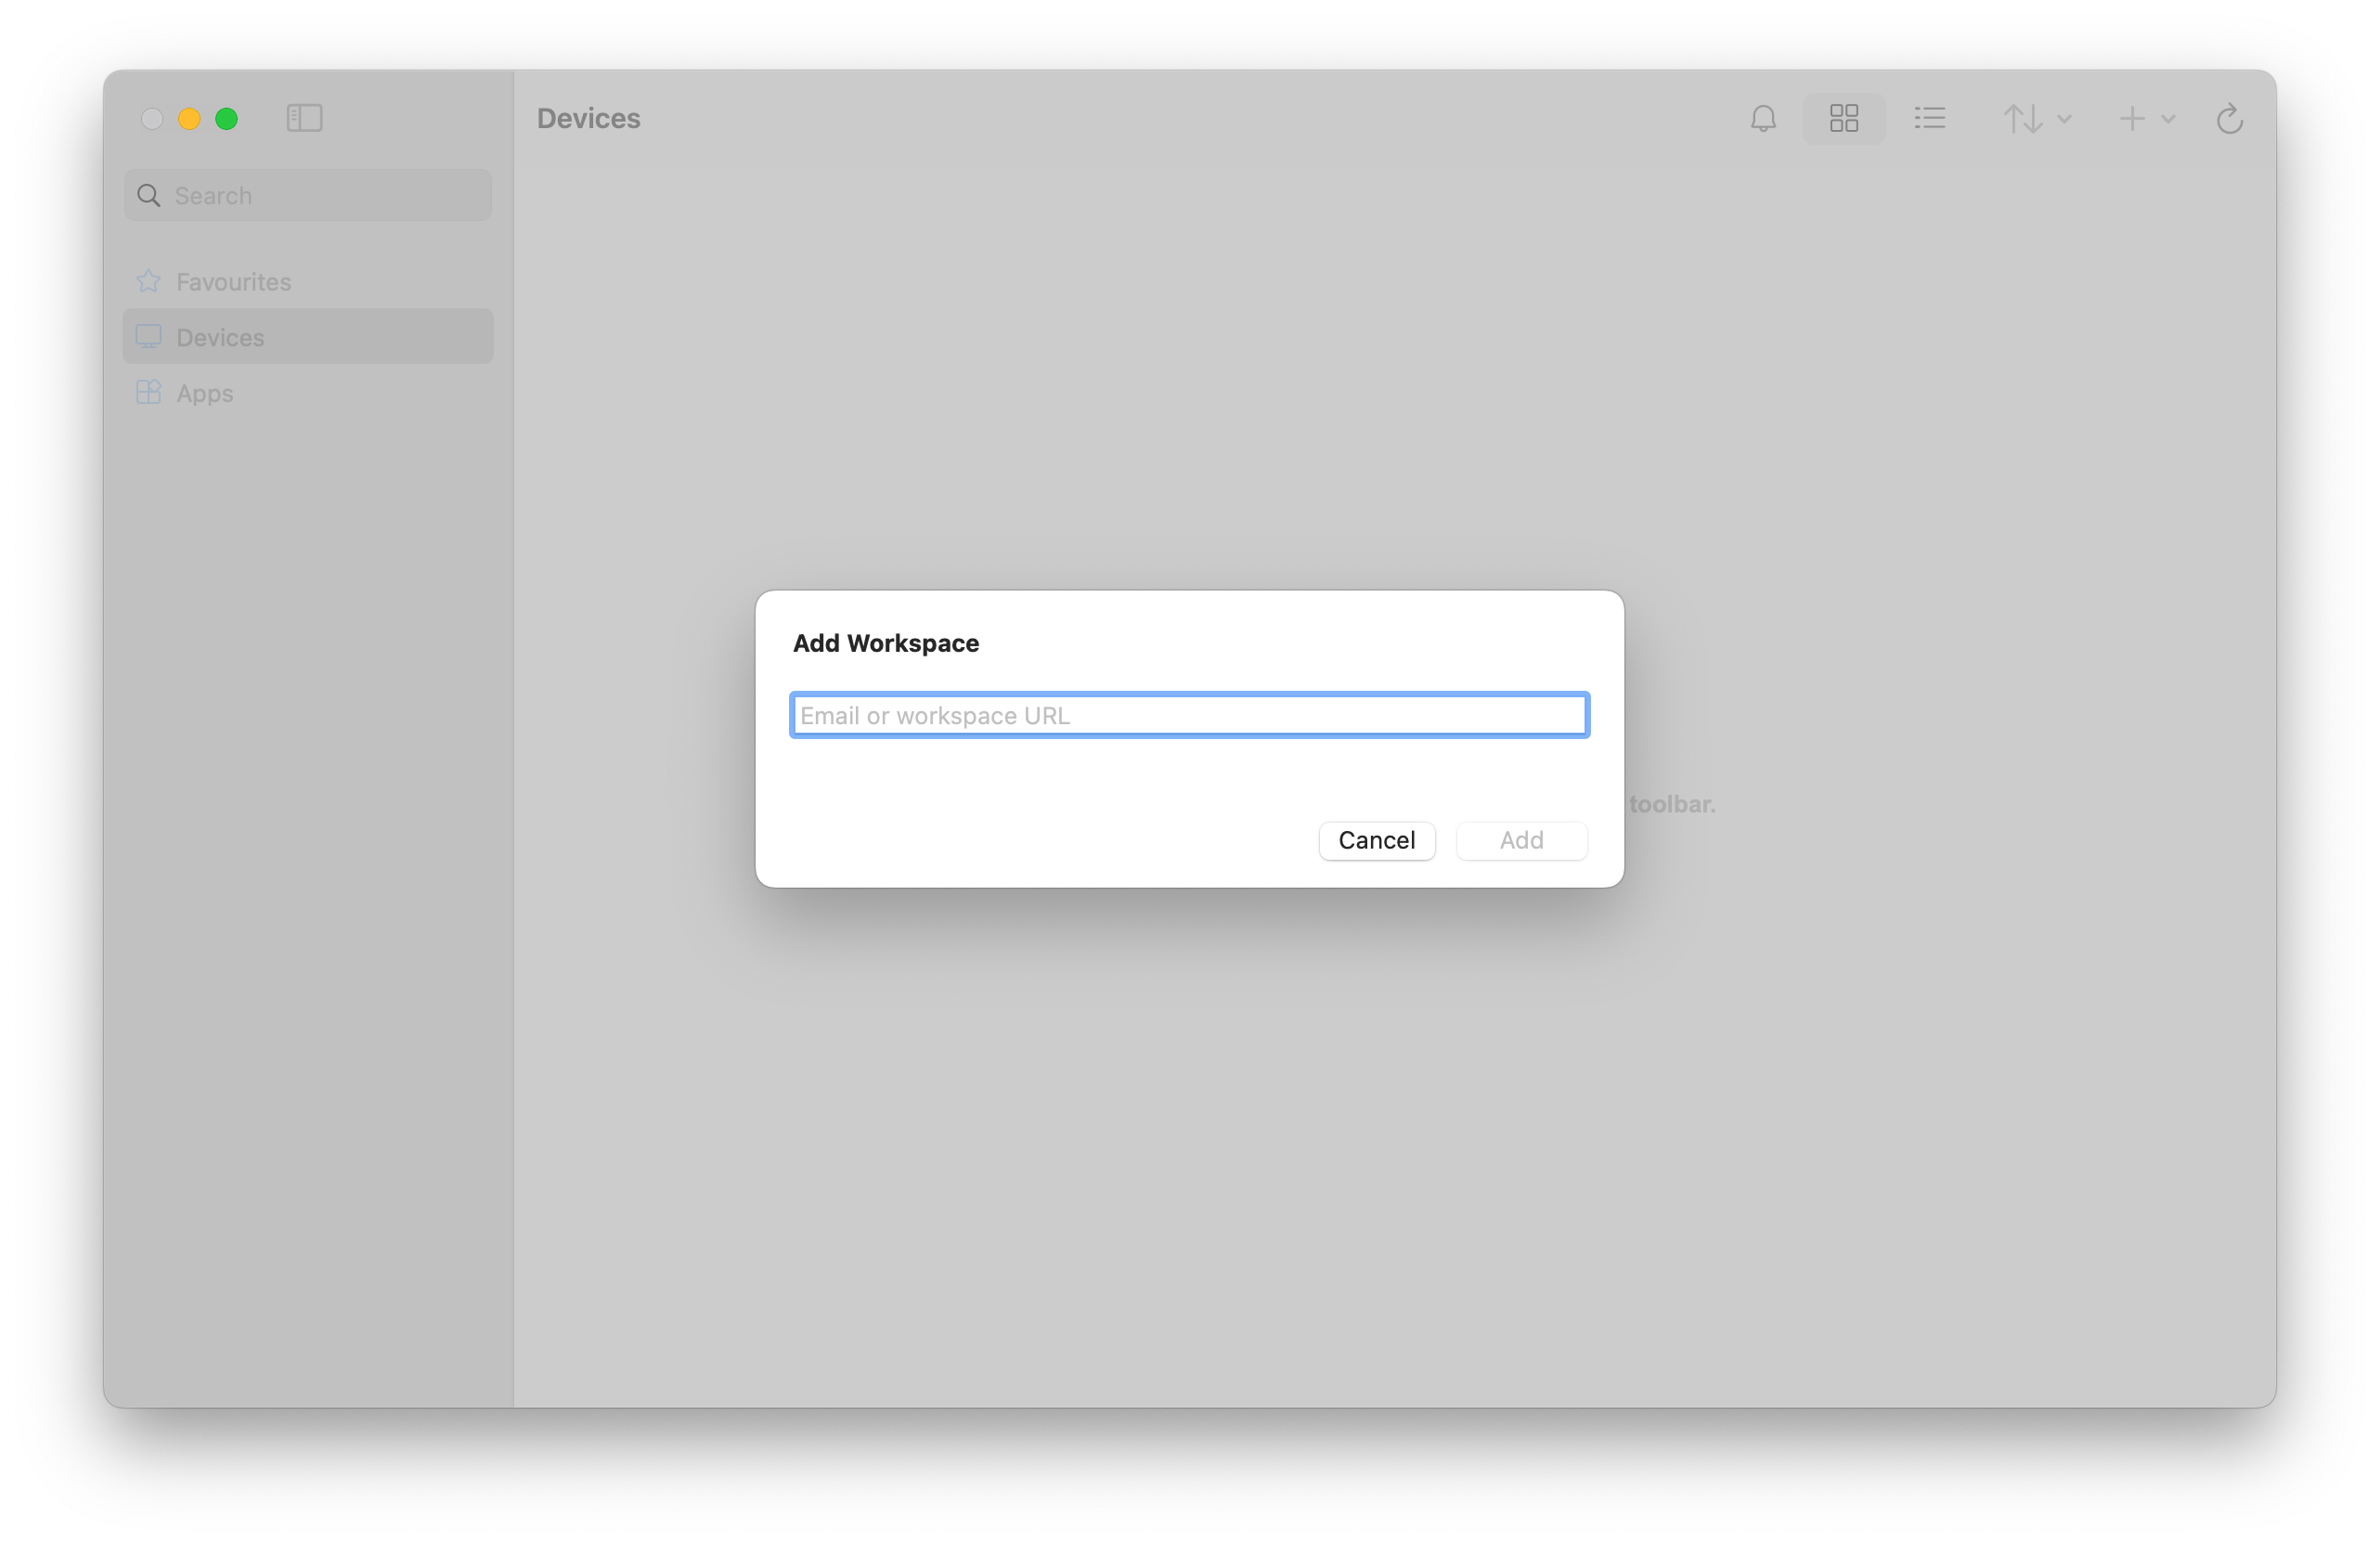
Windows App opens on the Devices tab. Select the plus (+) icon, then select Add Workspace.
In the box that appears, enter the workspace URL your administrator provided. The URL is checked to make sure it's valid. Once the check is complete, select Next.
Sign in with your user account for Remote Desktop Services.
After you sign in, the Devices tab or Apps tab shows your remote resources. If you don't see any devices or apps, contact your administrator.
Find the device or app you want to connect to. You can use the search box to help you find what you want to connect to.
Double-click the device or app to connect. You might be prompted to enter the password for your user account again, depending on how your administrator configured Remote Desktop Services.
Once the connection to your device or app is complete, you're ready to start using it.
You might be prompted to allow Windows App to connect use bluetooth and connect to devices on your local network. Select Allow to both of these prompts to use bluetooth devices and if you want to connect to local PCs on your network.
If it's your first time using Windows App, navigate through the tour to learn more about Windows App, then select Done, or select Skip.
If it's your first time using Windows App, you're automatically prompted to add a new connection. Alternatively, tap the plus (+) icon from any of the tabs to add a new connection.
Tap Workspace. In the box that appears, enter the workspace URL your administrator provided. The URL is checked to make sure it's valid. Once the check is complete, tap Next.
Sign in with your user account for Remote Desktop Services.
After you sign in, the Devices tab or Apps tab shows your remote resources. If you don't see any devices or apps, contact your administrator.
Find the device or app you want to connect to. You can use the search box to help you find what you want to connect to.
Tap the device or app to connect. You might be prompted to enter the password for your user account again, depending on how your administrator configures Remote Desktop Services.
Once the connection to your device or app is complete, you're ready to start using it.
If you want to provide feedback about Windows App on iOS/iPadOS, you can do so from Windows App itself.
Open Windows App on your device.
In the top left-hand corner, tap your profile icon or the settings icon (the cog), depending on whether you're signed into Windows App.
Tap Submit Feedback, which will open the feedback page in your browser.
Important
Windows App on Android is currently in PREVIEW.
This information relates to a prerelease product that may be substantially modified before it's released. Microsoft makes no warranties, expressed or implied, with respect to the information provided here.
To connect to your desktops and apps from Remote Desktop Services on Android or Chrome OS, follow these steps:
If it's your first time using Windows App, navigate through the tour to learn more about Windows App, then select Got it, or select Skip.
If it's your first time using Windows App, you're automatically prompted to add a new connection. Alternatively, tap the plus (+) icon from any of the tabs to add a new connection.
Tap Workspace. In the box that appears, enter the workspace URL your administrator provided. The URL is checked to make sure it's valid. Once the check is complete, tap Next.
Sign in with your user account for Remote Desktop Services.
After you sign in, the Devices tab or Apps tab shows your remote resources. If you don't see any devices or apps, contact your administrator.
Find the device or app you want to connect to. You can use the search box to help you find what you want to connect to.
Tap the device or app to connect. Before the connection is made, you're prompted Make sure you trust the remote PC before you connect. Toggle the options to allow the remote session to access the different local resources on your device, and to prevent this prompt from showing in future, check the box Never ask again for connections to this PC, then tap Connect.
Your Android device might also prompt you to allow access to its local device features, such as camera, microphone, location, and files, which you should allow or deny based on your requirements.
You might be prompted to enter the password for your user account again, depending on how your administrator configures Azure Virtual Desktop.
Once the connection to your device or app is complete, you're ready to start using it.
If it's your first time using Windows App, navigate through the tour to learn more about Windows App, then select Done, or select Skip.
Windows App opens on the Devices tab. Select the plus (+) icon, then select Add PC.
In the dialog box that appears, for PC Name, enter the hostname or IP address of the remote PC you want to connect to.
Optional: you can make other changes, such as add a user account to connect with, provide a friendly name for the connection, configure display settings, and configure device and audio redirection. You can also configure these settings later. To learn more, see the links provided in Next steps.
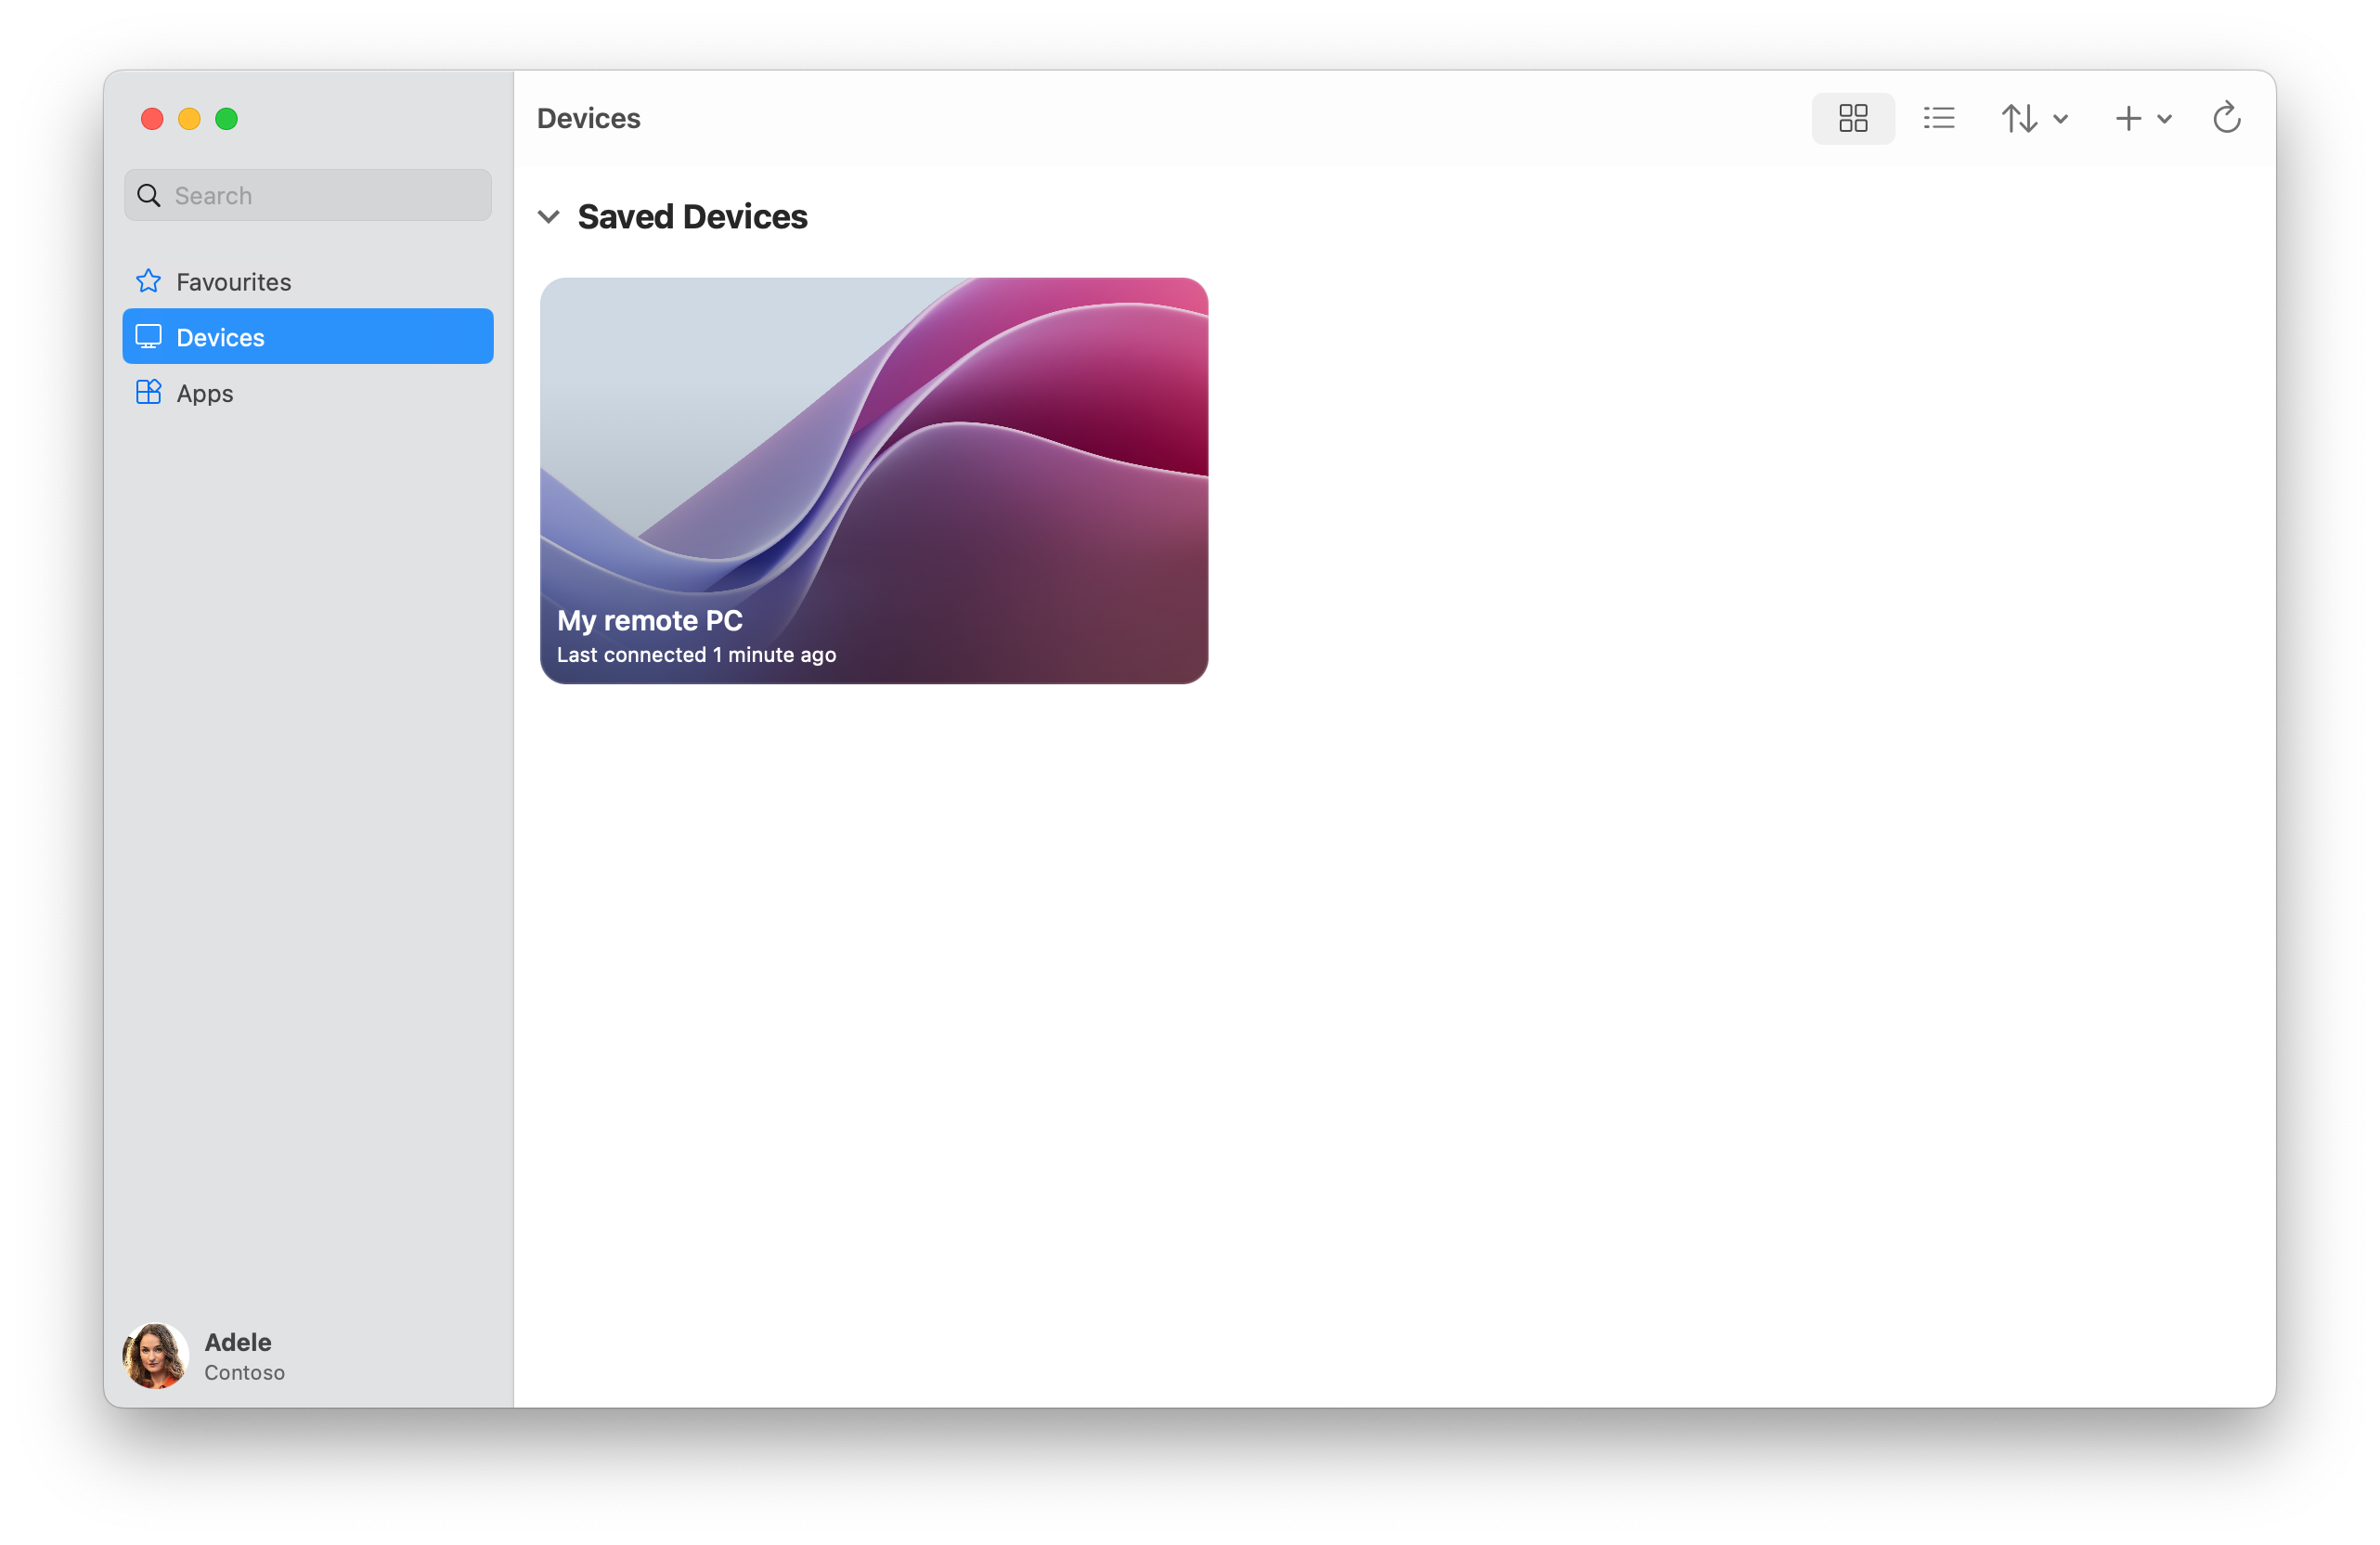
Select Add. Your remote PC is added to the Devices tab.
On the Devices tab, double-click the remote PC to connect. If you didn't add a user account for this remote PC yet, you're prompted to enter a user account.
Once the connection to your remote PC is complete, you're ready to start using it.
You might be prompted to allow Windows App to connect use bluetooth and connect to devices on your local network. Select Allow to both of these prompts to use bluetooth devices and to connect to local PCs on your network.
If it's your first time using Windows App, navigate through the tour to learn more about Windows App, then select Done, or select Skip.
If it's your first time using Windows App, you're automatically prompted to add a new connection. Alternatively, tap the plus (+) icon from any of the tabs to add a new connection.
Tap PC.
Tap PC Name and enter hostname or IP address of the remote PC you want to connect to.
Optional: you can make other changes, such as add a user account to connect with, provide a friendly name for the connection, and configure device and audio redirection. You can also configure these settings later. To learn more, see the links provided in Next steps.
Tap Save. Your remote PC is added to the Devices tab.
On the Devices tab, tap the remote PC to connect. If you didn't add a user account for this remote PC yet, you're prompted to enter a user account.
Once the connection to your remote PC is complete, you're ready to start using it.
If you want to provide feedback about Windows App on iOS/iPadOS, you can do so from Windows App itself.
Open Windows App on your device.
In the top left-hand corner, tap your profile icon or the settings icon (the cog), depending on whether you're signed into Windows App.
Tap Submit Feedback, which will open the feedback page in your browser.
Important
Windows App on Android is currently in PREVIEW.
This information relates to a prerelease product that may be substantially modified before it's released. Microsoft makes no warranties, expressed or implied, with respect to the information provided here.
To connect to a remote PC on Android or Chrome OS, follow these steps:
If it's your first time using Windows App, navigate through the tour to learn more about Windows App, then select Got it, or select Skip.
If it's your first time using Windows App, you're automatically prompted to add a new connection. Alternatively, tap the plus (+) icon from any of the tabs to add a new connection.
Tap PC connection.
Tap PC Name and enter hostname or IP address of the remote PC you want to connect to.
Optional: you can make other changes, such as add a user account to connect with, provide a friendly name for the connection, and configure device and audio redirection. You can also configure these settings later. To learn more, see the links provided in Next steps.
Tap Save. Your remote PC is added to the Devices tab.
On the Devices tab, tap the remote PC to connect. If you didn't add a user account for this remote PC yet, you're prompted to enter a user account. Before the connection is made, you're prompted Make sure you trust the remote PC before you connect. Toggle the options to allow the remote session to access the different local resources on your device, and to prevent this prompt from showing in future, check the box Never ask again for connections to this PC, then tap Connect.
Your Android device might also prompt you to allow access to its local device features, such as camera, microphone, location, and files, which you should allow or deny based on your requirements.
Once the connection to your remote PC is complete, you're ready to start using it.