Note
Access to this page requires authorization. You can try signing in or changing directories.
Access to this page requires authorization. You can try changing directories.
Resources provide links to the most popular portals and destinations at your organization and can be found below the dashboard of the Connections experience. Operators and members can import navigational links from a SharePoint home site or global navigation bar, or create their own links, which can all be targeted to specific audiences. Any edits made to the resource section will also show in the mobile experience.
Note
- Global navigation can be accessed by clicking on the Connections icon in the Teams app bar. Refer to this document if you're setting up global navigation for the first time.
- You must manually save your changes when finished editing resource links.
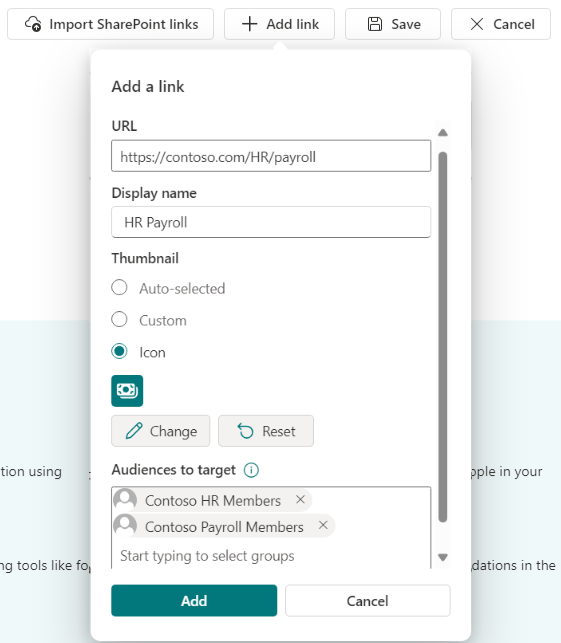
Add a resource link
Navigate to the Resources section within your Connections experience and select Edit.
To add a new link, select + Add Link.
In the Add a Link window that opens, paste the link to the site in the URL field.
- Only modern SharePoint sites and certain Microsoft 365 experiences display in Teams. All other types of content open in a separate browser window.
Enter a Display name.
Under Thumbnail, select a choice to represent your resource link.
Auto-selected: the icon is generated based on the URL, if applicable (a link icon displays by default if one can't be autogenerated).
Custom: upload your own image as an icon by selecting Change and uploading your image (the image will resize to fit the icons dimensions).
Icon: choose an icon from a preexisting list by selecting edit icon.
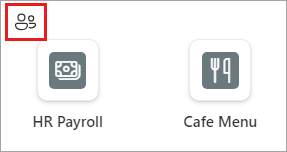
To apply audience targeting to this resource, enter one or more Microsoft 365 groups in the Audiences to target field (up to 10 audiences can be targeted). Learn more about audience targeting for resources.
Select Save.
The new resource appears. If audience targeting is active, you’ll see an icon in the upper left of the resource link.
Continue editing your resource links. When finished, select Save to confirm your changes.
Import SharePoint links
You can import navigational links from a SharePoint home site and the SharePoint global navigation bar into your resources.
Start by selecting Edit in the Resources section of your Connections experience.
Select Import SharePoint links.
Select which navigation you want to import from (unavailable navigation is greyed out).
Select which links to import.
Select Keep audience targeting if you want to enable existing audience targeting settings for your selected imported links.
Select Import.

The selected links are added to your resources.
Continue editing your resource links. When finished, select Save to confirm your changes.
Edit an existing resource link
Start by selecting Edit in the Resources section of your Connections experience.
Hover over the resource link and select the ellipsis.
Select Edit to open the resource link and change its settings.
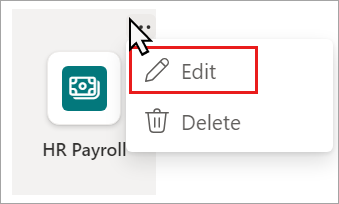
When finished editing the resource link, select Save in the edit link window.
Continue editing your resource links. When finished, select Save to confirm your changes.
Delete an existing resource link
Start by selecting Edit in the Resources section of your Connections experience.
Hover over the resource link and select the ellipsis.
Select Delete.
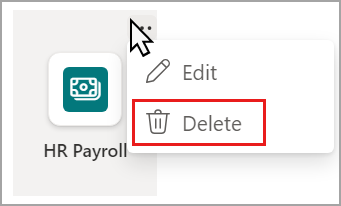
When asked to confirm, select Delete.
Continue editing your resource links. When finished, select Save to confirm your changes.
Reorder existing resource links
Start by selecting Edit in the Resources section of your Connections experience.
Select a resource link and drag it to its new location.
Continue editing your resource links. When finished, select Save to confirm your changes.