Image Library Viewer
Note
This article applies to Visual Studio 2015. If you're looking for the latest Visual Studio documentation, see Visual Studio documentation. We recommend upgrading to the latest version of Visual Studio. Download it here
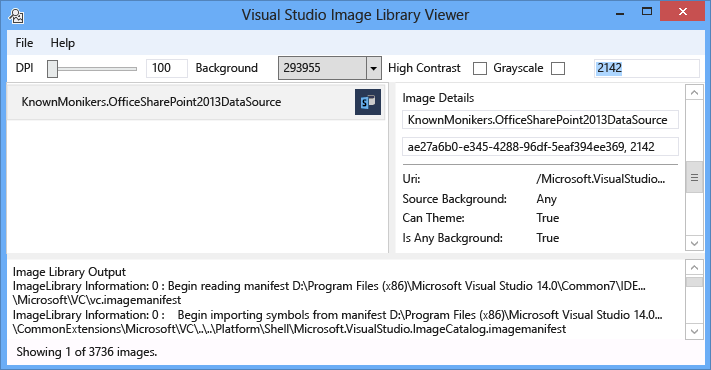
The Visual Studio Image Library Viewer tool can load and search image manifests, allowing the user to manipulate them in the same way Visual Studio would. The user can alter background, sizes, DPI, high contrast, and other settings. The tool also displays loading information for each image manifest and displays source information for each image in the image manifest. This tool is useful for:
Diagnosing errors
Ensuring attributes are set correctly in custom image manifests
Searching for images in the Visual Studio Image Catalog so that a Visual Studio extension can use images that fit the style of Visual Studio
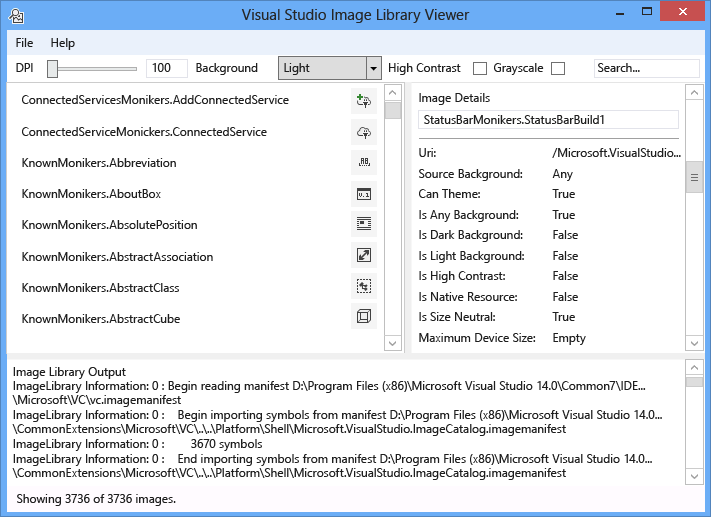
Image moniker
An image moniker (or moniker for short) is a GUID:ID pair that uniquely identifies an image asset or image list asset in the Image Library.
Image manifest files
Image manifest (.imagemanifest) files are XML files that define a set of image assets, the monikers that represent those assets, and the real image or images that represent each asset. Image manifests can define standalone images or image lists for legacy UI support. Additionally, there are attributes that can be set either on the asset or on the individual images behind each asset to change when and how those assets are displayed.
Image manifest schema
A complete image manifest looks like this:
<ImageManifest>
      <!-- zero or one Symbols elements -->
      <Symbols>
        <!-- zero or more Guid, ID, or String elements -->
      </Symbols>
      <!-- zero or one Images elements -->
      <Images>
        <!-- zero or more Image elements -->
      </Images>
      <!-- zero or one ImageLists elements -->
      <ImageLists>
        <!-- zero or more ImageList elements -->
      </ImageLists>
</ImageManifest>
Symbols
As a readability and maintenance aid, the image manifest can use symbols for attribute values. Symbols are defined like this:
<Symbols>
      <Import Manifest="manifest" />
      <Guid Name="ShellCommandGuid" Value="8ee4f65d-bab4-4cde-b8e7-ac412abbda8a" />
      <ID Name="cmdidSaveAll" Value="1000" />
      <String Name="AssemblyName" Value="Microsoft.VisualStudio.Shell.UI.Internal" />
</Symbols>
| Subelement | Definition |
|---|---|
| Import | Imports the symbols of the given manifest file for use in the current manifest. |
| Guid | The symbol represents a GUID and must match GUID formatting. |
| ID | The symbol represents an ID and must be a nonnegative integer. |
| String | The symbol represents an arbitrary string value. |
Symbols are case-sensitive, and referenced using $(symbol-name) syntax:
<Image Guid="$(ShellCommandGuid)" ID="$(cmdidSaveAll)" >
      <Source Uri="/$(AssemblyName);Component/Resources/image.xaml" />
</Image>
Some symbols are predefined for all manifests. These can be used in the Uri attribute of the <Source> or <Import> element to reference paths on the local machine.
| Symbol | Description |
|---|---|
| CommonProgramFiles | The value of the %CommonProgramFiles% environment variable |
| LocalAppData | The value of the %LocalAppData% environment variable |
| ManifestFolder | The folder containing the manifest file |
| MyDocuments | The full path of the My Documents folder of the current user |
| ProgramFiles | The value of the %ProgramFiles% environment variable |
| System | The Windows\System32 folder |
| WinDir | The value of the %WinDir% environment variable |
Image
The <Image> element defines an image that can be referenced by a moniker. The GUID and ID taken together form the image moniker. The moniker for the image must be unique across the entire image library. If more than one image has a given moniker, the first one encountered while building the library is the one that is retained.
It must contain at least one source. Although size-neutral sources will give the best results across a broad range of sizes, they are not required. If the service is asked for an image of a size not defined in the <Image> element and there is no size-neutral source, the service will choose the best size-specific source and scale it to the requested size.
<Image Guid="guid" ID="int" AllowColorInversion="true/false">
      <Source ... />
      <!-- optional additional Source elements -->
</Image>
| Attribute | Definition |
|---|---|
| Guid | [Required] The GUID portion of the image moniker |
| ID | [Required] The ID portion of the image moniker |
| AllowColorInversion | [Optional, default true] Indicates whether the image can have its colors programmatically inverted when used on a dark background. |
Source
The <Source> element defines a single image source asset (XAML and PNG).
<Source Uri="uri" Background="background">
      <!-- optional NativeResource element -->
 </Source>
| Attribute | Definition |
|---|---|
| Uri | [Required] A URI that defines where the image can be loaded from. It can be one of the following: - A Pack URI using the application:/// authority - An absolute component resource reference - A path to a file containing a native resource |
| Background | [Optional] Indicates what on kind of background the source is intended to be used. It can be one of the following: - Light: The source can be used on a light background. - Dark: The source can be used on a dark background. - HighContrast: The source can be used on any background in High Contrast mode. - HighContrastLight: The source can be used on a light background in High Contrast mode. -HighContrastDark: The source can be used on a dark background in High Contrast mode. If the Background attribute is omitted, the source can be used on any background. If Background is Light, Dark, HighContrastLight, or HighContrastDark, the source’s colors are never inverted. If Background is omitted or set to HighContrast, the inversion of the source’s colors is controlled by the image’s AllowColorInversion attribute. |
A <Source> element can have exactly one of the following optional subelements:
| Element | Attributes (all required) | Definition |
|---|---|---|
| <Size> | Value | The source will be used for images of the given size (in device units). The image will be square. |
| <SizeRange> | MinSize, MaxSize | The source will be used for images from MinSize to MaxSize (in device units) inclusively. The image will be square. |
| <Dimensions> | Width, Height | The source will be used for images of the given width and height (in device units). |
| <DimensionRange> | MinWidth, MinHeight, MaxWidth, MaxHeight |
The source will be used for images from the minimum width/height to the maximum width/height (in device units) inclusively. |
A <Source> element can also have an optional <NativeResource> subelement, which defines a <Source> that is loaded from a native assembly rather than a managed assembly.
<NativeResource Type="type" ID="int" />
| Attribute | Definition |
|---|---|
| Type | [Required] The type of the native resource, either XAML or PNG |
| ID | [Required] The integer ID portion of the native resource |
ImageList
The <ImageList> element defines a collection of images that can be returned in a single strip. The strip is built on demand, as needed.
<ImageList>
      <ContainedImage Guid="guid" ID="int" External="true/false" />
      <!-- optional additional ContainedImage elements -->
 </ImageList>
| Attribute | Definition |
|---|---|
| Guid | [Required] The GUID portion of the image moniker |
| ID | [Required] The ID portion of the image moniker |
| External | [Optional, default false] Indicates whether the image moniker references an image in the current manifest. |
The moniker for the contained image does not have to reference an image defined in the current manifest. If the contained image cannot be found in the image library, a blank placeholder image will be used in its place.
How to use the tool
Validating a custom image manifest
To create a custom manifest, we recommend that you use the ManifestFromResources tool to autogenerate the manifest. To validate the custom manifest, launch the Image Library Viewer and select File > Set Paths… to open the Search Directories dialog. The tool will use the search directories to load image manifests, but it will also use it them to find the .dll files that contain the images in a manifest, so make sure to include both the manifest and DLL directories in this dialog.
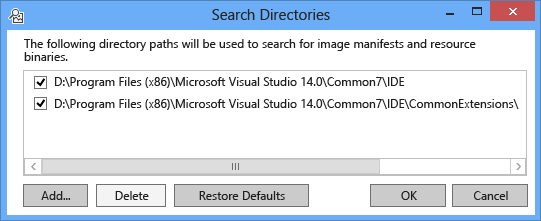
Click Add… to select new search directories to search for manifests and their corresponding DLLs. The tool will remember these search directories, and they can be turned on or off by checking or unchecking a directory.
By default, the tool will attempt to find the Visual Studio install directory and add those directories to the search directories list. You can manually add directories the tool doesn’t find.
Once all the manifests are loaded, the tool can be used to toggle background colors, DPI, high contrast, or grayscaling for the images so that a user can visually inspect image assets to verify they are being rendered correctly for various settings.
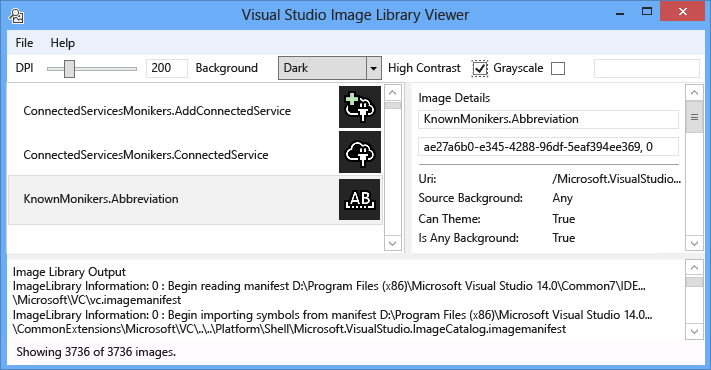
The background color can be set to Light, Dark, or a custom value. Selecting “Custom Color” will open a color selection dialog and add that custom color to the bottom of the background combo box for easy recall later.
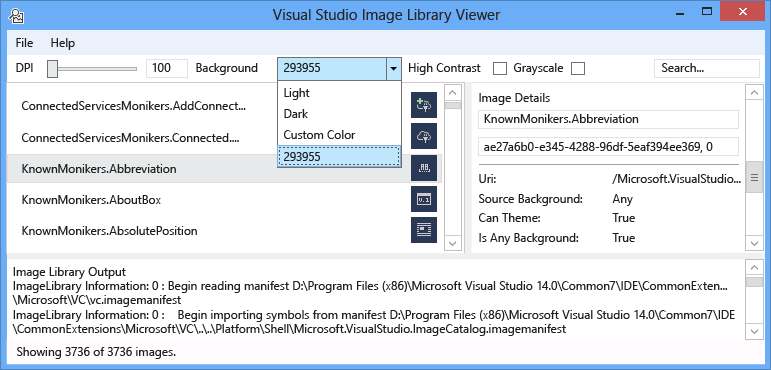
Selecting an image moniker displays the information for each real image behind that moniker in the Image Details pane on the right. The pane also allows users to copy a moniker by name or by raw GUID:ID value.
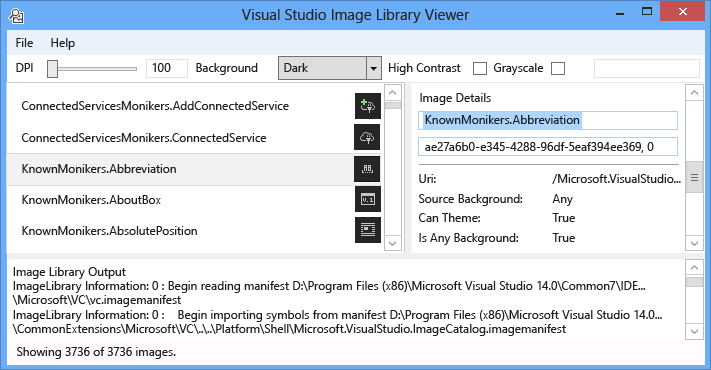
The information displayed for each image source includes what kind of background to display it on, whether it can be themed or supports High Contrast, what sizes it’s valid for or whether it’s size-neutral, and whether the image comes from a native assembly.
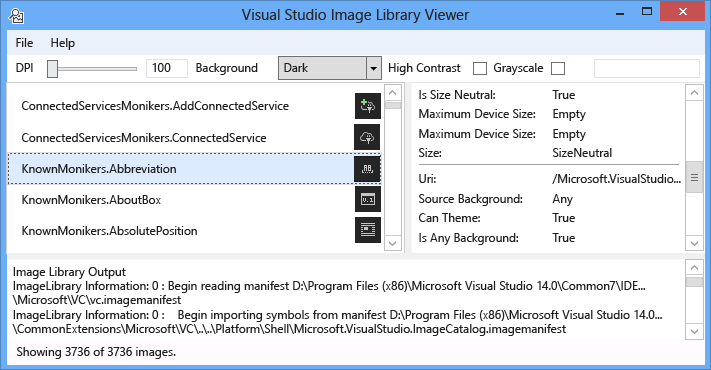
When validating an image manifest, we recommend that you deploy the manifest and image DLL in their real-world locations. This will verify that any relative paths are working correctly and that the image library can find and load the manifest and image DLL.
Searching for image catalog KnownMonikers
To better match Visual Studio styling, a Visual Studio extension can use images in the Visual Studio Image Catalog rather than creating and using its own. This has the benefit of not having to maintain those images, and guarantees that the image will have a high-DPI backing image so it should look correct in all DPI settings that Visual Studio supports.
The image library viewer allows a manifest to be searched so that a user can find the moniker that represents an image asset and use that moniker in code. To search for images, enter the desired search term in the search box and press Enter. The status bar at the bottom will display how many matches were found out of the total images in all of the manifests.
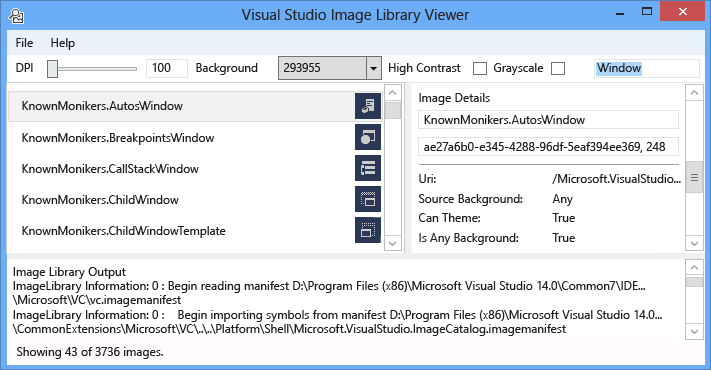
When searching for image monikers in existing manifests, we recommend that you search for and use only the Visual Studio Image Catalog’s monikers, other intentionally publicly accessible monikers, or your own custom monikers. If you use nonpublic monikers, custom UI might be broken or have its images changed in unexpected ways if or when those nonpublic monikers and images are changed or updated.
Additionally, searching by GUID is possible. This type of search is useful for filtering down the list to a single manifest, or single subsection of a manifest if that manifest contains multiple GUIDs.
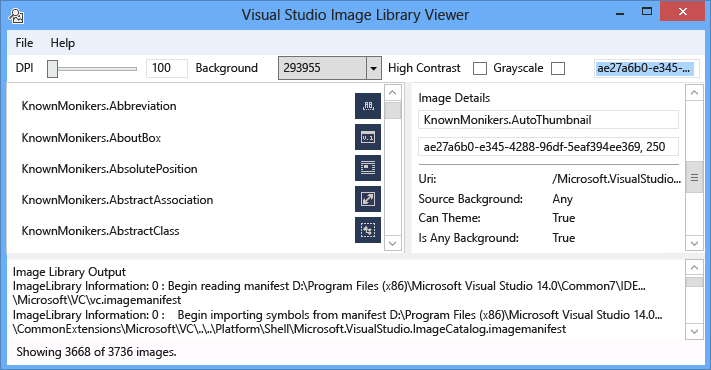
Finally, searching by ID is possible as well.
Notes
By default, the tool will pull in several image manifests present in the Visual Studio install directory. The only one that has publicly consumable monikers is the Microsoft.VisualStudio.ImageCatalog manifest. GUID: ae27a6b0-e345-4288-96df-5eaf394ee369 (do not override this GUID in a custom manifest) Type: KnownMonikers
The tool attempts on launch to load all image manifests it finds, so it might take several seconds for the application to actually appear. It might also be slow or nonresponsive while loading the manifests.
Sample Output
This tool does not generate any output.