Add a timeline in a model-driven form
The timeline helps app users view all activity history. You can use the timeline control to capture activities, such as notes, appointments, emails, phone calls, and tasks, to ensure that all interactions with the related table are tracked and visible over time. Use the timeline to quickly catch up on the latest activity details.
The timeline control provides a common framework to view activities related to a table, which gives users a better understanding and helps them deliver more personalized service in an efficient manner. If you want to add a custom activity, you need to create an activity type table. An activity type table includes time dimensions that help track the occurrence of an action. The Enable attachments setting in a table allows users to add attachments and notes to the custom activity table.
We'll discuss activity tables in more detail in the next module within this learning path.
To use the timeline control, you need to have activity type tables in Dataverse. The timeline control can establish a relationship between the activity table and the standard table.
Add the timeline control
You must add the timeline control to a standard table to track activities for that table. For example, you can use this feature if you have a department table in Dataverse, and you want to track all activities that are related to the department, such as appointments, meetings, phone calls, emails, or tasks.
To activate the timeline control, from the Power Apps Home page, select Tables. Then select the table for which you'd like to track activities. Open the table Properties, expand the Advanced options. Scroll down to the section header Make this table an option when and then select the checkbox next to Creating a new activity.

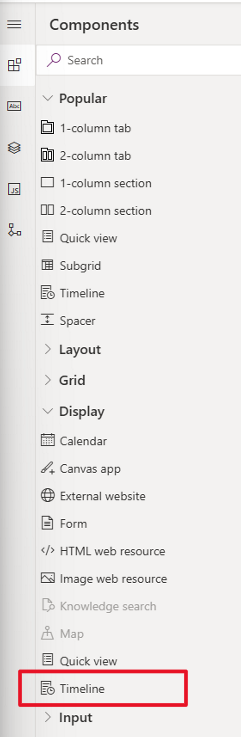
Back in the Table, select Forms from the Data experiences section. Open the Main form of the table (a form with the Form type Main). Select the area of the form editor where you want to place the timeline control and then select Components. Scroll down to the Display components and select Timeline.
If a table has multiple main forms, you can add a timeline in all forms.
Set up the timeline control
The timeline component has features and functionality that you can tailor to support specific business needs.
Three record types show in the timeline, all of which are enabled by default:
Activities - You can have many customizable sub activities to support business needs. Depending on what you have installed, the administrator can create, add, and display several different customized sub activities under the Activity section of the menu on the timeline.
Notes - Allow you to capture details that are related to the table record. For example, you can use notes to capture thoughts, summarize information, provide feedback on a case, and then update the case details later.
Posts - Two types of posts are auto and user. Auto posts are system-generated posts that notify that the activity occurred. User posts allow you to leave a message for another user on a record.
Select the Timeline component, and the timeline properties pane will appear on the left side of the screen. A Quick entry record field provides the user with quick access to create a Note or a Post, and you can select which is created one is created from the dropdown here.
In the Sort default property, you can define the default sort order of the activities within the timeline control.
The Records shown on page defines the number of records displayed in the timeline control.
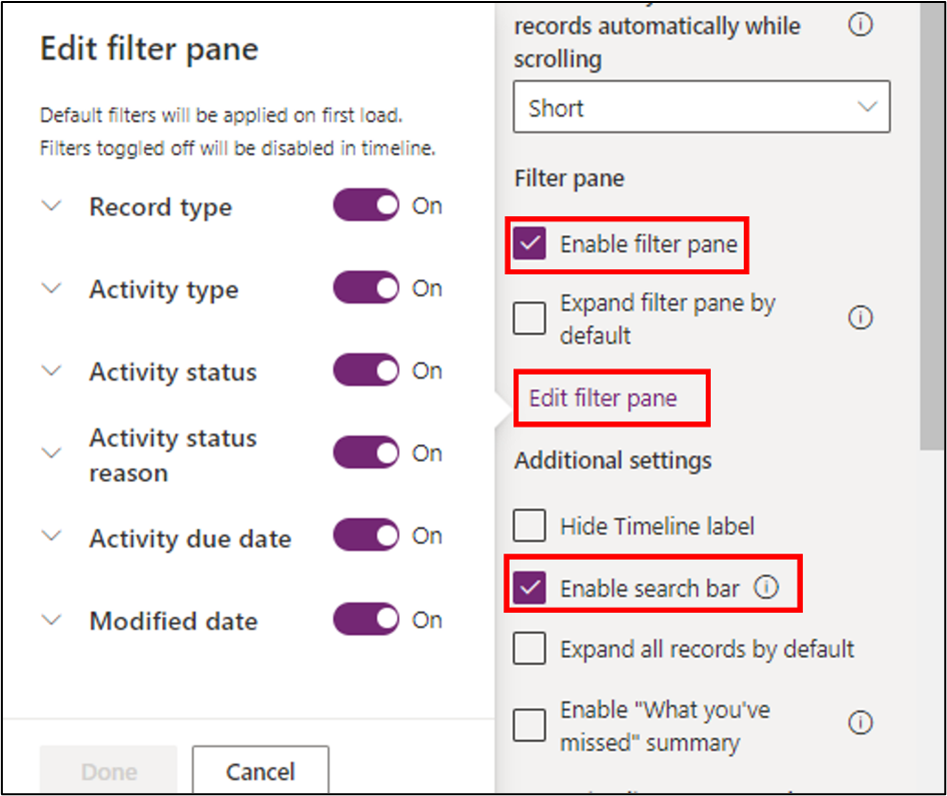
Using the Enable filter pane, you can enable or disable filter functionality on a timeline. It's enabled by default. Here's what your users see when the filters are enabled:

In the preceding diagram, you can review the different filter categories and decide which to use:
Record type
Activity type
Activity status
Activity status reason
Activity due date (active)
Posted by
Modified by
You can enable the Search timeline option for your users, as shown in the preceding screenshot, by selecting the Enable search bar property.
The Expand all records by default option displays all activities in an expanded view in the timeline.
You can set up the default filters that are applied when a form loads or is refreshed by using Edit filter pane. Remove filter groups by toggling off the setting. Users can remove the default filters to view all records, unless Enable filter pane is disabled.
The Enable "What you've missed" summary and Enable "What you've missed" summary modern options helps users keep current on updates and changes made to records. It displays updates at the top of the timeline when users access a record.
In the Record settings section, you'll find a list of Activity types. The activity types that are listed here are dynamic, changing based on the selection that you made in the Record types to show property.
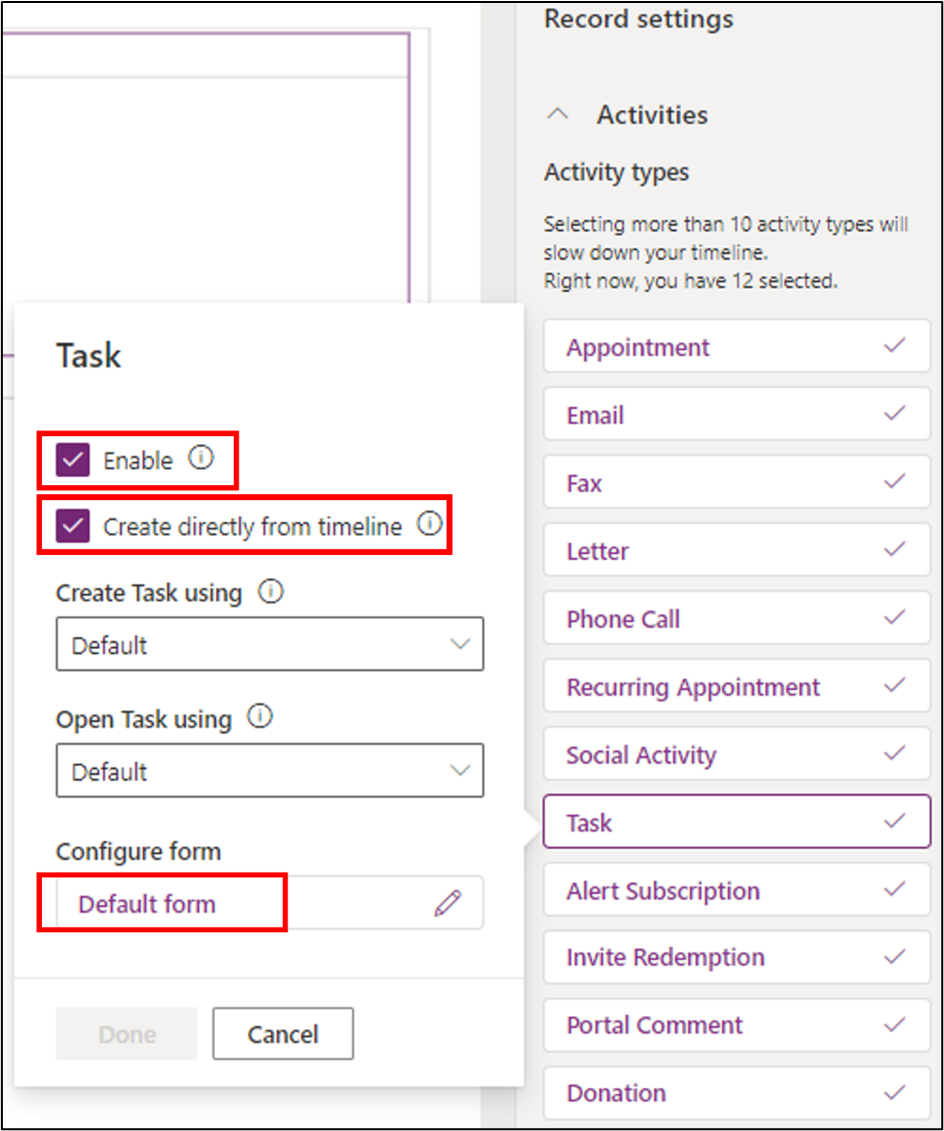
As you select each activity type, a dialog appears. You can enable the activity types according to your business needs by selecting the Enable checkbox.
To allow users the ability to create activity types directly from the timeline, select the Create directly from timeline property.
Users can create a new activity or open an existing activity in various types of forms. You can control which form is used for these tasks here, using Create Task using and Open Task using.
For each activity, the default form is likely to be different, and these options are dynamic, showing the most relevant items in context of the selected activity. You can choose which item to show on the activity card or whether the titles are shown, among other configurations. To do so, select the default form under Configure form.

In the dialog box that appears, you can set up the Label and Display options. For some activity types, the Status tag might not be necessary; set the property values accordingly. Instead of using a default form, you can create an activity-specific custom form by selecting the dropdown box beneath Select form at the top of the screen. After you've made your selections, close the dialog box.
Back in the timeline's property pane, the Sort activities by property allows you to control how data is sorted in the timeline. This displays the list of the date fields in the activity table. Some dates only exist for specific types of activities, so be sure to select one that applies to your activity type.
The Create activities using option lets you choose which type of form users use to create a new activity. It has three possible values: quick create form, main form, and main form dialog. You can select according to your business needs.
The Open activities using option lets you choose which type of form users use to open an existing activity. It has two possible values that you can choose from: main form and main form dialog.
In the next unit, you'll learn how to create a report in a model-driven app.