Exercise - Create a field customizer extension
- 14 minutes
In this exercise, you'll create a SharePoint Framework (SPFx) field customizer that shows a colored bar in a column. The bar fills based on the value in the field.
Prerequisites
Important
In most cases, installing the latest version of the following tools is the best option. The versions listed here were used when this module was published and last tested.
- Node.js v22.*
- Gulp-cli v3.*
- Yeoman v5.*
- Yeoman Generator for SharePoint v1.21.1
- Visual Studio Code
Create a new SharePoint Framework project
Open a command prompt and change to the folder where you want to create the project.
Run the SharePoint Yeoman generator by executing the following command:
yo @microsoft/sharepoint
Use the following to complete the prompt that is displayed (if more options are presented, accept the default answer):
- What is your solution name?: SPFxFieldCustomizer
- Which type of client-side component to create?: Extension
- What type of client-side extension to create?: Field Customizer
- What is your Field Customizer name?: HelloFieldCustomizer
- Which template would you like to use?: No framework
After provisioning the folders required for the project, the generator will install all the dependency packages by running npm install automatically. When npm completes downloading all dependencies, open the project folder in Visual Studio Code.
Update the SCSS styles
The field customizer you'll create applies specific colors to the cell that you'll modify. Implement these custom styles before coding the extension.
Locate and open the ./src/extensions/helloFieldCustomizer/HelloFieldCustomizerFieldCustomizer.module.scss file. Replace the contents of the file with the following styles:
.HelloFieldCustomizer {
  .cell {
    display: 'inline-block';
  }
  .filledBackground {
    background-color: #cccccc;
    width: 100px;
  }
}
Code the field customizer
Locate and open the ./src/extensions/helloFieldCustomizer/HelloFieldCustomizerFieldCustomizer.ts file.
Locate the interface IHelloFieldCustomizerFieldCustomizerProperties and update its properties to the following code:
greenMinLimit?: string;
yellowMinLimit?: string;
Locate the method onRenderCell() and update the contents to match the following code. This code looks at the existing value in the field and builds the relevant colored bars based on the value entered in the completed percentage value.
event.domElement.classList.add(styles.cell);
// determine color and text to use
const fieldValue = parseInt(event.fieldValue);
let filledColor: string = '';
if (isNaN(fieldValue) || fieldValue === 0) {
event.domElement.innerHTML = `
<div class="${styles.HelloFieldCustomizer}">
<div class="">
<div style="width: 100px; color:#000000;">
no progress
</div>
</div>
</div>
`;
} else {
if (fieldValue >= parseInt(this.properties.greenMinLimit as string)) {
filledColor = '#00ff00';
} else if (fieldValue >= parseInt(this.properties.yellowMinLimit as string)) {
filledColor = '#ffff00';
} else {
filledColor = '#ff0000';
}
event.domElement.innerHTML = `
<div class="${styles.HelloFieldCustomizer}">
<div class="${styles.filledBackground}">
<div style="width: ${fieldValue}px; background:${filledColor}; color:#000000;">
${fieldValue}% completed
</div>
</div>
</div>`;
}
Create a SharePoint list to use during testing
In a browser, navigate to a SharePoint Online modern site collection where you want to test the field customizer.
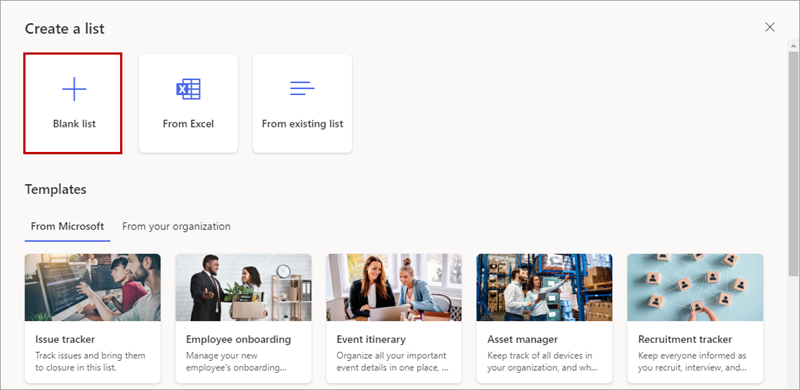
Select the Site contents link in the left-hand navigation and then select New > List in the toolbar. Select the Blank list template.
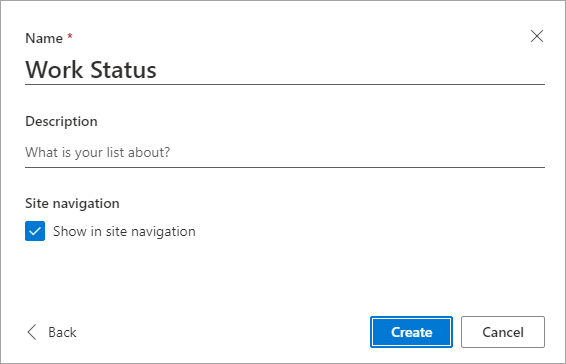
Set the list name to Work Status and select Create.
When the list loads, select the Add column > Number to create a new column.
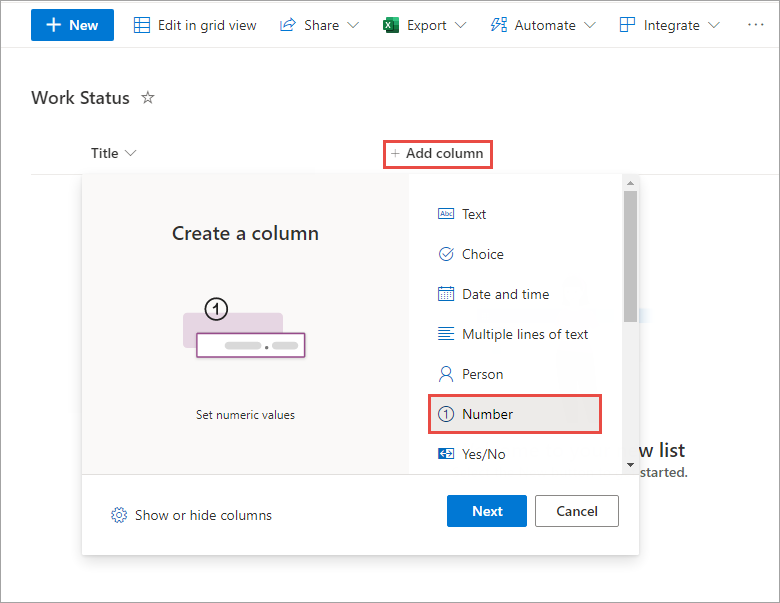
In the Create a column panel, set Name to PercentComplete and select Save.
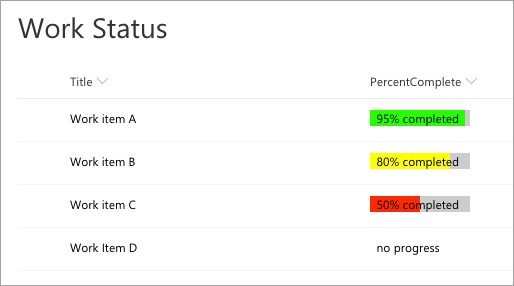
Add a few items to the list, such as the following figure:

Update the testing and deployment configuration
Field customizers in production are used by creating a new site column that uses the custom script from the field customizer's bundle file.
Locate and open the ./sharepoint/assets/elements.xml file.
Add the following property to the <Field> element, setting the values on the public properties on the field customizer:
ClientSideComponentProperties="{"greenMinLimit":"85","yellowMinLimit":"70"}"
To test the extension, you need to modify the serve.json configuration file. Open the ./config/serve.json file. Locate the serveConfigurations.default.pageUrl property. It's currently configured with a placeholder URL.
"pageUrl": "https://{tenantDomain}/SitePages/myPage.aspx",
The {tenantDomain} string is replaced automatically by the gulp serve task using an environment variable on your workstation. Set the environment variable SPFX_SERVE_TENANT_DOMAIN to the domain of your hosted SharePoint Online site you want to use for testing.
Tip
Learn more how to set environment variables on your development platform of choice:
Windows: set (environment variable) macOS: Use environment variables in Terminal on Mac Setting the SharePoint Framework Hosted Workbench Test Site
Update the remaining part of the URL with path to the AllItems.aspx page for the list you created. For example, if you have a developer site with the homepage URL of https://contoso.sharepoint.com/sites/DeveloperSite/Lists/Work%20Stsatus/AllItems.aspx, update all pageUrl properties in this file to include the path to this page like the following:
"pageUrl": "https://{tenantDomain}/sites/DeveloperSite/Lists/Work%20Stsatus/AllItems.aspx",
Note
The SPFx build process' gulp serve task will launch a browser and navigate to this URL, appending the necessary query string parameters.
next, Change the name of the property serveConfigurations.default.fieldCustomizers.InternalFieldName to serveConfigurations.default.fieldCustomizers.PercentComplete. This property tells the SharePoint Framework which existing field to associate the field customizer with. Repeat this for the other configuration's InternalFieldName property.
Change the value of the properties object to the following JSON:
"properties": {
  "greenMinLimit": "85",
  "yellowMinLimit": "70"
}
The JSON for the default serve configuration should look similar to the following code:
"default": {
  "pageUrl": "https://{tenantDomain}/sites/mySite/Lists/Work%20Status/AllItems.aspx",
  "fieldCustomizers": {
    "PercentComplete": {
      "id": "6a1b8997-00d5-4bc7-a472-41d6ac27cd83",
      "properties": {
        "greenMinLimit": "85",
        "yellowMinLimit": "70"
      }
    }
  }
}
Test the field customizer
Run the project by executing the following command:
gulp serve
When prompted, select the Load debug scripts button.
When the page loads, see how your field customizer code changed the rendering. If the PercentComplete field values don't show, go back to the command prompt, wait for the reload to finish, and then refresh.
Stop the local web server by pressing CTRL+C in the command prompt.
Summary
In this exercise, you created a SharePoint Framework (SPFx) field customizer that showed a colored bar in a column. The bar fills based on the value in the field.