Exercise - create the image upload frontend
Now, we'll create your application frontend. Your users will see the frontend as a form they can use to submit their images to your application. The web frontend will take care of contacting the Azure Functions REST API you created in the previous exercise. The frontend will obtain a shared access signature from the API to authenticate and authorize users to upload their images to your storage backend.
Create the frontend HTML
In Visual Studio Code, create an
index.htmlfile in the root folder and add the following code to it:<!DOCTYPE html> <html> <head> <meta charset="utf-8"> <meta name="viewport" content="width=device-width, initial-scale=1"> <title>Azure Blob Storage Image Upload</title> <link rel="stylesheet" href="https://cdn.jsdelivr.net/npm/[email protected]/css/bulma.min.css"> </head> <body> <section class="section"> <div class="container"> <h1 class="title">Loading SASKey from the API: </h1> <pre id="name">...</pre> <br> <label for="image">Choose a profile picture:</label> <input type="file" id="image" name="image" accept="image/png, image/jpeg"> </div> </section> <script src="./dist/main.js" type="text/javascript"></script> <script> (async function () { const {url, sasKey} = (await fetch("/api/credentials")).json(); document.querySelector('#name').textContent = `SAS Key: ${sasKey}` + "\n" + `URL: ${url}`; function uploadFile() { const file = document.getElementById('image').files[0]; blobUpload(file, url, 'images', sasKey); }; const fileInput = document.getElementById('image'); fileInput.addEventListener("change", uploadFile); }()) </script> </body> </html>Create a
srcfolder and add anindex.jsfile there.Implement the
blobUploadfunction as follows:const { BlockBlobClient, AnonymousCredential } = require("@azure/storage-blob"); blobUpload = function(file, url, container, sasKey) { var blobName = buildBlobName(file); var login = `${url}/${container}/${blobName}?${sasKey}`; var blockBlobClient = new BlockBlobClient(login, new AnonymousCredential()); blockBlobClient.uploadBrowserData(file); } function buildBlobName(file) { var filename = file.name.substring(0, file.name.lastIndexOf('.')); var ext = file.name.substring(file.name.lastIndexOf('.')); return filename + '_' + Math.random().toString(16).slice(2) + ext; }
Use the Azure Blob Storage SDK with Webpack
Install Webpack by running the following commands in your project's root folder:
npm install webpack --save-dev
npm install webpack-cli --save-dev
Edit your
package.jsonfile and add"build": "webpack --mode=development"to thescriptskey, so it matches the following code:"scripts": { "start": "func start", "test": "echo \"No tests yet...\"", "build": "webpack --mode=development" }Run
webpackby entering the following command in your terminal:npm run build
Run your project locally
Now, it's time to test your project locally.
In Visual Studio Code, press F5 to start the Azure Functions project in debug mode.
Wait until VS Code has launched your project. You'll see a URL like the following in the console. Copy it and open it in your browser:
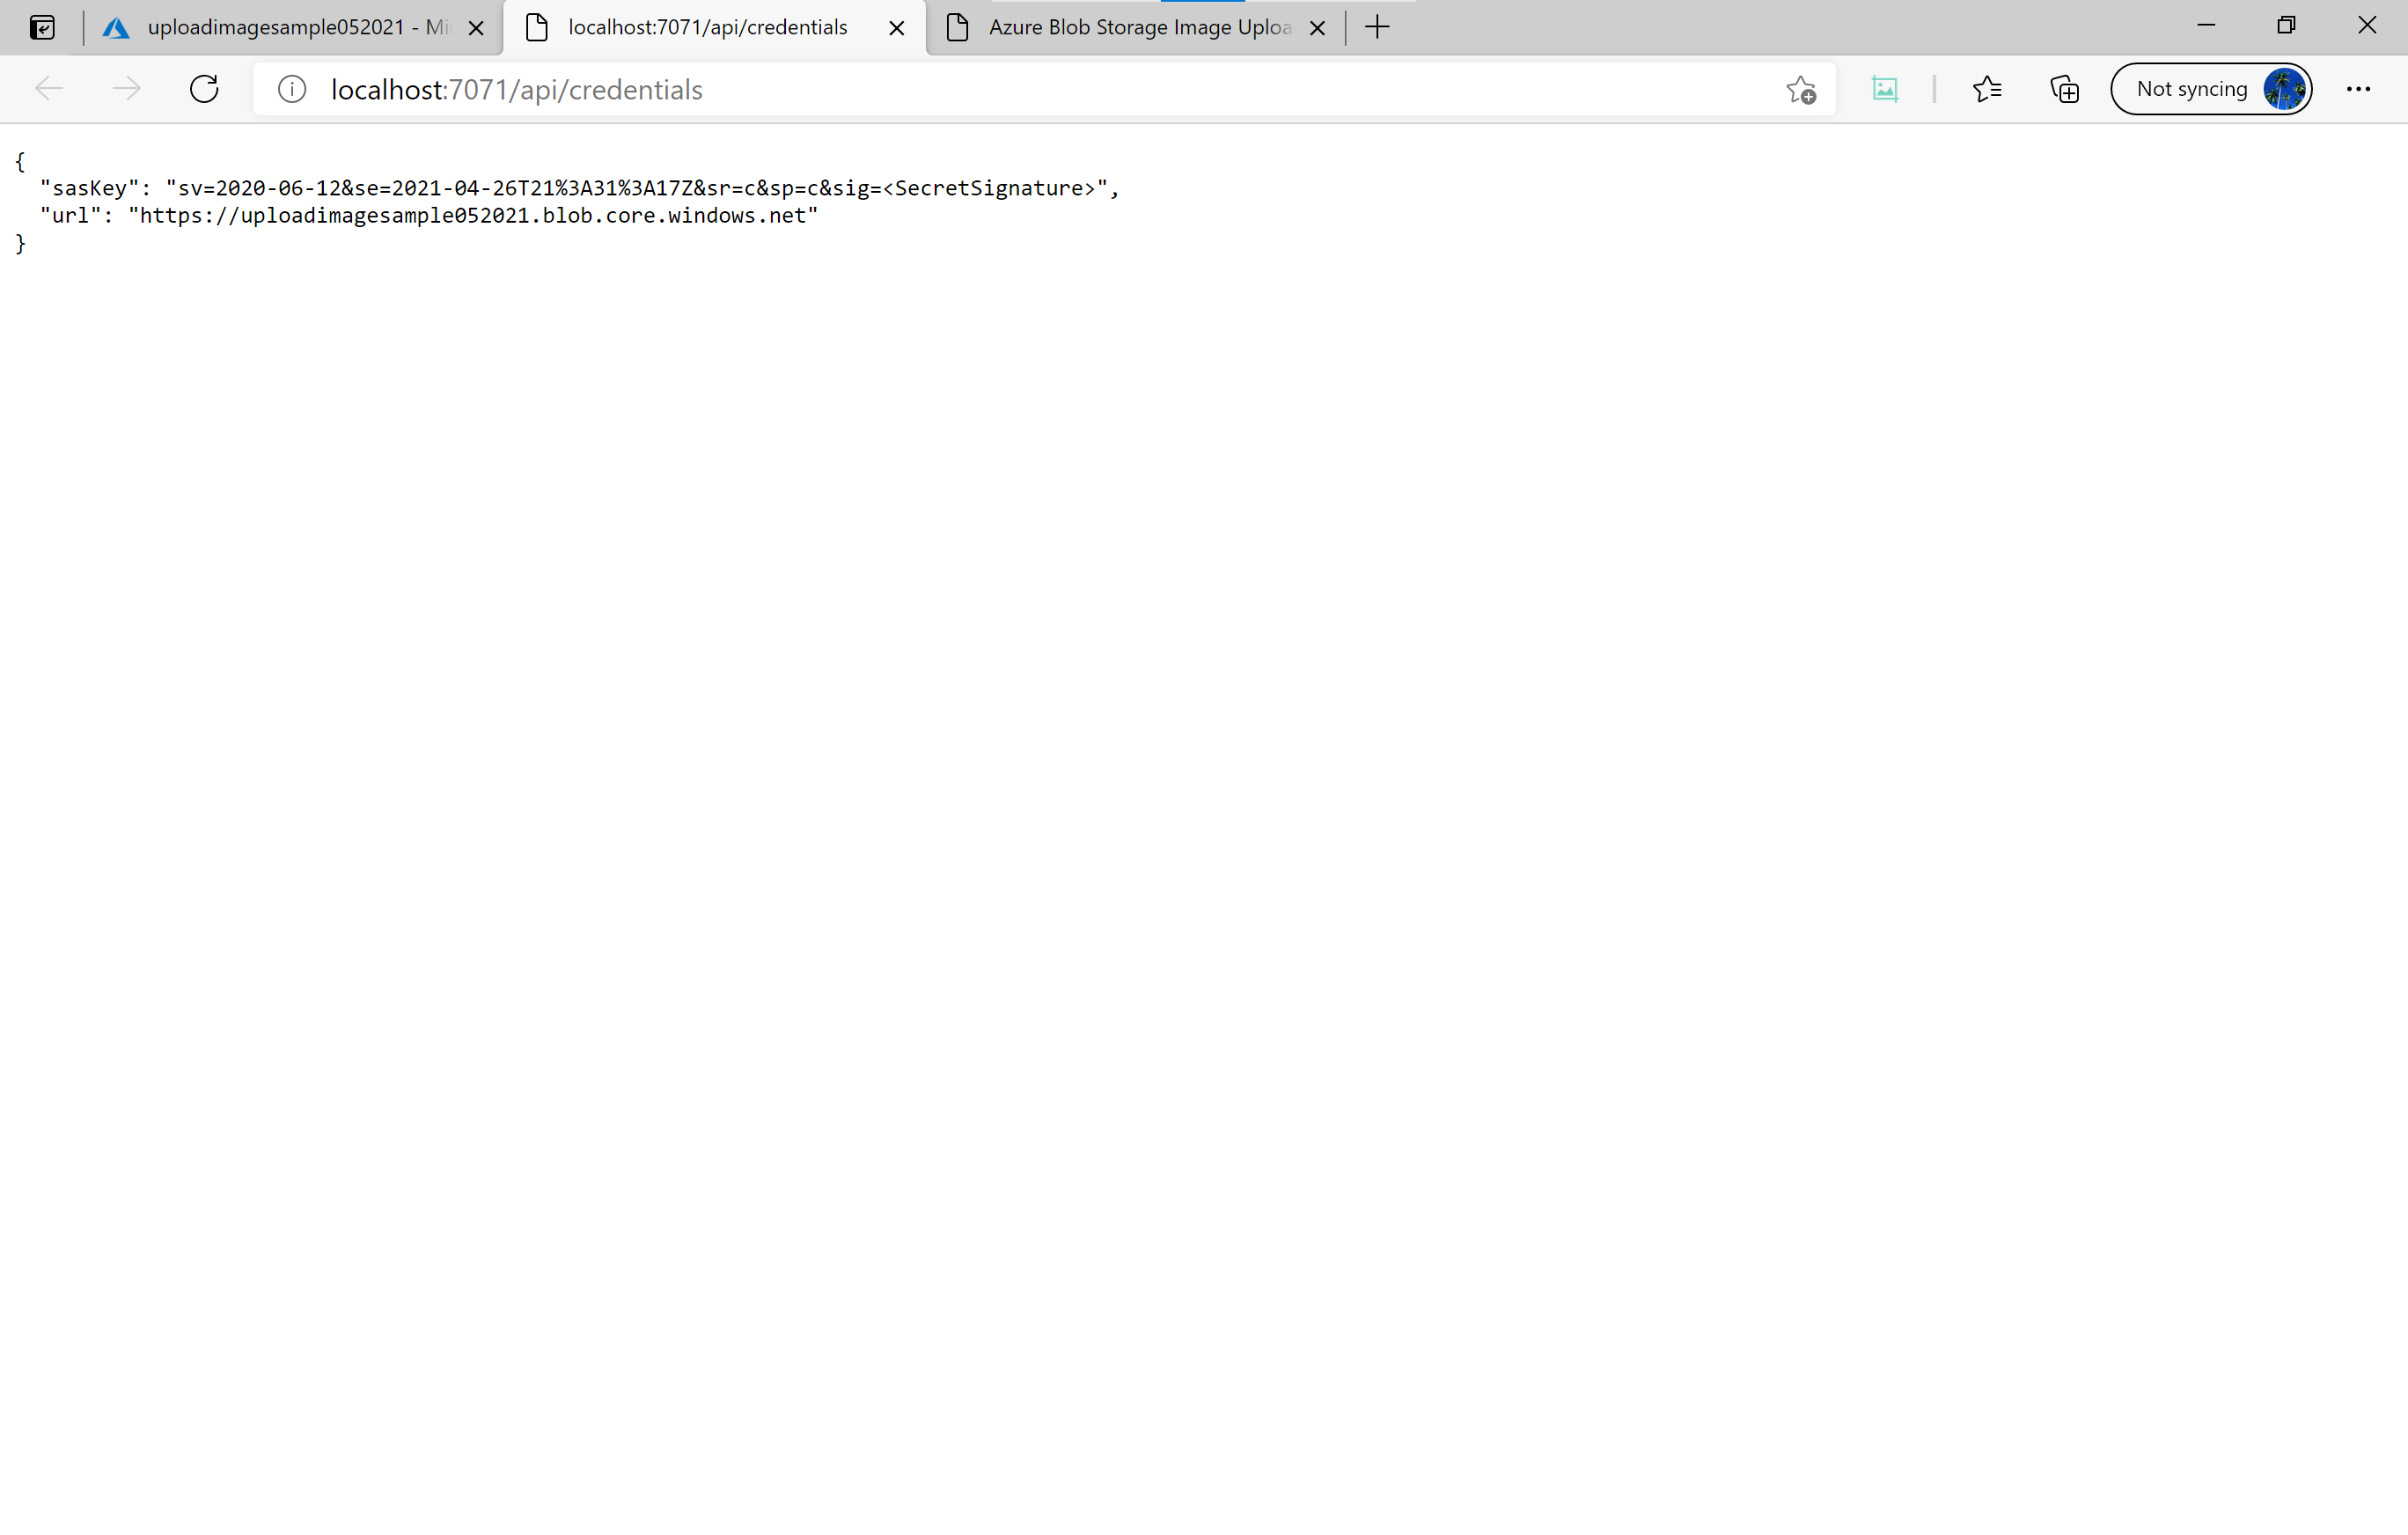
http://localhost:7071/api/credentials
You'll see the return value of the function displayed in your browser. It should resemble the following:
Test your project using Live Server
Now, let's run the frontend side of the project. To accomplish this, we'll use Live Server.
You need to configure Live Server so it forwards calls to your
credentialsAPI to the Azure Functions backend running on your machine. Add the following configuration key into your.vscode/settings.jsonfile."liveServer.settings.proxy": { "enable": true, "baseUri": "/api", "proxyUri": "http://127.0.0.1:7071/api" }In the file tree, right-click on your
index.htmlfile and selectOpen with Live Serverfrom the contextual menu.Navigate to
http://localhost:5500/to see your app running on the browser. It should look something like the following: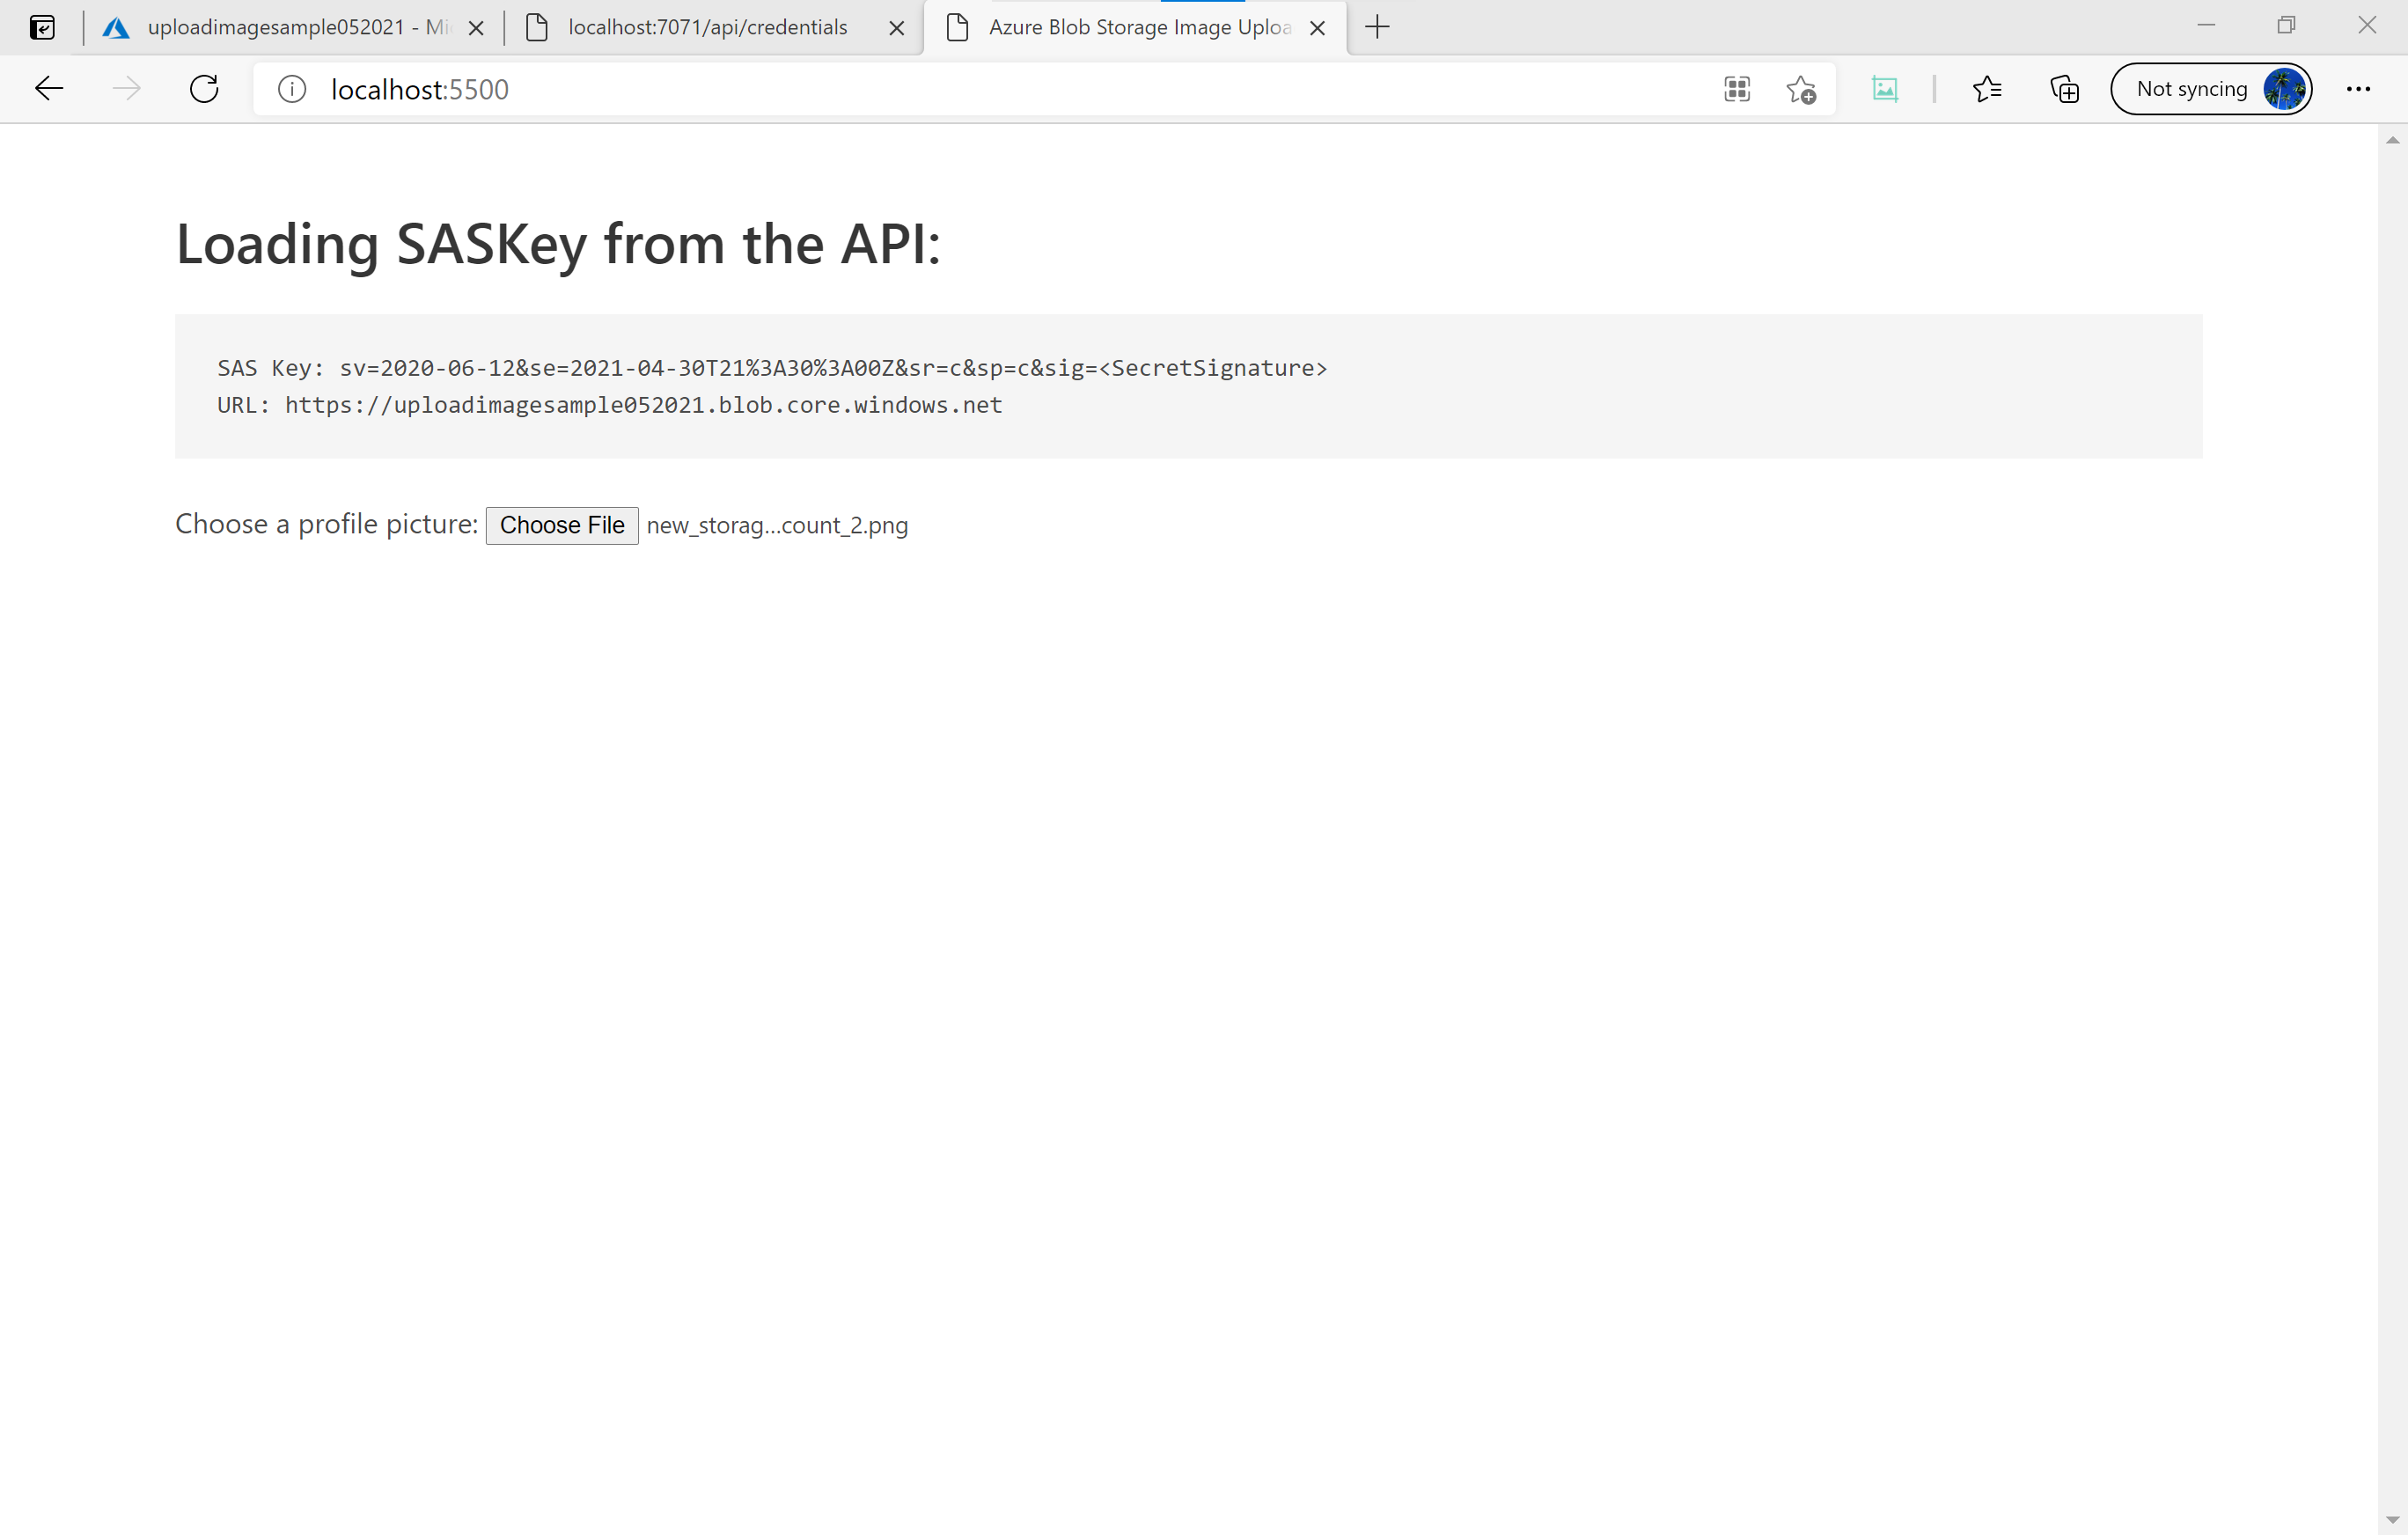
Select an image to upload.
Go to your storage account in Azure portal. Select Storage browser, then select Blob containers and select the images container. Your image should be listed.
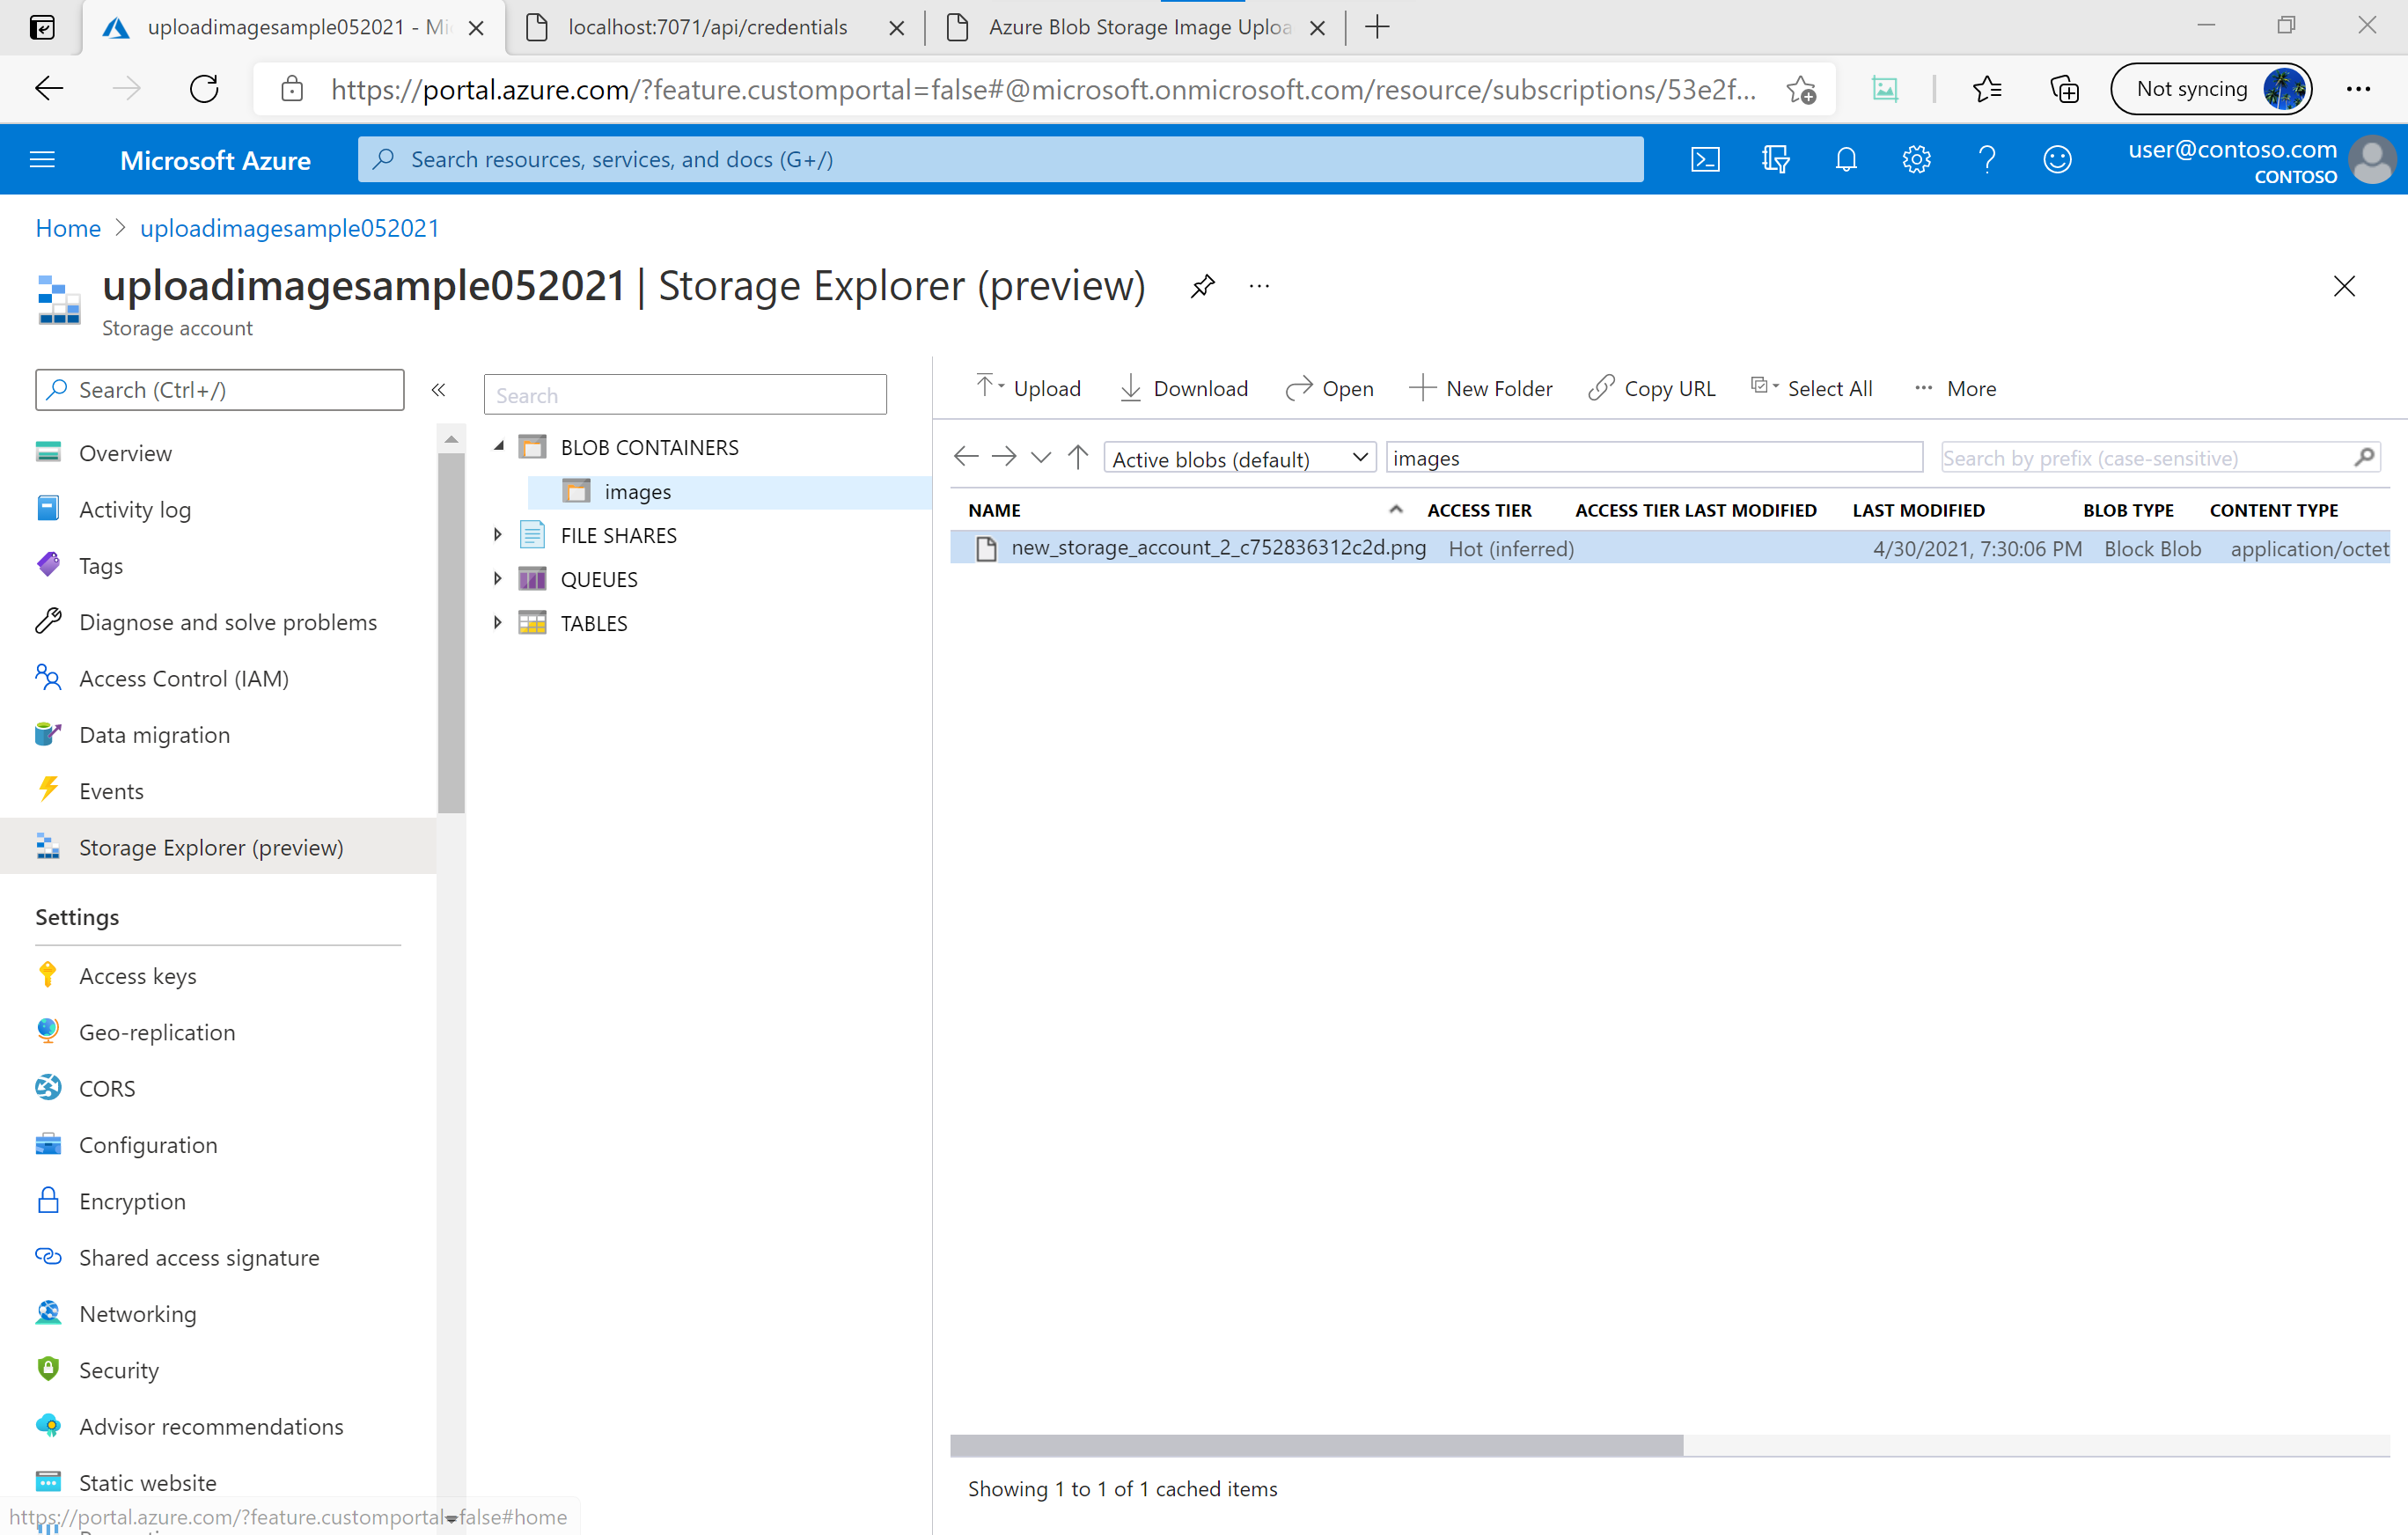
Congratulations! You just upload an image to Azure Blog Storage directly from your static web app, all thanks to the SAS token generated by your Azure Function.