Exercise - Set up your Blob Storage account
To get started, you'll need to set up your Blob Storage account so that you can create the container to which your user's images will be uploaded. Also, you'll enable CORS so users can upload images directly from their browsers. The following steps will walk you through the process of setting up your Blob Storage account.
Note
You need access to an Azure subscription where you can create resources for this module. When you've finished the module, be sure to delete any resources you created to avoid charges to your subscription.
Create your Azure Storage account
Log in to the Azure portal.
Select Create a resource.
Select Storage in the Categories menu on the left side of the screen, then select Storage Account.
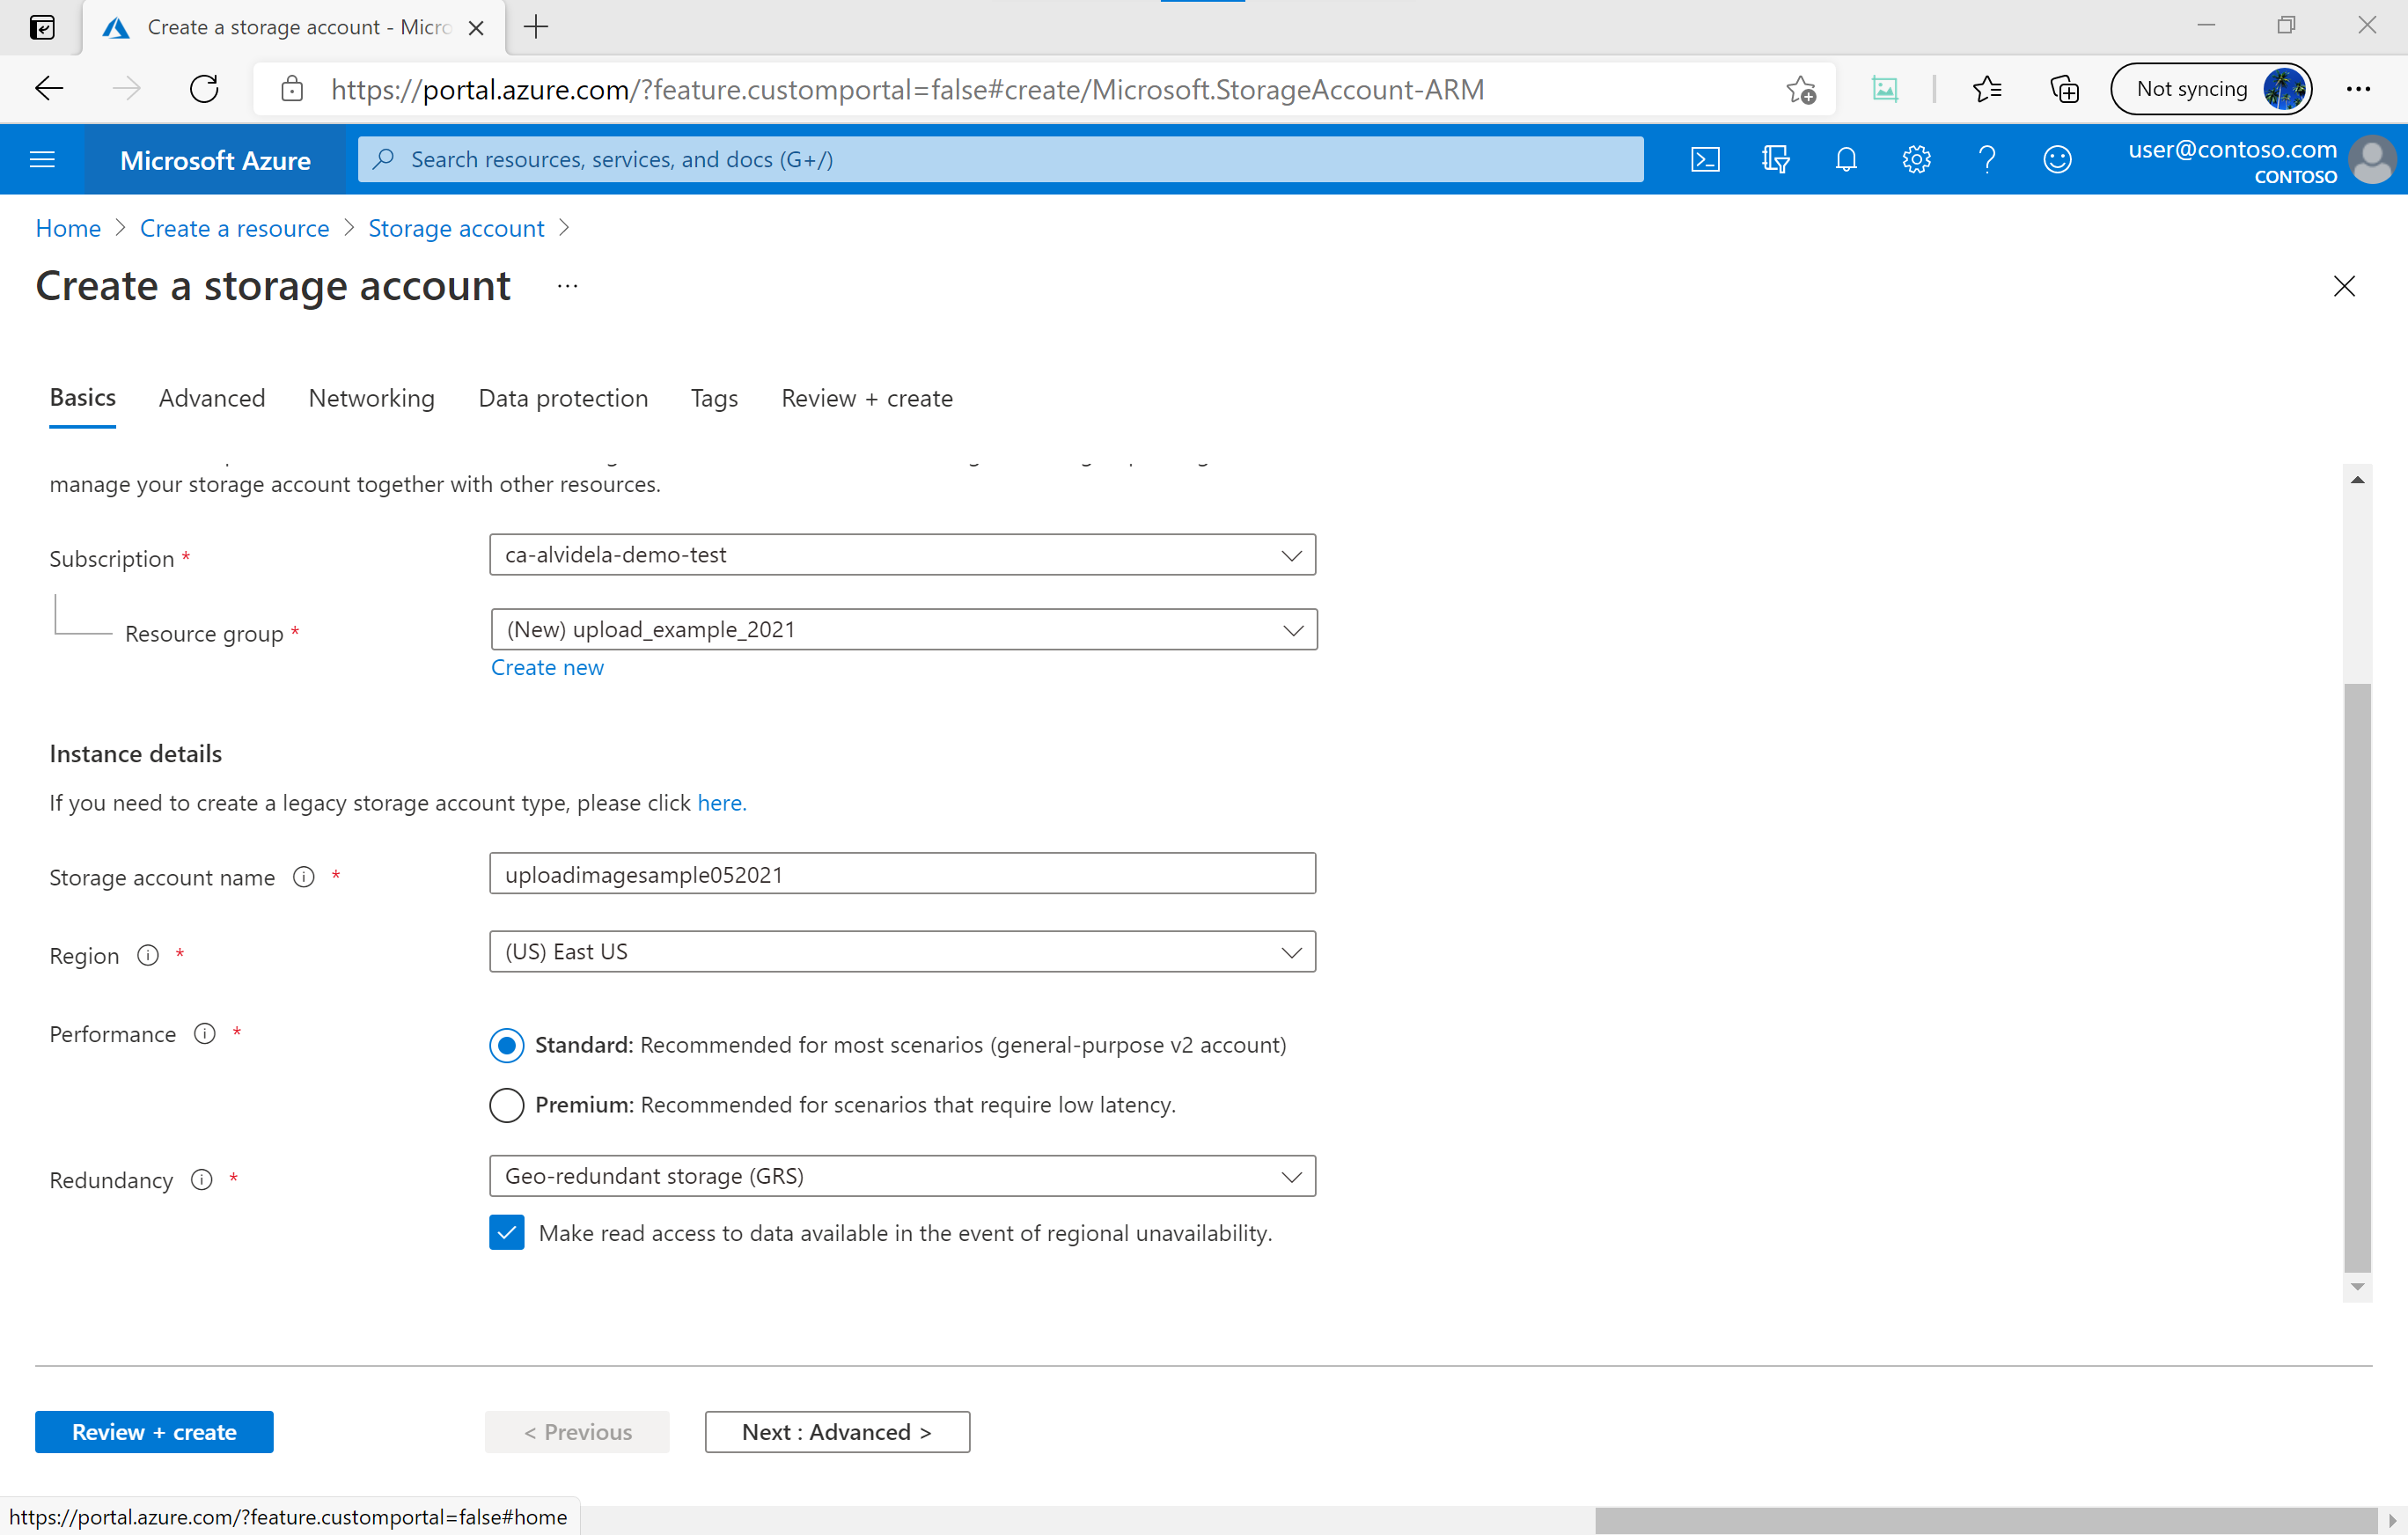
Select your Subscription and the Resource group where you'd like to create the storage account (you can also choose to Create a new resource group).
Enter a Storage account name. You can use
uploadimagesampleXXXX(with the X characters replaced with random characters of your choosing) or any name you like, but be sure to note the name for future reference.Select a Region close to you in which to create the storage account.
Leave all other options as their defaults. Select Review, then select Create when validation completes.
When your storage account is ready, select Go to resource.
Create a new storage container
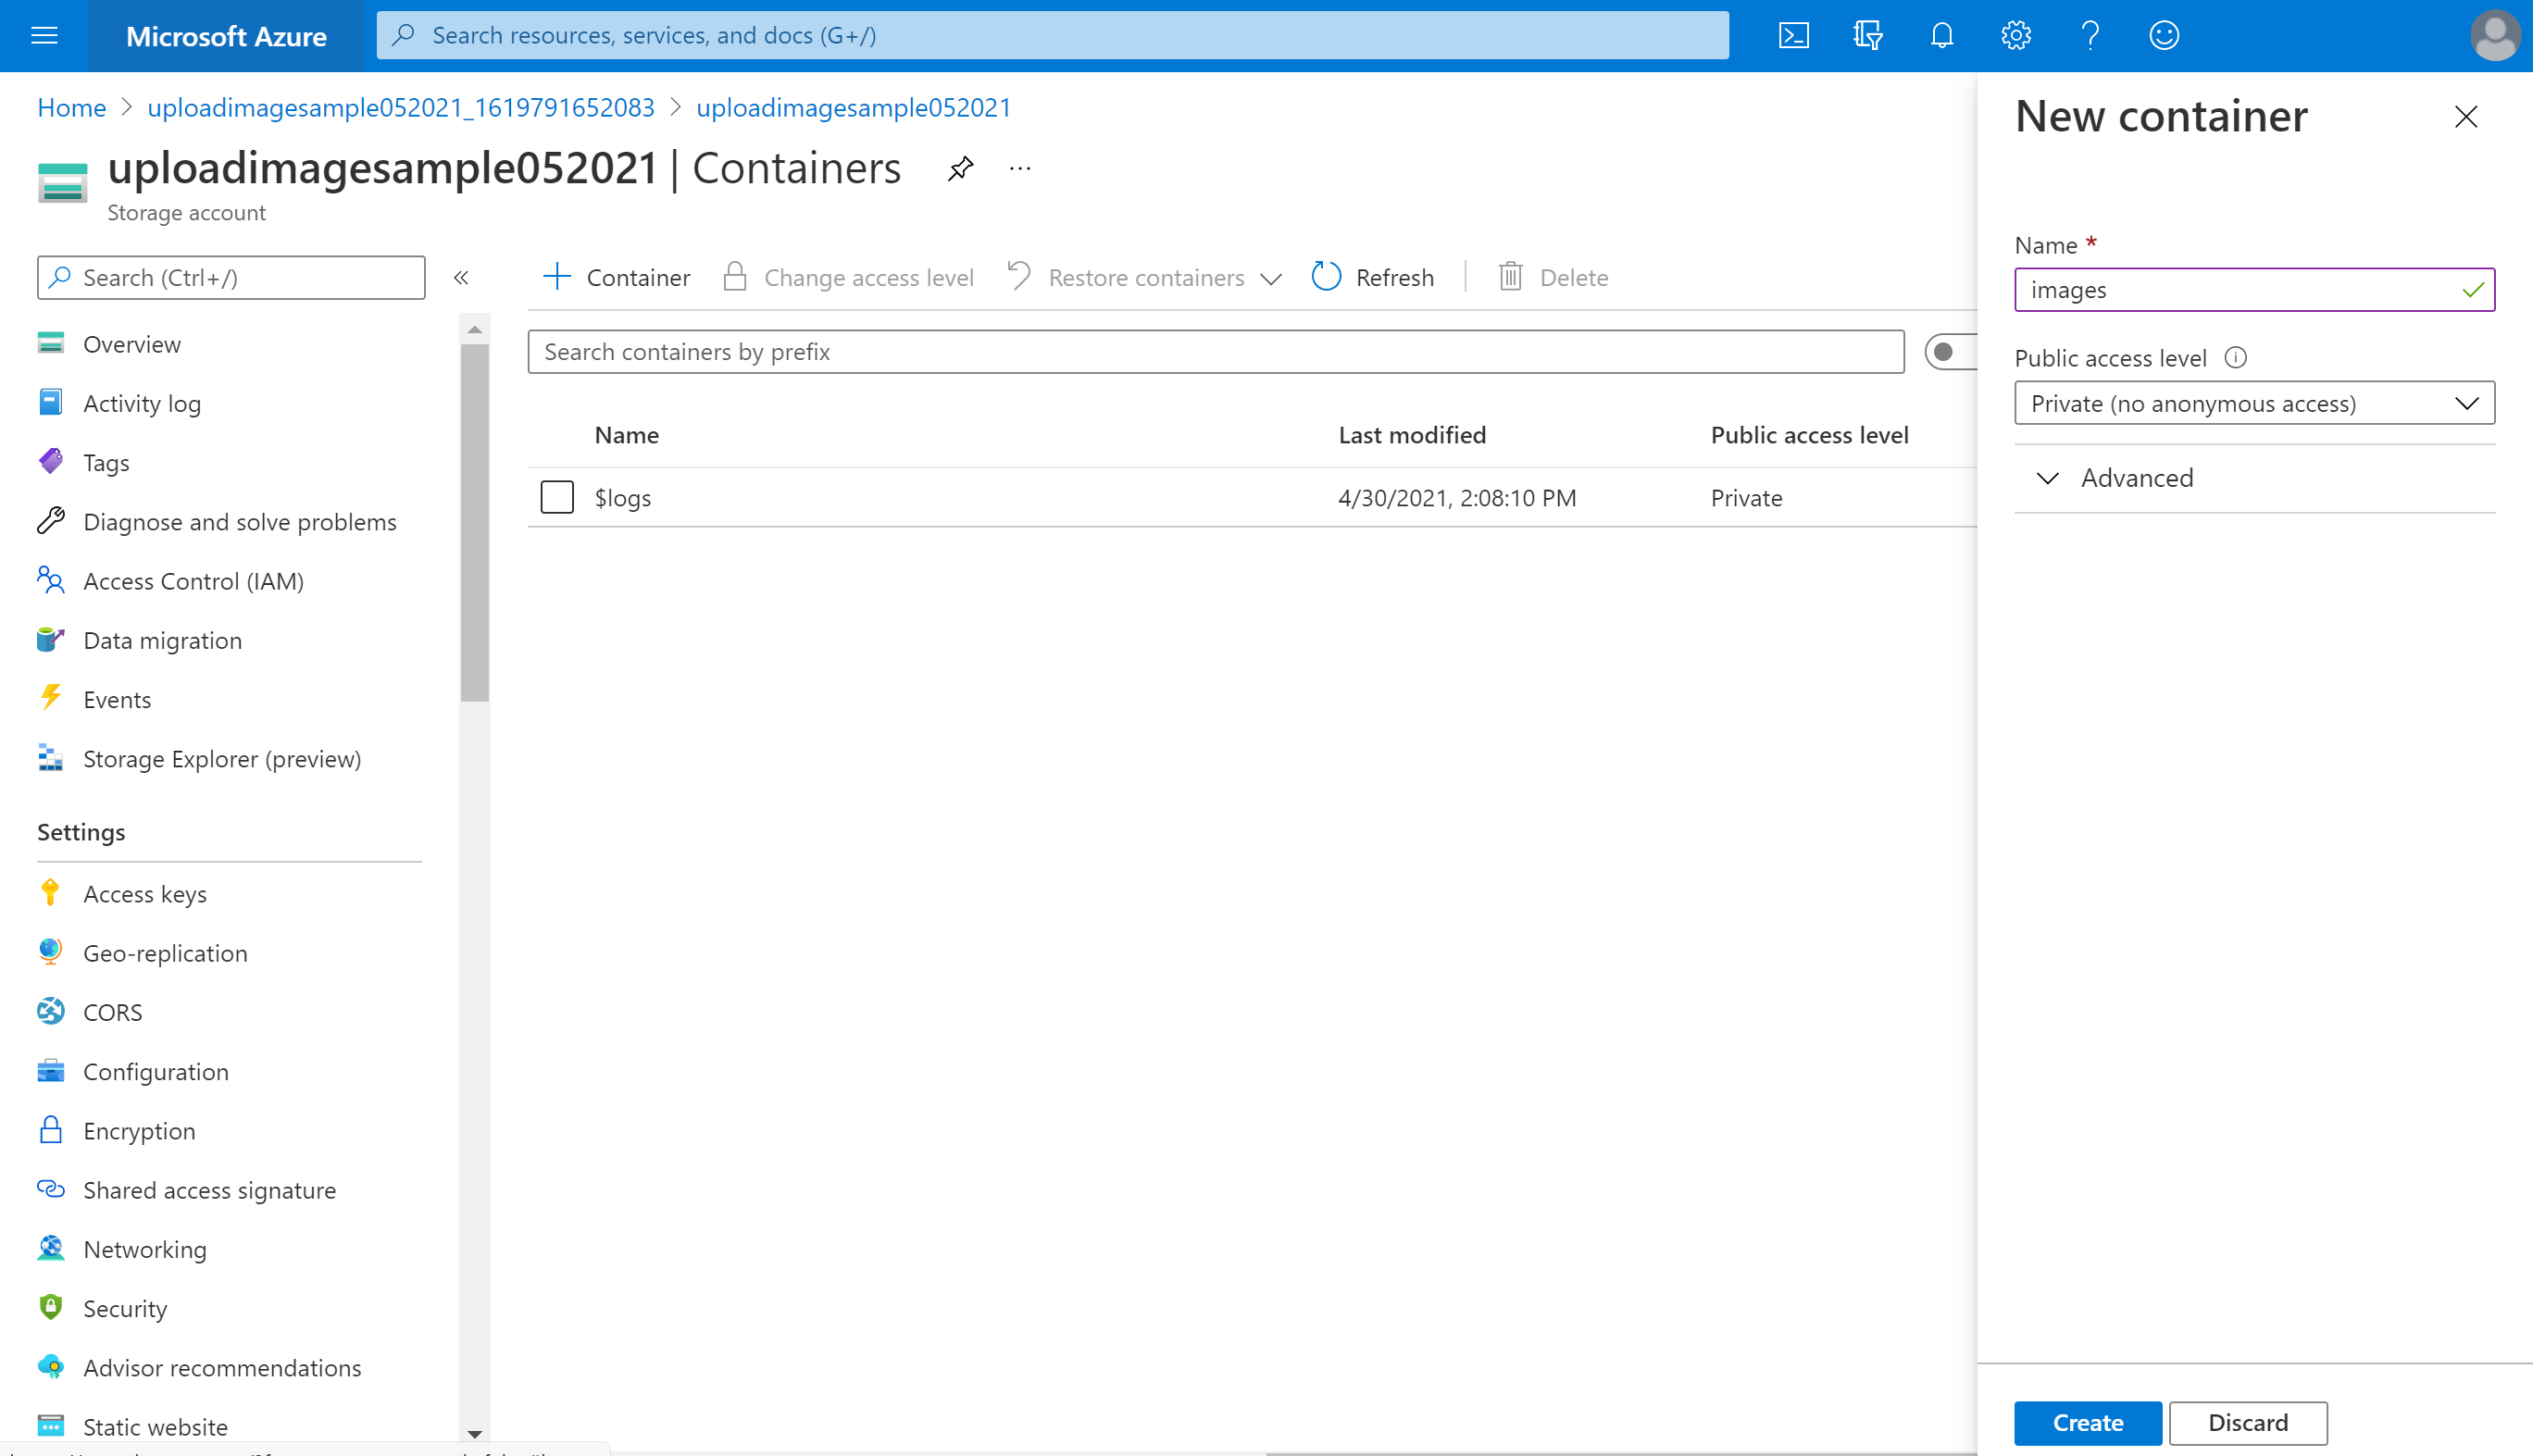
In your storage account, select Containers under Data storage in the left-hand menu.
Select + Container.
Enter images for the container Name, select Private for the Public access level, then select Create.
Set up CORS
Finally, you'll set up CORS for your storage account.
Select Resource sharing (CORS) under Settings in the left-hand menu.
Enter an asterisk (
*) for Allowed origins, Allowed headers, and Exposed headers.Select the HTTP verbs you want to allow in the Allowed methods dropdown. In this case, select PUT and POST.
Leave the Max age value as 0.
Select Save.
These values should be customized to fit the needs of your application.

You've now successfully set up your storage backend. Next, you'll learn how the serverless backend works.