Note
Access to this page requires authorization. You can try signing in or changing directories.
Access to this page requires authorization. You can try changing directories.
In this tutorial we'll see how we can explore this capability via the property pane of the card-designer card.
- Update the card strings
- Introduce media upload actions on the Card View, primary button, and secondary button.
First, figure out the domain to the URL of your SharePoint tenant and site you want to use for testing and access the workbench.aspx page. For example: https://contoso.sharepoint.com/sites/devsite/_layouts/workbench.aspx.
Here, click on the '+' icon in the middle of the page, and add the card-designer card on the canvas.
Next, click the pencil icon adjacent to this card to open the property pane.
Update the card strings
Here, first set the Card size to Large.
To provide descriptive labels, change Title to Media Upload, Heading to Media Upload Demo and description to Demo Media Upload Actions.
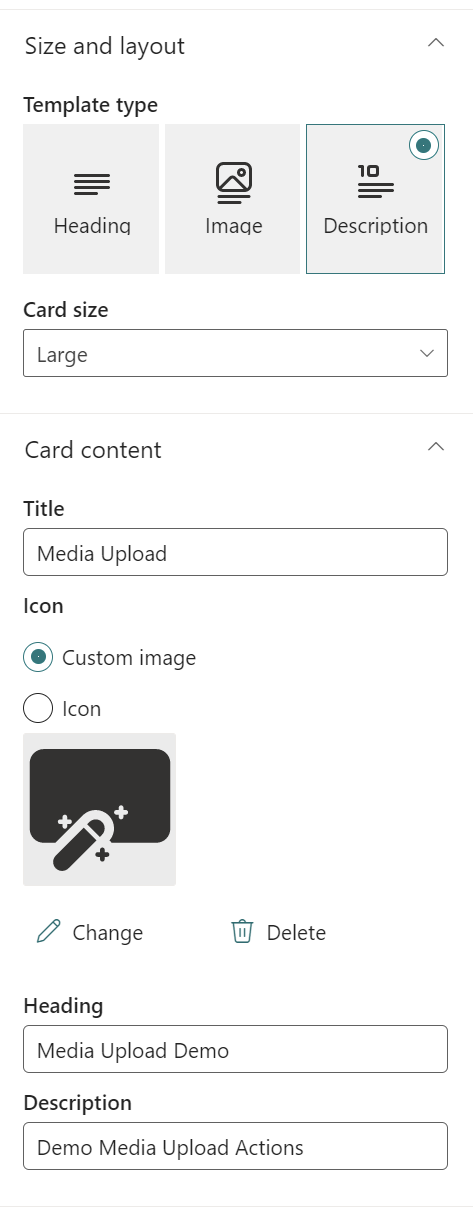
Adding action on Card View
Under Actions, click the drop-down menu of Card action and select Select media option. By default Images is the only media type to be captured.
Set the expected file formats as png and jpg.
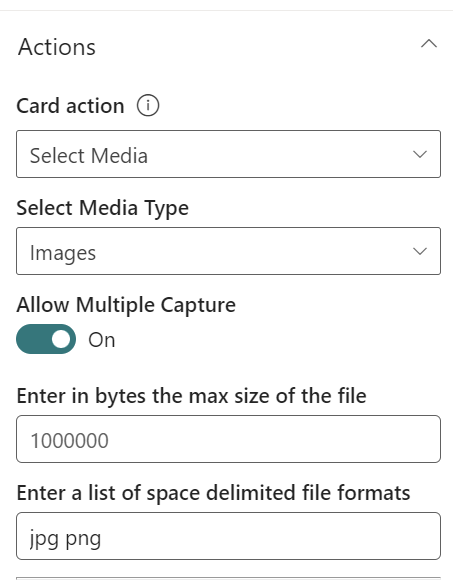
Adding action on Primary button
Next, for the Primary Button, set the Title to Select single media and from its action drop-down menu, select Select Media.
Ensure that Allow Multiple Capture is toggled off.
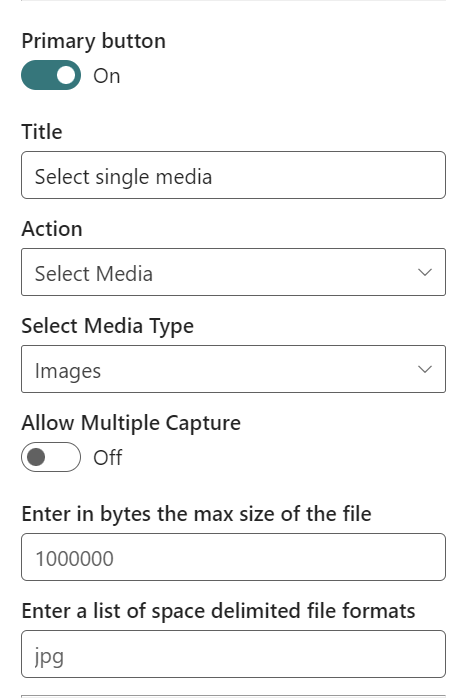
Adding action on Secondary button
Change the size of the card from Medium to Large.
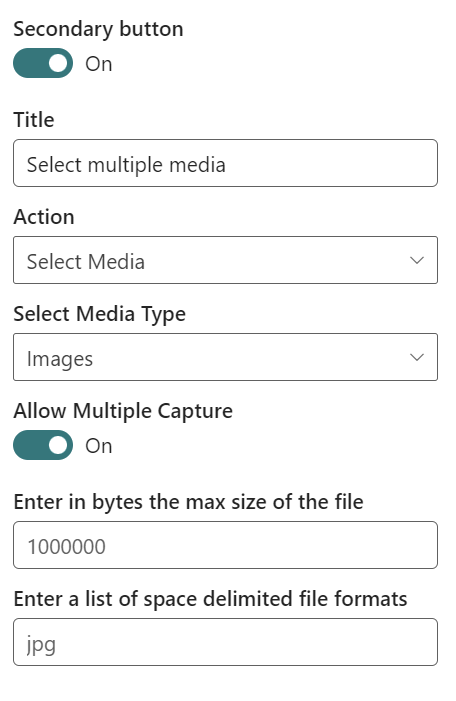
Ensure that Allow Multiple Capture is toggled on.
Finally, for the Secondary Button, set the Title to Select multiple media and from its action drop-down menu, select Select Media.
Try the Select Media action
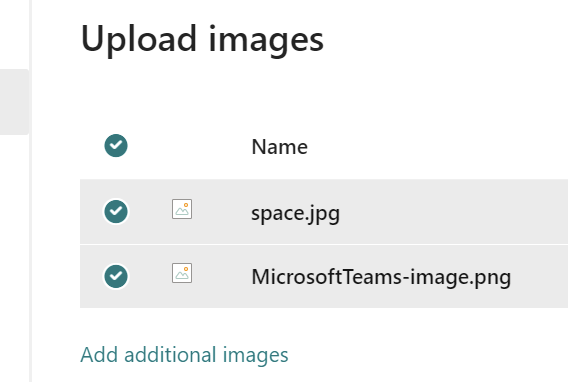
Now close the property pane and click Preview from the top right hand corner of the page:
- Click on the card to open up media upload and exit
- Clicking
Select single mediawill pull open the same modal - Clicking
Select multiple mediawill open up the same modal but will allow the user to upload several files at once
