Note
Access to this page requires authorization. You can try signing in or changing directories.
Access to this page requires authorization. You can try changing directories.
Attack paths in Microsoft Security Exposure Management help you to proactively identify and visualize potential routes that attackers can exploit using vulnerabilities, gaps, and misconfigurations. Simulated attack paths allow you to proactively investigate and remediate potential threats.
Prerequisites
- Read about attack paths before you start.
- Review required permissions for working with attack paths.
- The value of attack paths increases based on the data used as a source. If no data is available or the data doesn't reflect your organization's environment, attack paths might not appear. Attack paths might not be fully representative:
- If you don't have licenses defined for workloads integrated and represented in the attack path.
- If you don't fully define critical assets.
- You may see an empty Cloud Attack Path page, as attack paths focus on real, externally-driven and exploitable threats rather than exploratory scenarios. This helps reduce noise and prioritize imminent risks.
Attack path dashboard
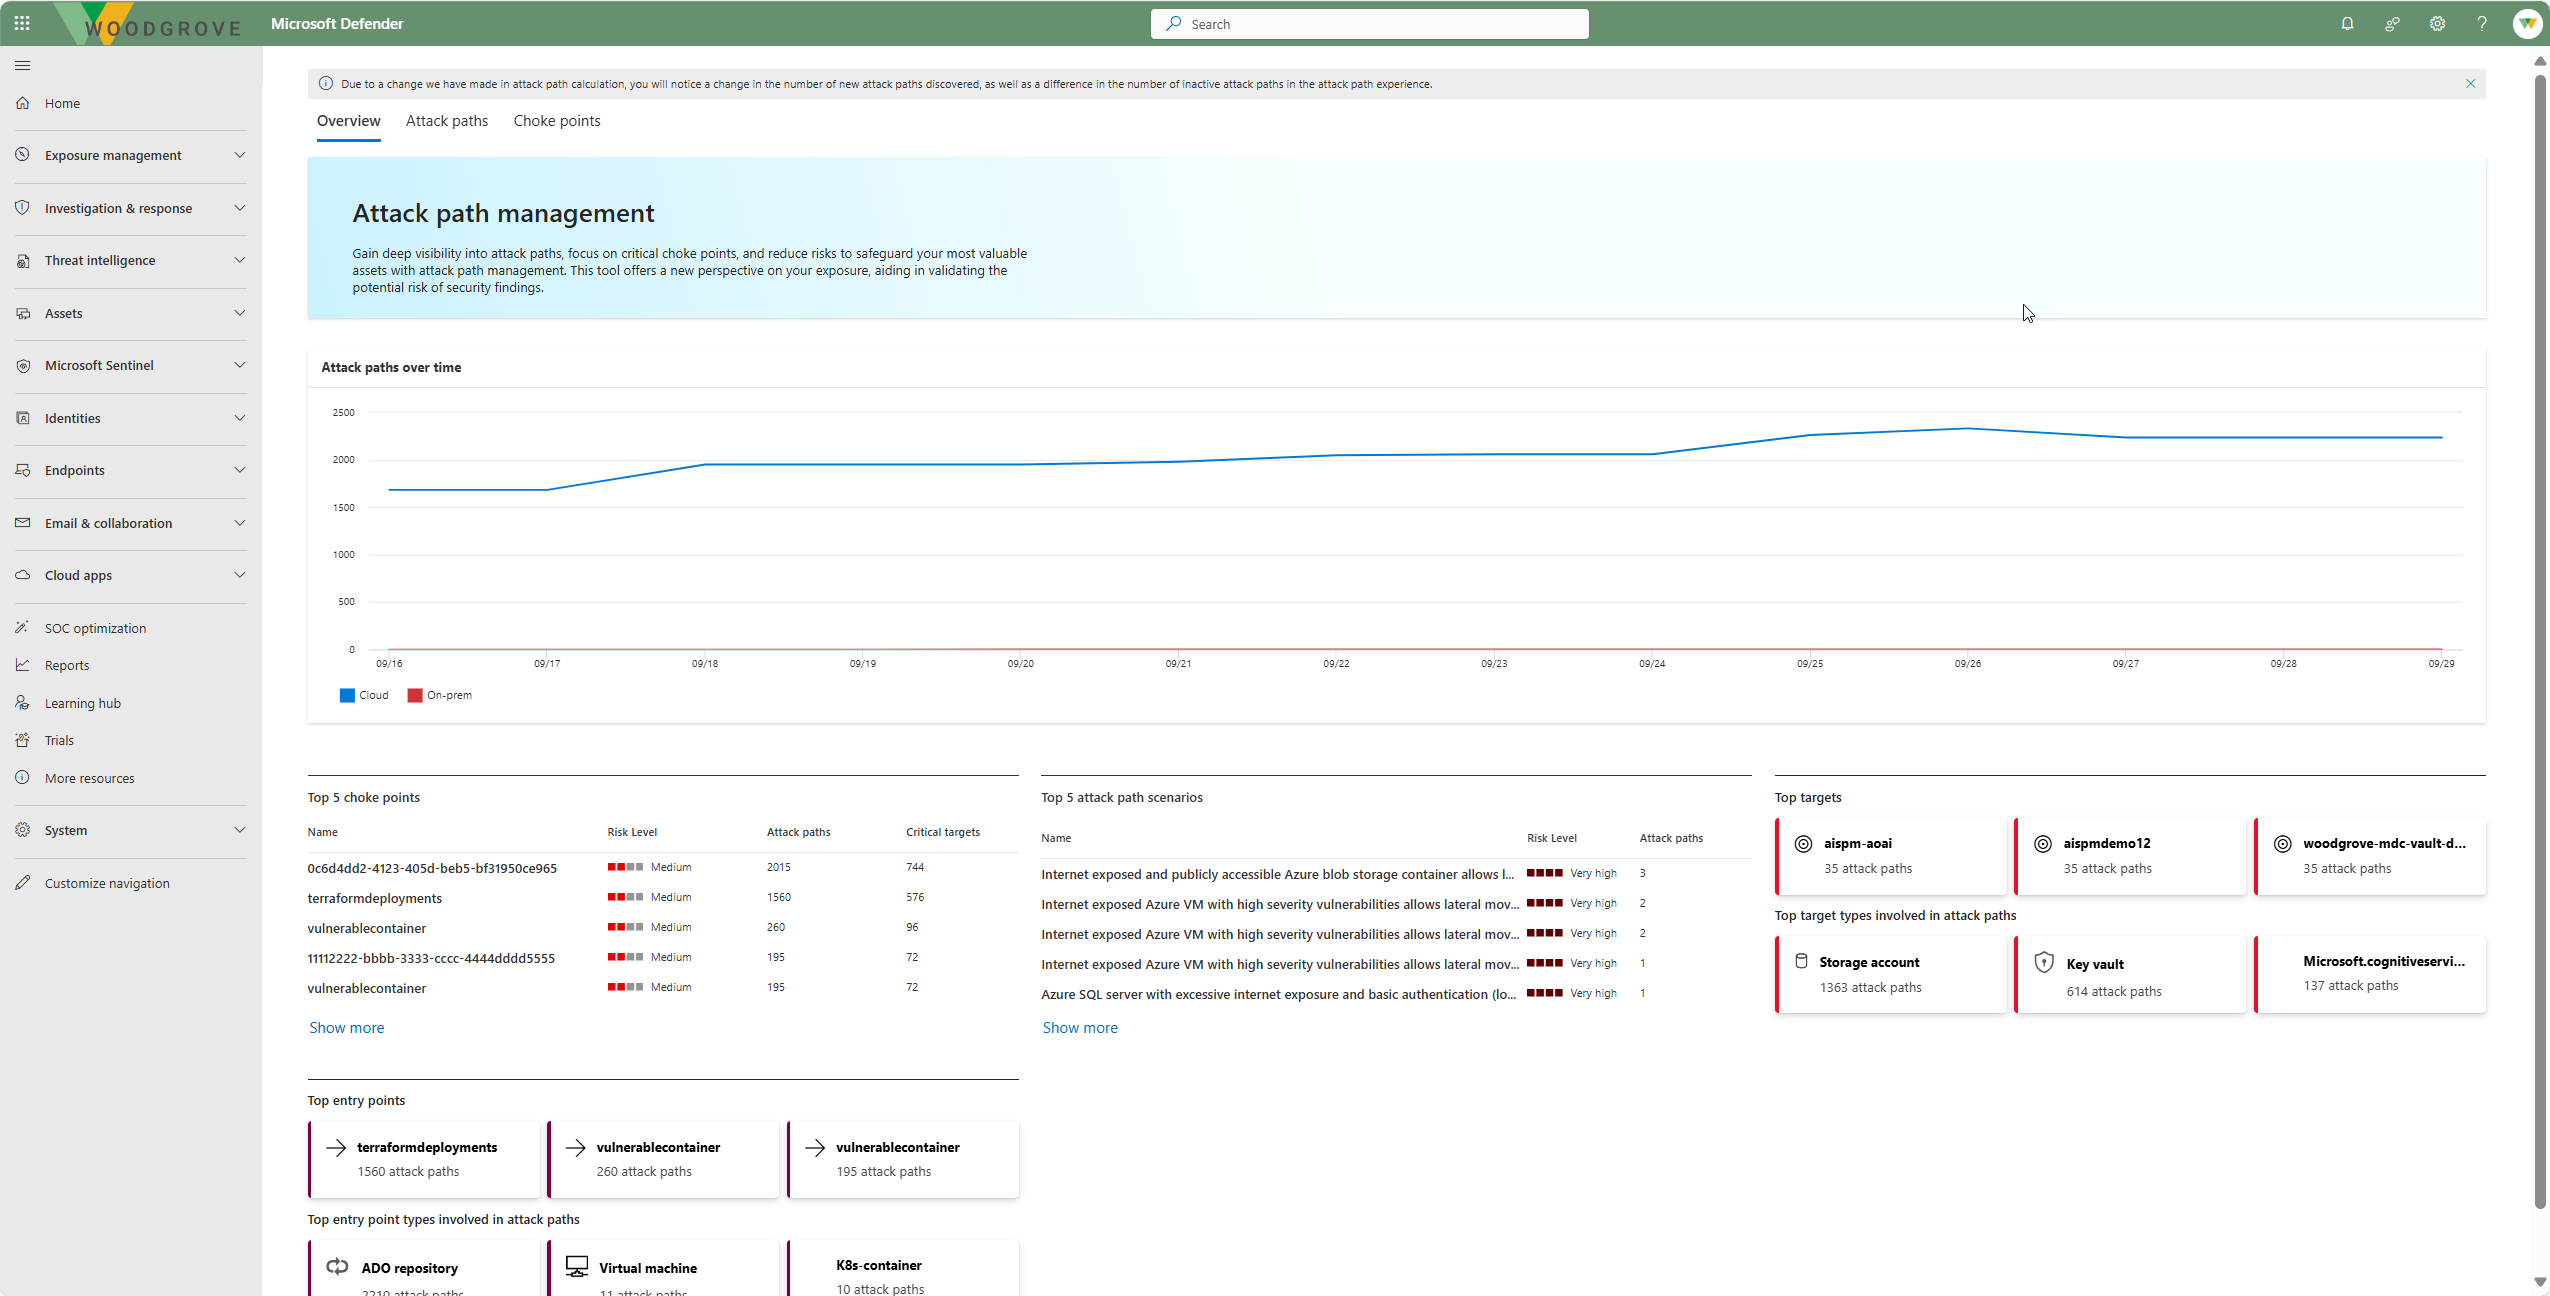
The dashboard provides a high-level overview of all identified attack paths within the environment. It enables security teams to gain valuable insights into the types of paths identified, top entry points, target assets, and more, helping to prioritize risk mitigation efforts effectively. The overview includes:
- Graph of attack paths over time
- Top choke points
- Top attack path scenarios
- Top targets
- Top entry points
View attack paths
You can access attack paths from the attack path dashboard, or by selecting Attack surface -> Attack path.
To change how attack paths are displayed, you can select a heading name to sort by a specific column heading.
Group attack paths
To group attack paths by specific criteria:
Select Group to group by Attack path name, Entry point,Entry point type, Target type, Risk level, Status, Target criticality, Target.
View choke points and blast radius
- Go the choke points tab to view a list of choke points on the attack path dashboard. By focusing on these choke points, you can reduce risk by addressing high-impact assets, thus preventing attackers from progressing through various paths.
- Select a choke point to open the side panel, select View blast radius and explore the attack paths from a choke point. The blast radius provides a detailed visualization showing how the compromise of one asset could affect others. This enables security teams to assess the broader implications of an attack and prioritize mitigation strategies more effectively.
Examine an attack path
Select a specific attack path to examine it further for potential exploitable vulnerabilities.
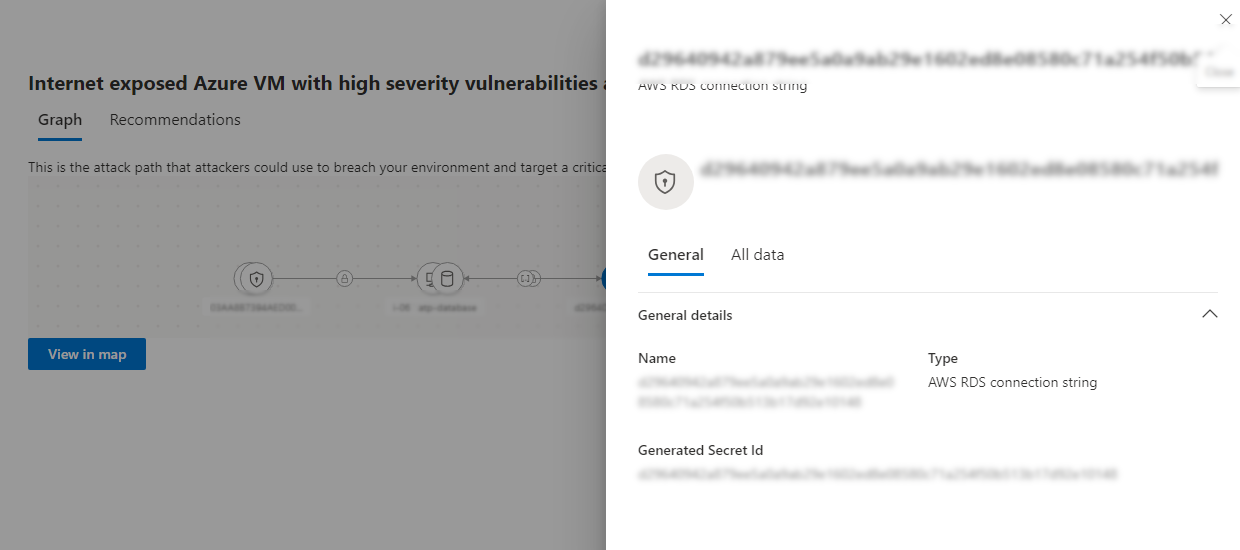
In the Attack Path graph, hover over a node or edge (connector) icon to see additional information about how the attack path is built.
Review recommendations
Select the Recommendations tab to view the list of actionable recommendations to mitigate the identified attack paths.
Sort recommendations by heading or select a specific recommendation, to open the recommendation screen.
Review recommendation details, and then select Manage to remediate the recommendation in the correct workload interface.
View an attack path asset in the exposure map
To see a broader picture of an attack path asset in the exposure map:
Select Attack surface -> Attack path -> Graph -> View in map.
You can also search for and select an asset in the attack path from Map and select it. Or, select View in map from an asset from the Device inventory.
Explore connections as needed.
Next steps
Learn about critical asset management.


