Note
Access to this page requires authorization. You can try signing in or changing directories.
Access to this page requires authorization. You can try changing directories.
In this tutorial, you create a model-driven app by using one of the standard tables that is available in Microsoft Dataverse, the account table.

Sign in to Power Apps. If you don't already have a Power Apps account, select the Get started free link.
Select an environment. An environment in Power Apps is a space to store, manage, and share your organization’s business data, apps, chatbots, and flows. It also serves as a container to separate apps that might have different roles, security requirements, or target audiences.
Each environment can have one Dataverse database.
Select the environment you want. If your tenant allows you to create your own environment, select the current environment from the top right, and then select Try it now. More information: Get your developer environment (preview)
We recommend creating your model-driven app from a solution. A solution is a package that can contain Dataverse tables, forms, views, apps, flows, and other components. By building your model driven-app in a solution, you can easily move it to other environments or preserve a copy in your source control repository.
Select Solutions on the left navigation pane. If the item isn’t in the side panel pane, select …More and then select the item you want.
Select New solution, enter a Display name for your solution, such as Power Apps Training, select a publisher (the CDS Default Publisher is okay for this tutorial), and then select Create. For more information about creating a solution, go to Create a solution.
In your solution, select Add existing, and then select Table.
In the Add existing tables list, select the Account table, and then select Next.
Since this is a standard table, leave the default setting for account table objects and metadata and select Add.
Now that you have a solution and have added the account table to it, you're ready to create a model-driven app.
In your solution, select New, select App, and then select Model-driven app.
Enter a name for the app, such as My new custom app, and then select Create.
Your app loads in the model-driven app designer.
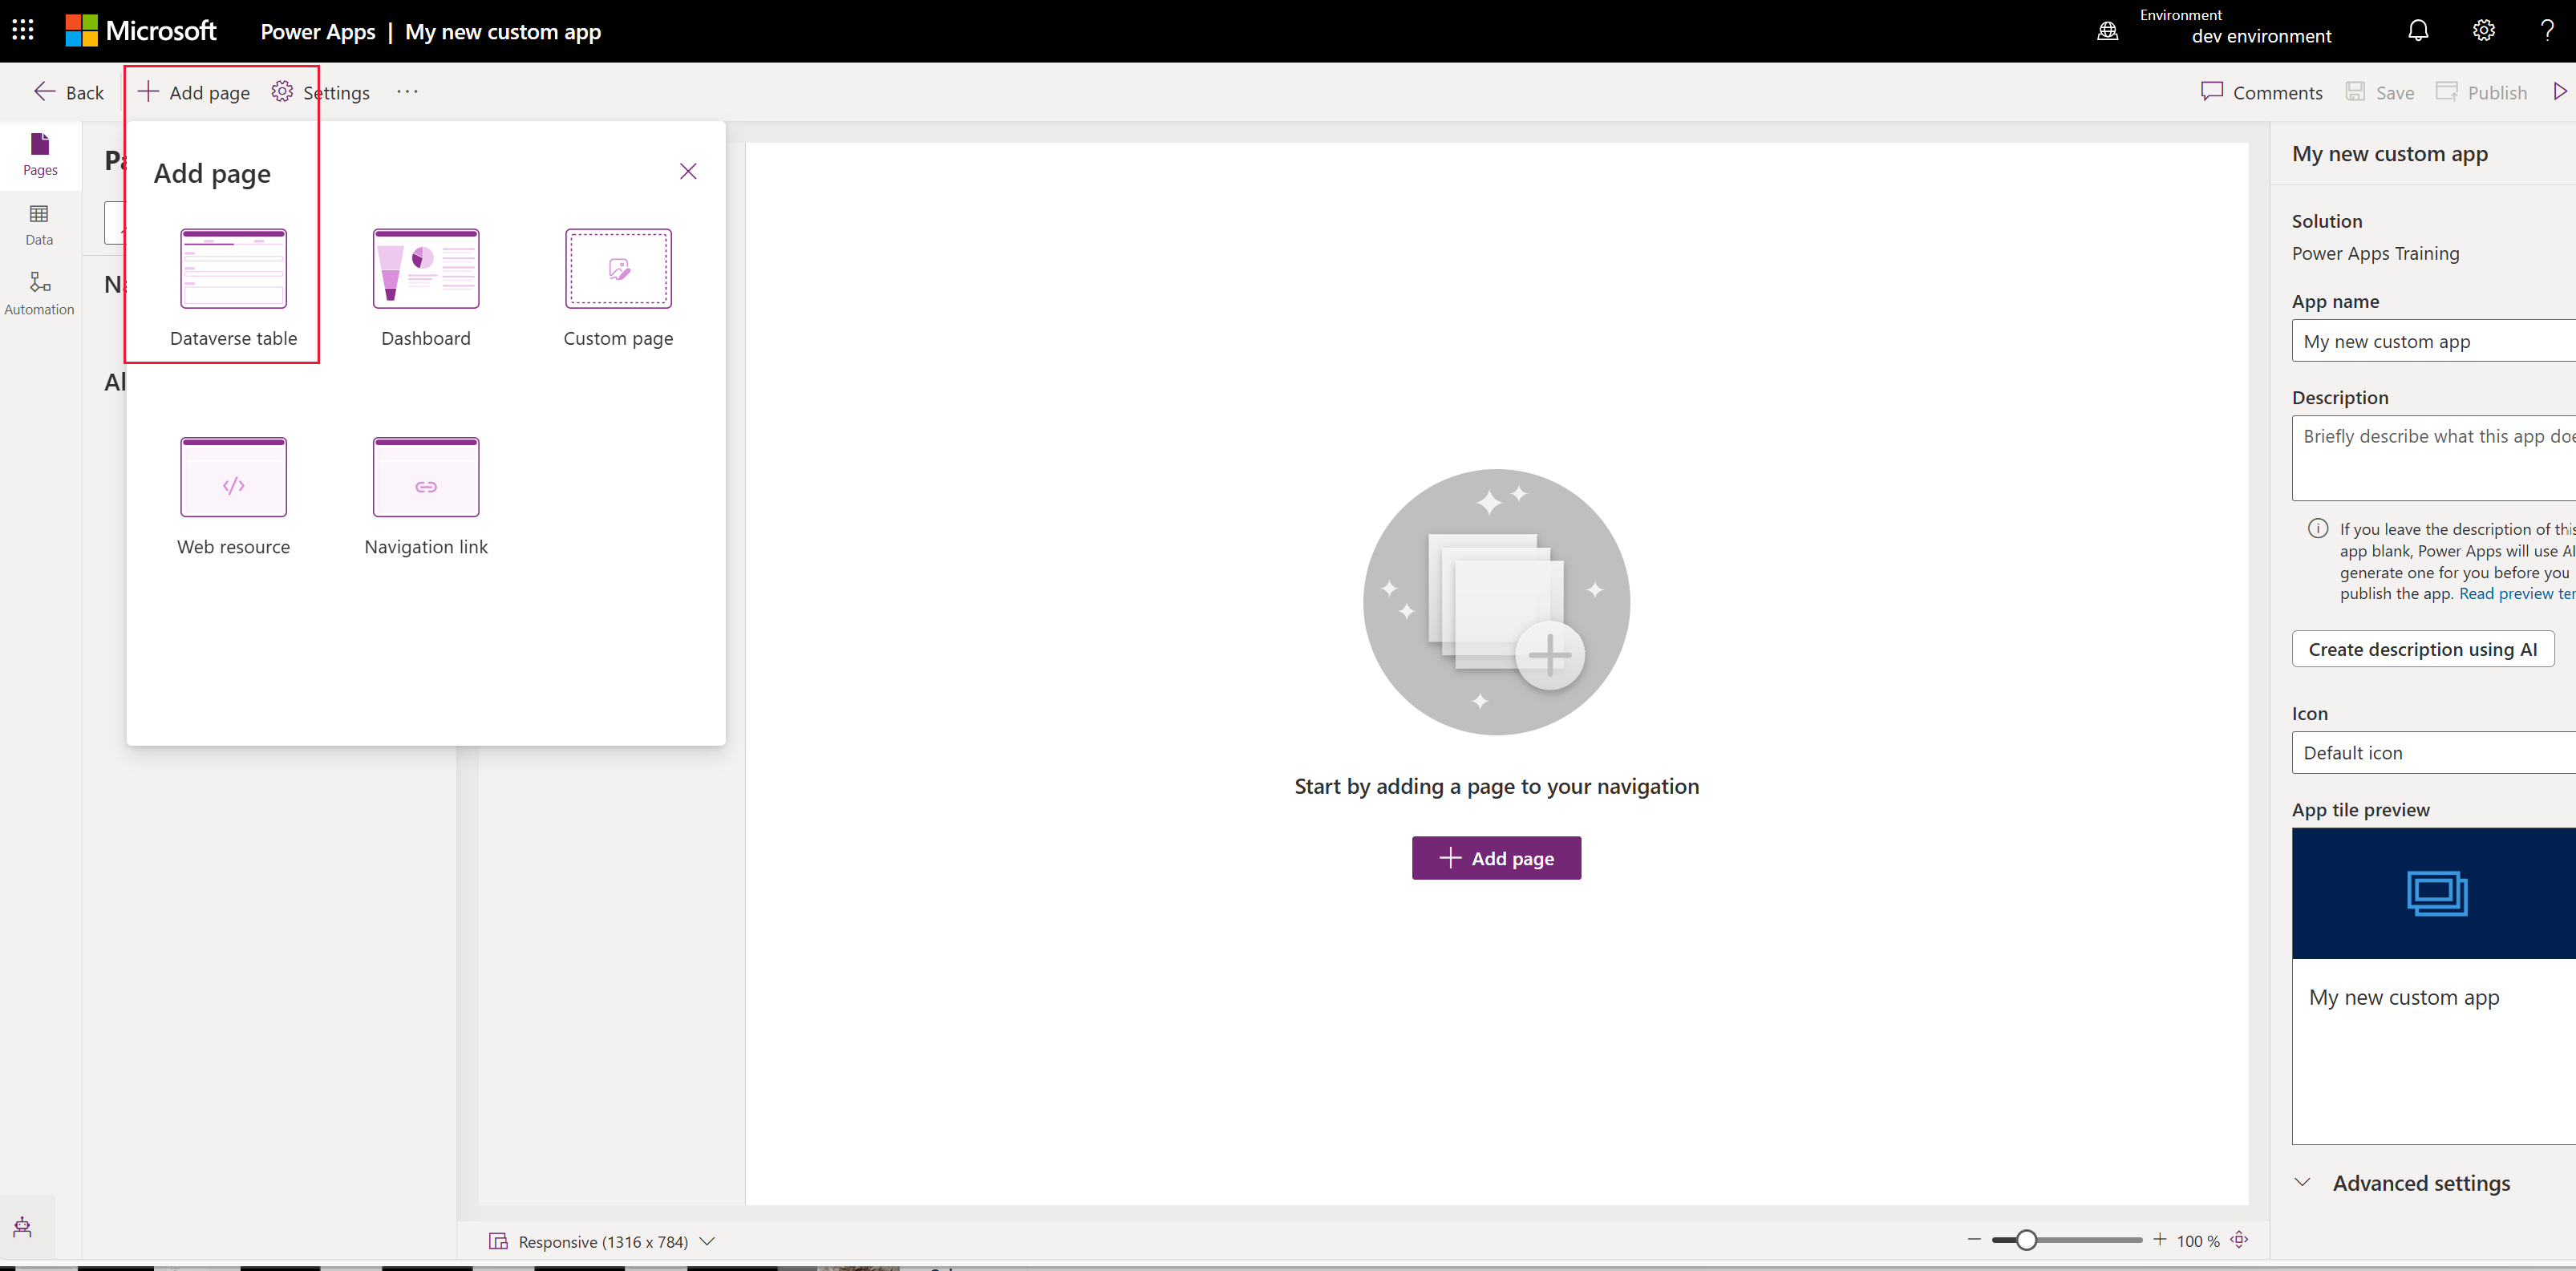
Add a page to your app
Next, you add a new page to the model-driven app in the app designer.
Select Add page on the command bar, and then select Dataverse table.
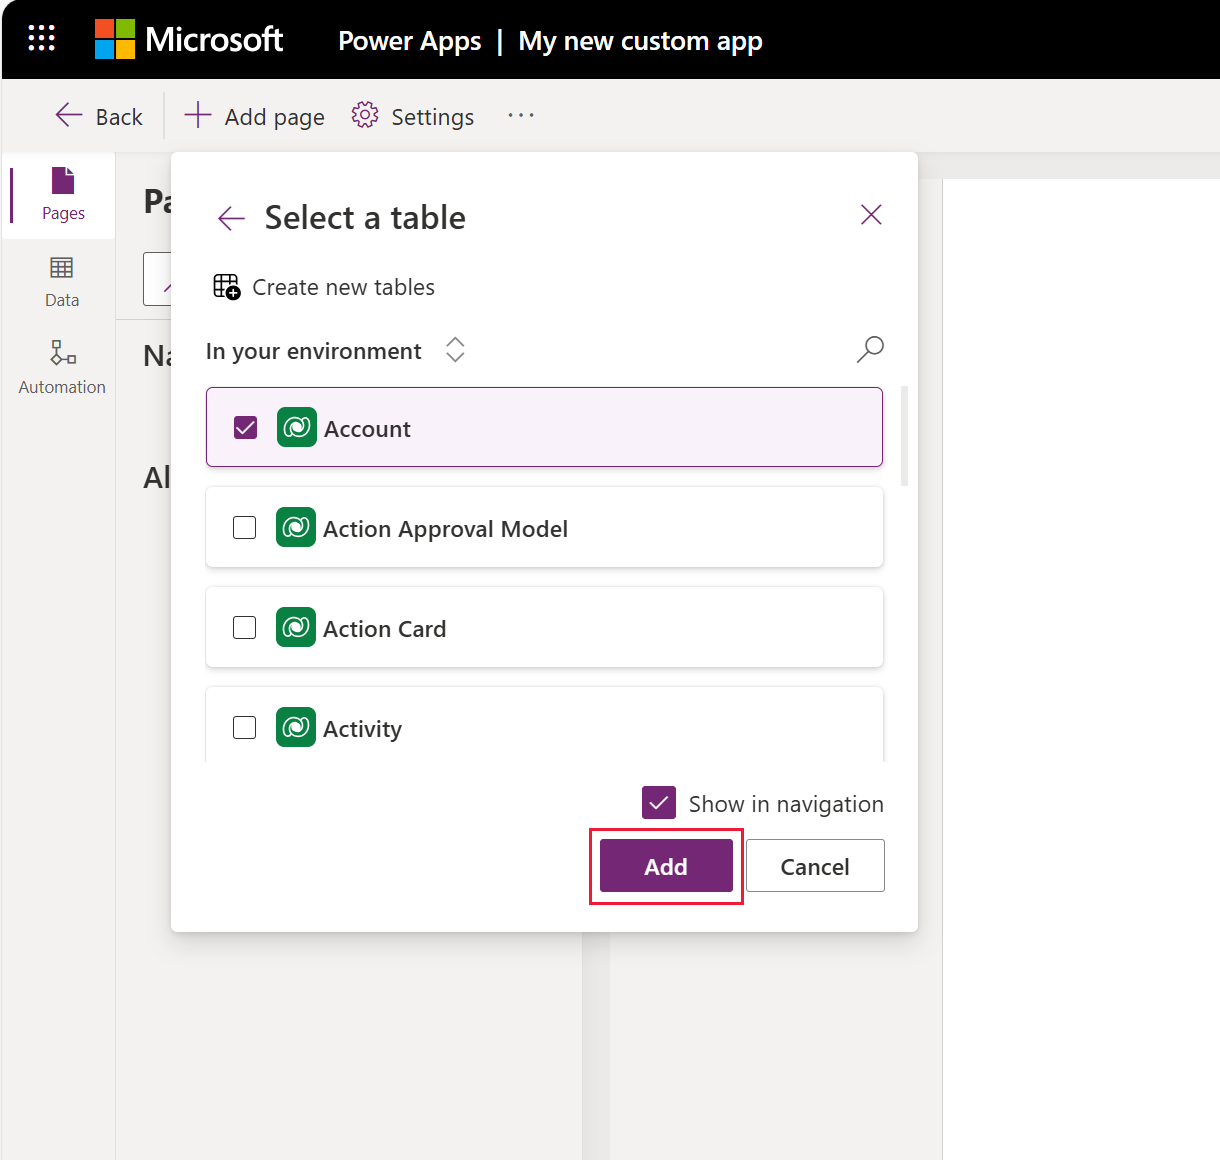
Select Account, and then select Add.
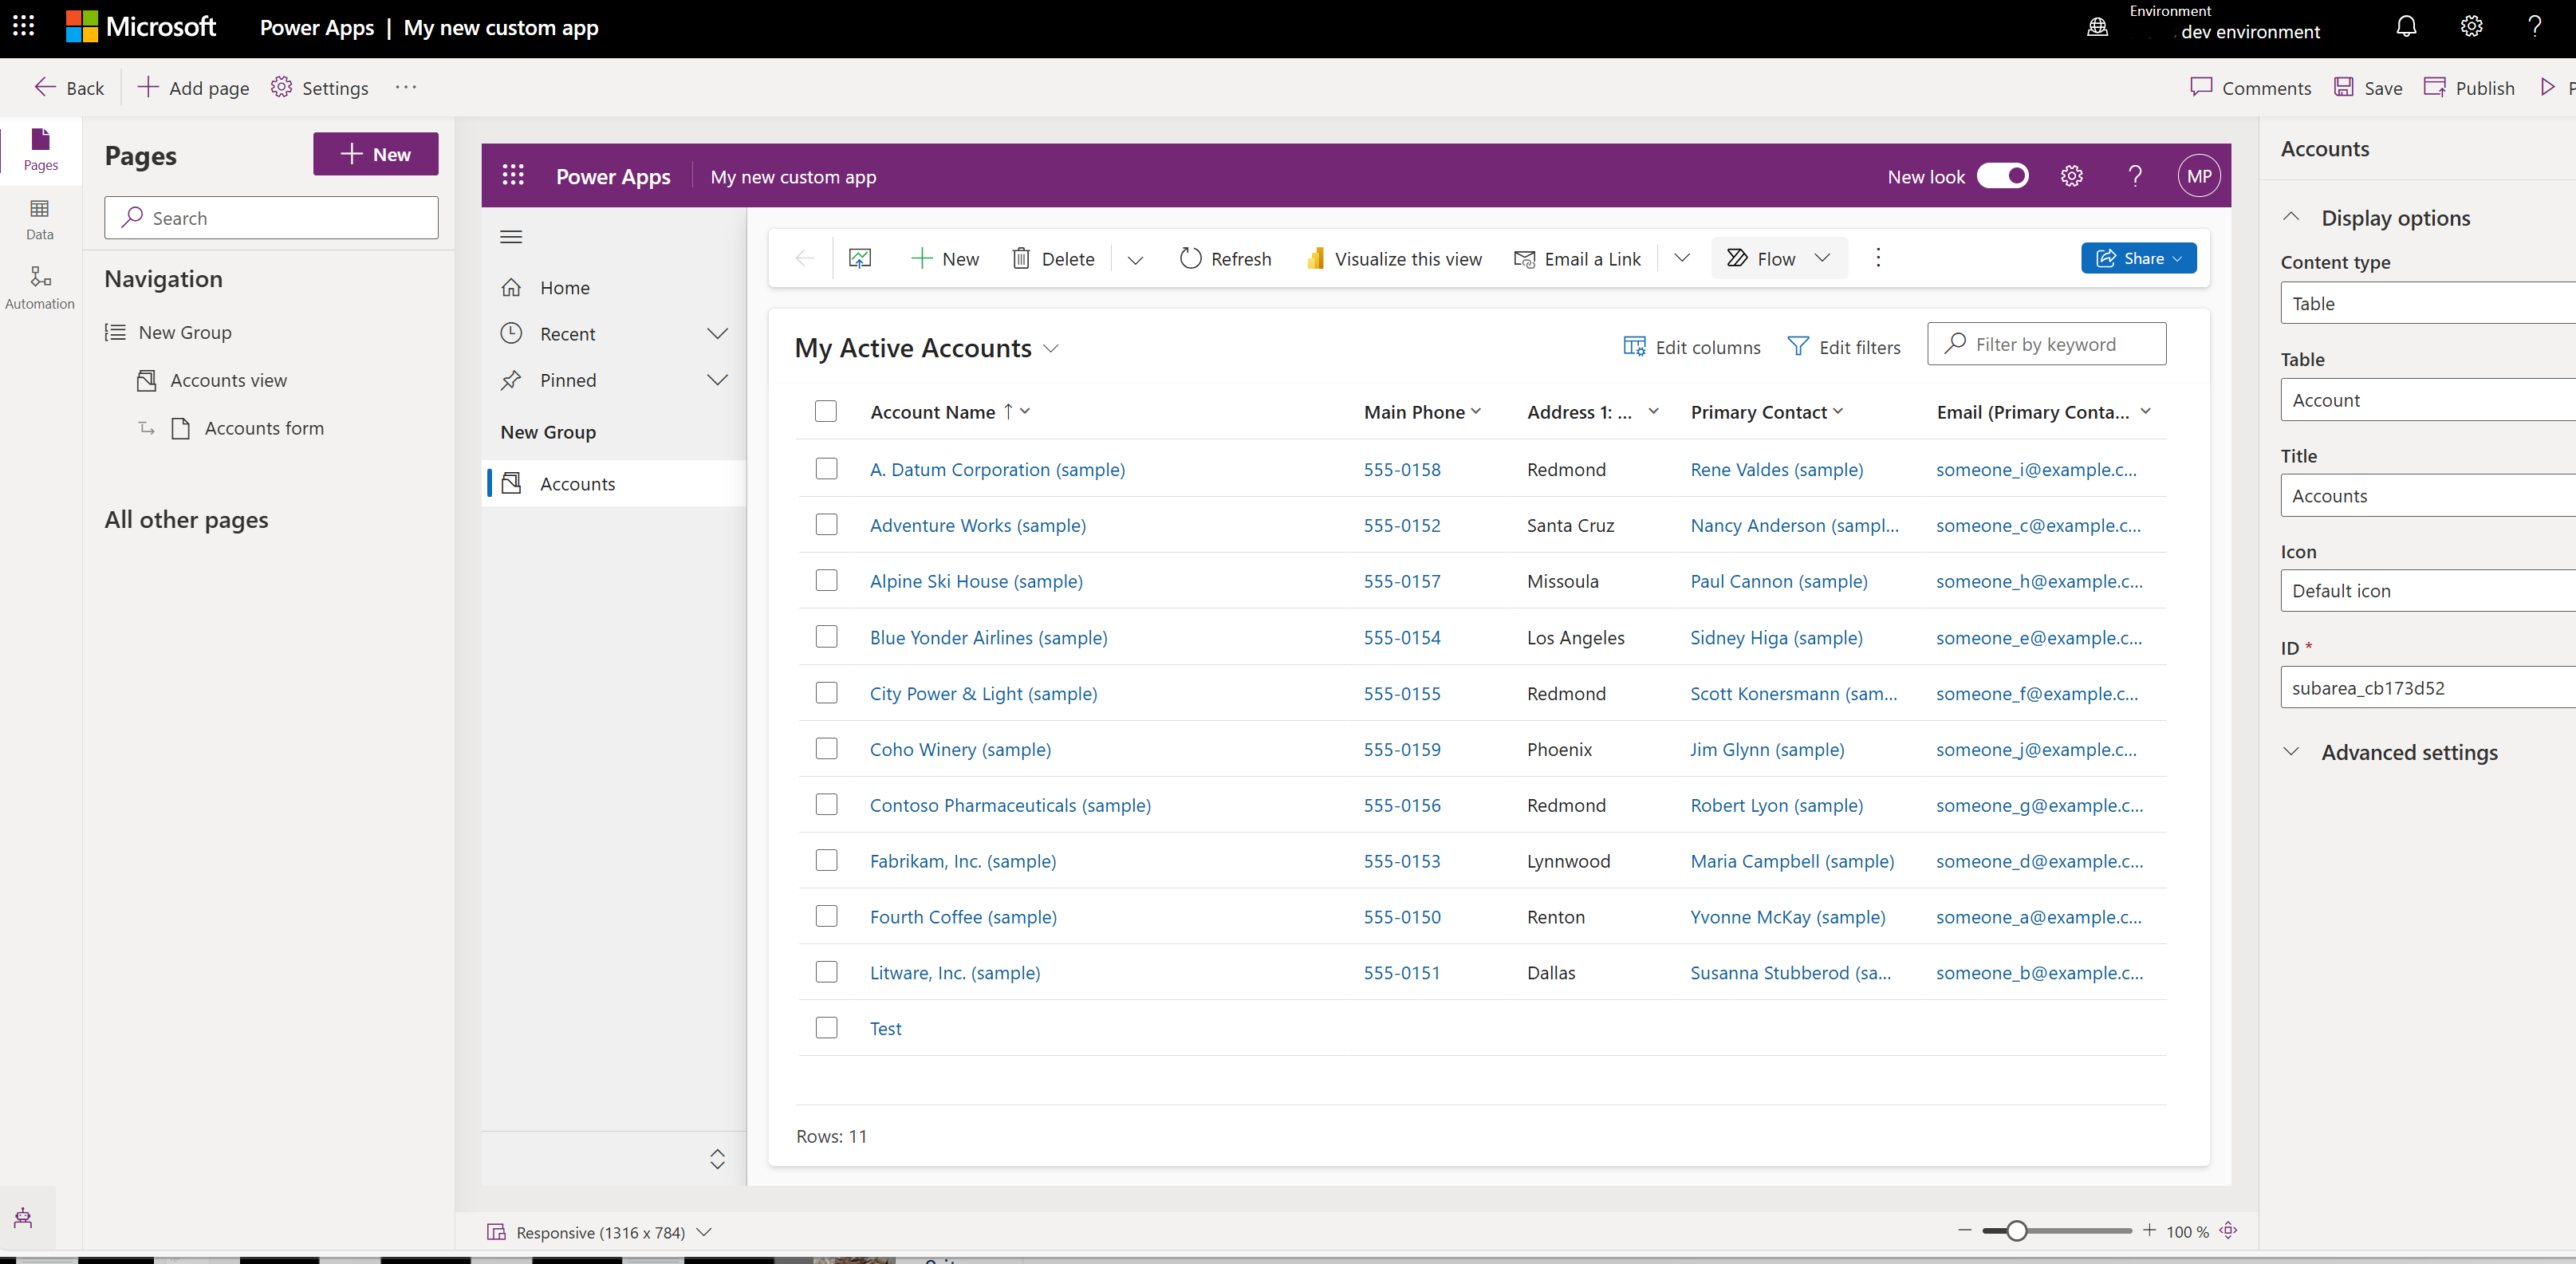
Your app with the account table is displayed similarly to how it appears to users at run time when published. If your environment has sample data, the sample list of active accounts might appear in the All Accounts view.
Save and publish your app
Save your app so that your app and changes aren't lost. To make it available to users, publish it.
To save without publishing, on the app designer command bar, select Save.
To save and publish, on the app designer command bar, select Publish.
Create an app description with Copilot
If your app is in a managed environment, you can use AI to help you create a description for your app.
Important
- To use this capability your app must be in a managed environment.
- This capability is powered by Azure OpenAI Service.
- This capability might be subject to usage limits or capacity throttling.
- To understand capabilities and limitations of AI-powered and Copilot features in Power Apps, go to Responsible AI FAQs for Power Apps
When you save and publish your app, on the Publish dialog box select, Create descriptions using AI to replace your current description or, if your app doesn't have a description, Copilot generates one for you.
You can also generate an app description by going to, Settings > General. Under Description select, Create descriptions using AI.
For information that describes the AI impact of Power Apps generate app descriptions with Copilot feature, go to FAQ for generate app descriptions with Copilot.
Enable or disable AI-generated app descriptions
App AI-generated descriptions are managed by a setting in the Power Platform admin center.
- Open https://admin.powerplatform.microsoft.com/environments
- Select an environment, and then select Edit managed environments.
- Under the section titled Enable AI-generated app descriptions, select or clear AI-generated app descriptions
- Select Save.
Clear the browser cache and close any active Power Apps (make.powerapps.com) browser windows. The feature is now be enabled or disabled.
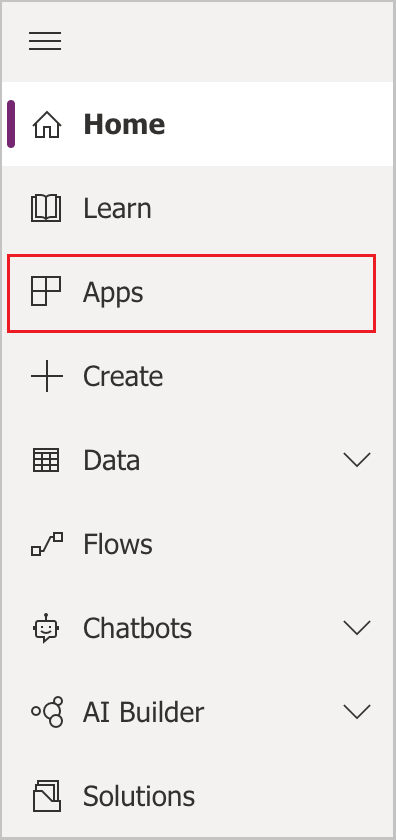
Run your app on a desktop computer
To run your app, sign in to Power Apps, and on the left navigation pane, select Apps.
Select the app from the app list. The app opens in your browser. If you want to show the chart, use the button Show Chart.
Run your app on mobile
To run your app on your mobile device, follow these steps:
Download the app from your device's mobile app store:
Open the app, tap Sign in, and then enter your Microsoft work or school account.
Select your app from the list to run it.
Next steps
Add additional pages and configurations to make your app do more!
- Add a custom page where a canvas app runs from your model-driven app. More information: Overview of custom pages for model-driven apps
- Create Dataverse custom tables that you can add to your app the same way as you added the account table in this tutorial. More information: Create and edit tables using Power Apps
- Identify the URL of your model-driven app. More information: Run a model-driven app in a browser
- Share your app. More information Share a model-driven app.
- Learn more about building model-driven apps. More information: Understand model-driven app components
Tip
Ready to convert your ideas into an app? Start here: Planning a Power Apps project.