Note
Access to this page requires authorization. You can try signing in or changing directories.
Access to this page requires authorization. You can try changing directories.
The actions pane occupies the left side of the flow designer and displays all the available desktop flow actions.

To find a specific action, populate its name in the search bar at the top of the pane. Searching also returns partial matches but requires at least two provided characters. When the search term matches a module name, the results display the module expanded with all its actions available.

Mark actions as favorites
By default, all your available actions are shown under the All section.
To bookmark your preferred or most frequently used actions in a separate area, select the star icon on the right of each action to mark it as a favorite. The action then appears under the Favorites section. The same actions tree structure is kept for your favorite actions. To remove an action from the favorites list, select the star icon again.

Note
Favorite actions are saved and appear across all the user's flows on their machine.
Add actions to the workspace
To develop a desktop flow, find the action you want to deploy, and double-click on it or drag it into the workspace.

After the deployment, the modal of the action opens and displays the available parameters of the action. Some actions might have default values for some parameters, while others require user input. When the configuration is ready, select Save.

Adding actions from the suggested actions panel
In addition to adding actions from the actions panel, you can also use the suggested actions panel.
Important
- To understand the capabilities and limitations of this feature, go to FAQ for Power Automate for desktop suggested actions.
Availability by region
The suggested next best action is available in environments located in the following countries/regions:
- Asia Pacific
- Australia
- Brazil
- Canada
- Europe
- France
- Germany
- India
- Japan
- Norway
- Singapore
- Sweden
- South Africa
- South Korea
- Switzerland
- United Arab Emirates
- United Kingdom
- United States
Availability by account type
Currently, Copilot in Power Automate for desktop is only available for users with a work or school account.
Note
If your environment is in a supported region, you are signed in with a work or school account, and you still can't see Copilot in the Power Automate for desktop experience, contact your Power Platform administrator.
Using suggested actions in your flows
The suggested actions functionality uses AI to generate a list of actions that you could use as the next steps in your flow. To do so, select the add button that appears on mouse hover or when an action is selected.

Once the Suggested actions panel appears, double-click the action that you want to add to your flow.

Disabling the suggested actions functionality
To disable Copilot's suggested actions functionality, Power Platform admins can contact Microsoft support. More information: Get Help + Support
Help us improve this feature
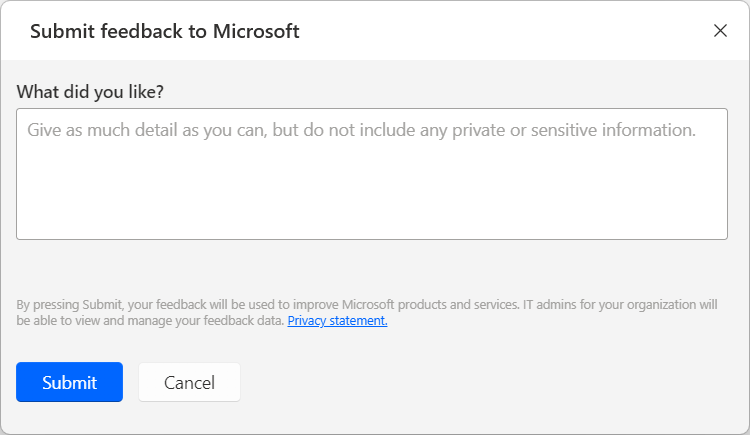
You can send feedback by selecting the thumb up or thumb down icon underneath the AI-generated action suggestions. Once you do, a dialog box appears, which you can use to submit feedback to Microsoft.
Note
If you can't see the dialog box, your Power Platform admin might have turned it off. More information: Turn off user feedback functionality
Turn off user feedback functionality
As a Power Platform admin, prevent users from sending Copilot feedback to Microsoft by using the "Copilot feedback" tenant setting.
Data subject rights requests on user feedback
Tenant administrators can view, export, and delete the feedback from users by signing in to the Microsoft 365 admin center, and then selecting Health > Product feedback.
Configure actions
Power Automate actions contain three main elements:
Input parameters have the form of text fields, drop-down menus, and checkboxes and determine the way the action functions and the data it gets as input. The data can be hardcoded values or variables.
To use a variable as a parameter, select the appropriate icon on the right side of the field and pick the desired variable.
Each field can accept specific data types, such as numeric values, text, or lists. If you use values or variables of wrong data types as inputs, the action results in an error. To find more information about data types, refer to Variable datatypes.

Produced variables are automatically generated variables that hold the outcomes of the actions for later use. All the produced variables of an action are available on the bottom part of its modal.
Like any other variable, produced variables have data types defined by their content. To find more information about data types, refer to Variable datatypes.
If a produced variable isn't useful for later use, unselect the checkbox next to its name to disable it.
The name of a produced variable can't contain special characters, white spaces, and non-Latin characters. Additionally, it can't start with arithmetic characters.

Error-handling configuration allows you to set a custom functionality for the cases when an action fails. To configure error-handling for an action, select On error in its modal. To find more information regarding error-handling, refer to Handle errors in desktop flows.

Enable and disable actions
To disable or enable an action, right-click on it and select Disable action or Enable action, respectively.

Disabling an action allows you to remove it from the flow without erasing it. This feature is commonly applied for testing, as it enables you to try different versions of your desktop flow efficiently.
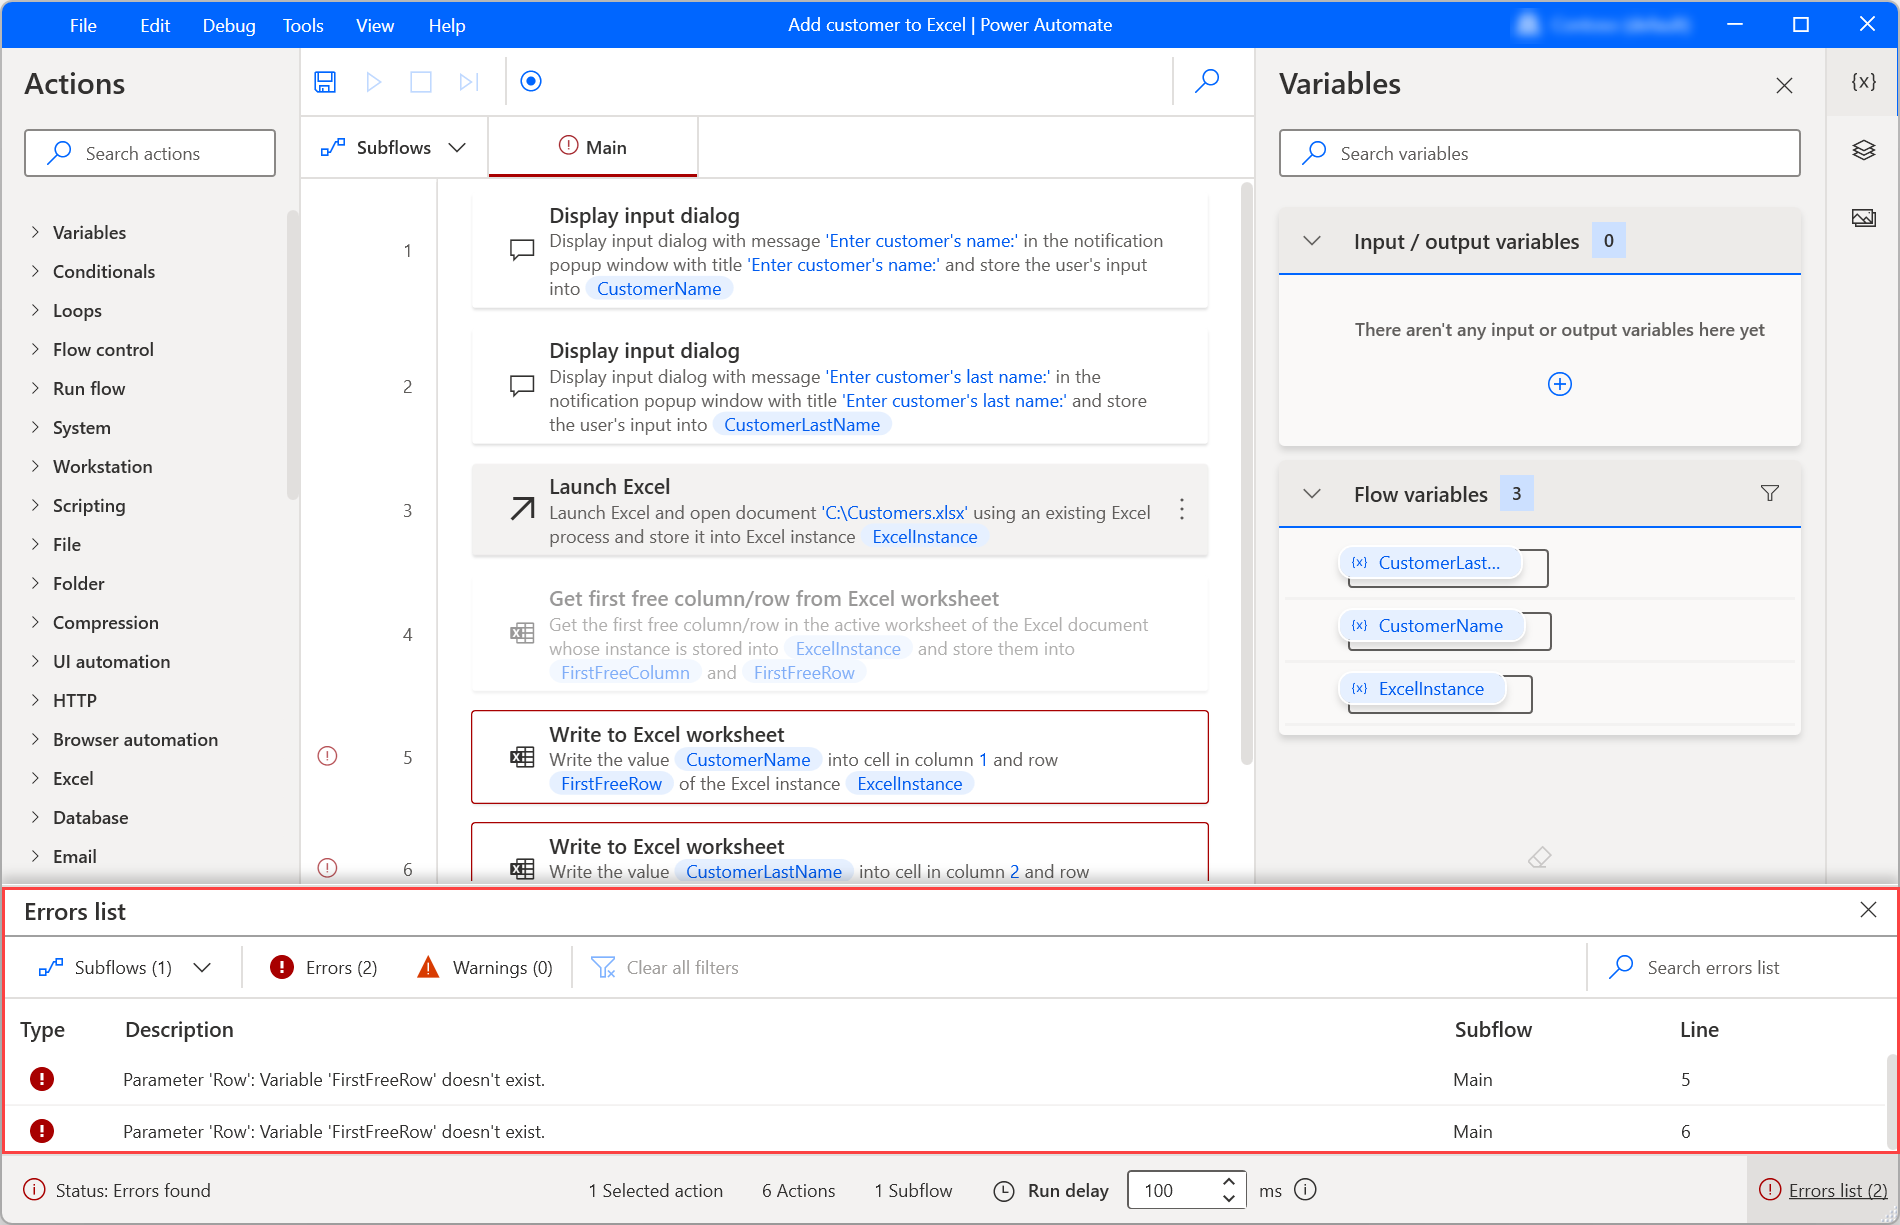
When an action is disabled, all variables initialized in its modal get hidden from the variables pane. The flow might display an error if you use the hidden variables in other actions.
In the following example, two actions throw an error because they contain variables defined in a disabled action. To find information on how to handle errors, go to Handle errors in desktop flows.