Note
Access to this page requires authorization. You can try signing in or changing directories.
Access to this page requires authorization. You can try changing directories.
You can connect to a Lakehouse data lake in Dataflow Gen2 and a pipeline using the Lakehouse connector provided by Data Factory in Microsoft Fabric.
Supported authentication types
The Lakehouse connector supports the following authentication types for copy and Dataflow Gen2 respectively.
| Authentication type | Copy | Dataflow Gen2 |
|---|---|---|
| Organizational account | √ | √ |
Set up your connection for Dataflow Gen2
You can connect Dataflow Gen2 in Microsoft Fabric to Lakehouse using Power Query connectors. Follow these steps to create your connection:
- Check capabilities to make sure your scenario is supported.
- Complete prerequisites for Lakehouse.
- Get data in Fabric.
- Connect to a Lakehouse.
Capabilities
- Import
Prerequisites
You must already have an existing Lakehouse - Create a Lakehouse in Microsoft Fabric.
Get data
To get data in Data Factory:
On the left side of Data Factory, select Workspaces.
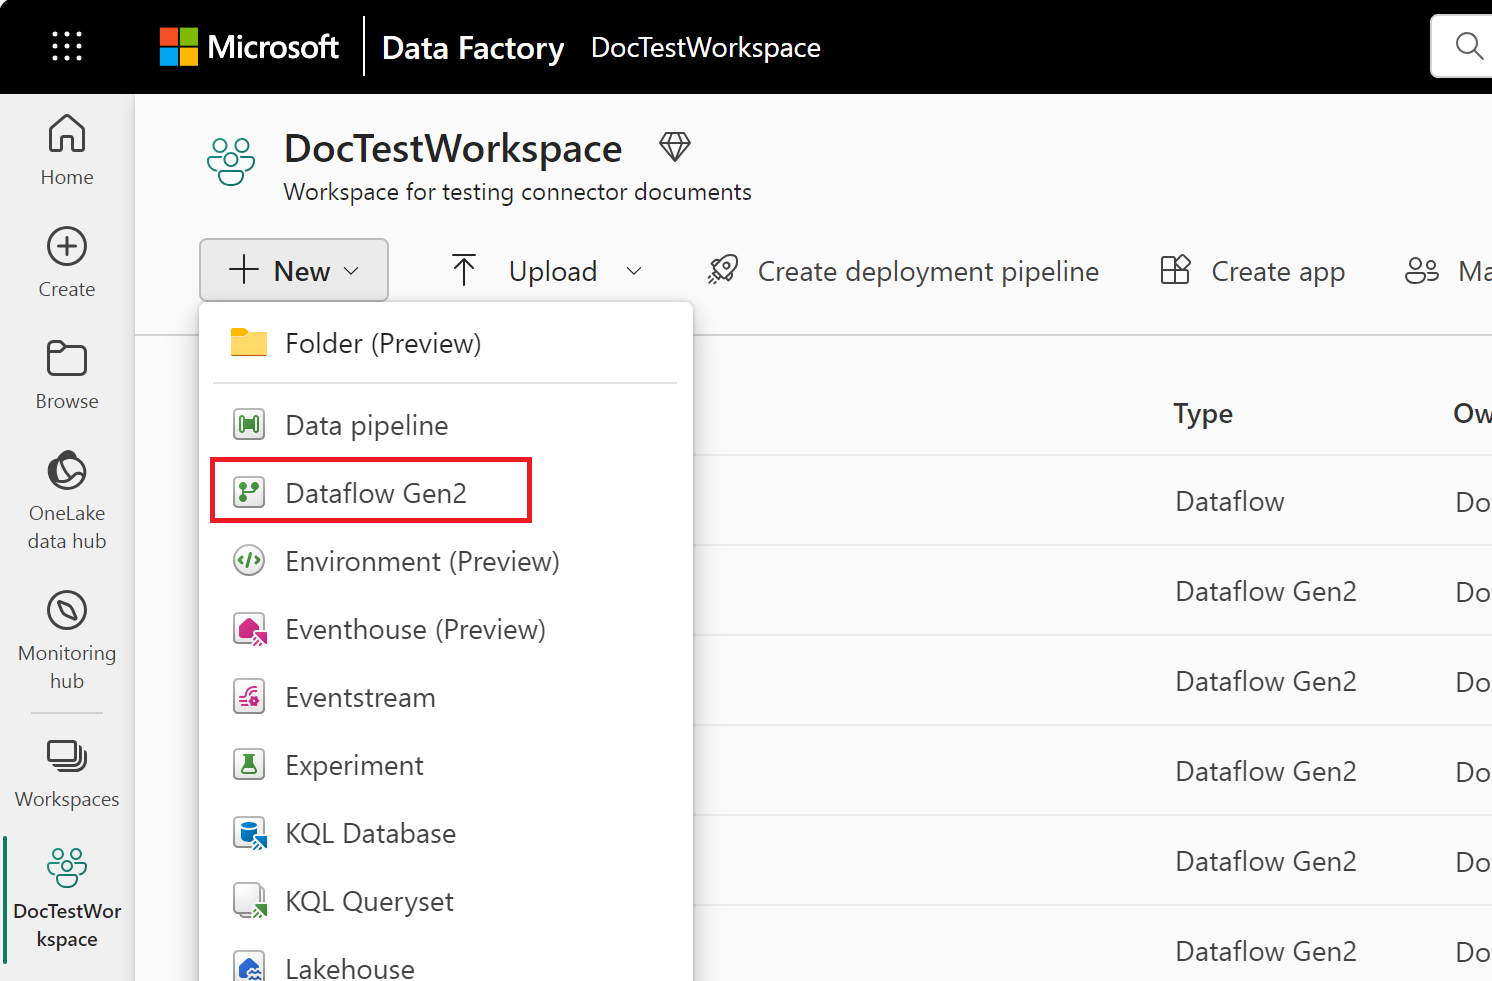
From your Data Factory workspace, select New > Dataflow Gen2 to create a new dataflow.
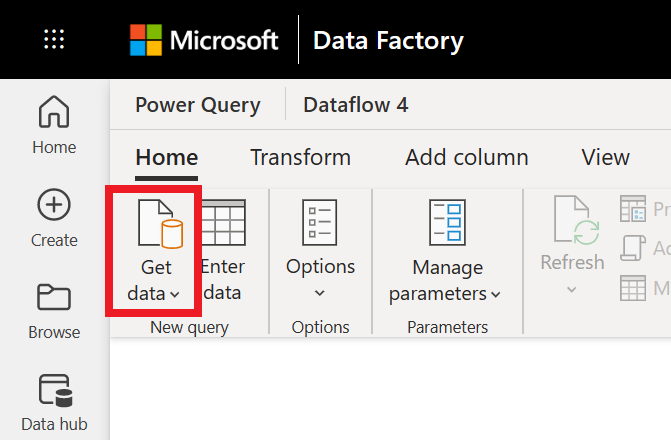
In Power Query, either select Get data in the ribbon or select Get data from another source in the current view.
In the Choose data source page, use Search to search for the name of the connector, or select View more on the right hand side the connector to see a list of all the connectors available in Power BI service.
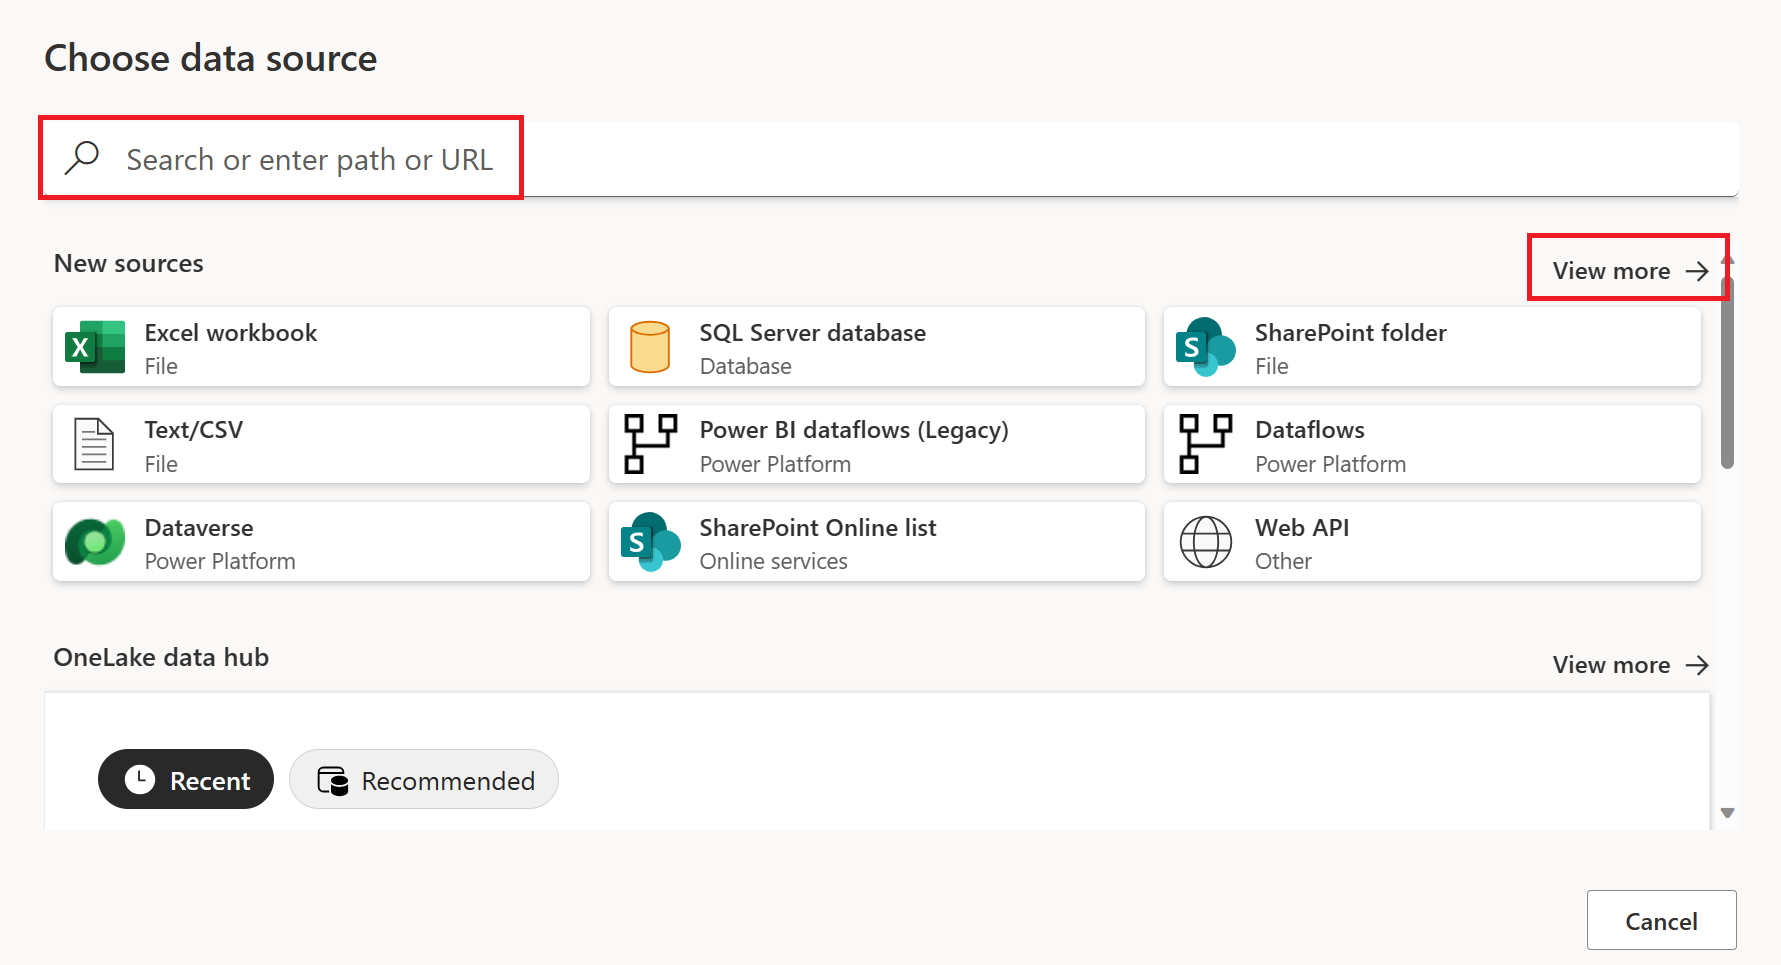
If you choose to view more connectors, you can still use Search to search for the name of the connector, or choose a category to see a list of connectors associated with that category.


Connect to a Lakehouse
To get data from a Lakehouse in Power Query Online:
Select the Lakehouse option in the get data experience. Different apps have different ways of getting to the Power Query Online get data experience. For more information about how to get to the Power Query Online get data experience from your app, go to Where to get data.

In Connect to data source, select Sign in to sign in to your organizational account.

Once you've signed in, select Next.
In Choose data, select the data items that you want to transform, and then select Create.


Using relative references
Inside the navigator, a special node with the name !(Current Workspace) is located. This node displays the available Fabric Lakehouses in the same workspace where the Dataflow Gen2 is located.

When using any items within this node, the M script emitted uses workspace or lakehouse identifiers and instead uses relative references such as the "." handler to denote the current workspace and the name of the lakehouse as in the example M code.
let
  Source = Lakehouse.Contents([HierarchicalNavigation = null]),
  #"Navigation 1" = Source{[workspaceId = "."]}[Data],
  #"Navigation 2" = #"Navigation 1"{[lakehouseName = "My Lakehouse"]}[Data],
  #"Navigation 3" = #"Navigation 2"{[Id = "Date", ItemKind = "Table"]}[Data]
in
  #"Navigation 3"
Set up your connection in a pipeline
You can set up a Lakehouse connection in the Get Data page or in the Manage connections and gateways page. Connections established through Manage connections and gateways page are currently in preview. The sections below describe how to configure the connection through each option.
In Get Data page:
Go to Get Data page and navigate to OneLake catalog through the following ways:
- In copy assistant, go to OneLake catalog section.
- In a pipeline, select Browse all under Connection, and go to OneLake catalog section.
Select an existing Lakehouse to connect to it.

You can also select a Lakehouse by choosing none in the pipeline Connection drop‑down list. When none is selected, the Item field becomes available, and you can pick the Lakehouse you need.
(Preview) In Manage connections and gateways page:
On this page, select + New, choose Lakehouse as the connection type, and enter a connection name. Then complete the organizational account authentication by selecting Edit credentials.

After the connection is created, go to the pipeline and select it in the connection drop‑down list.

Note
If you create the connection through Manage connections and gateways page:
- To allow multiple users to collaborate in one pipeline, please ensure the connection is shared with them.
- If you choose to use an existing Lakehouse connection within the tenant, ensure it has at least Viewer permission to access the workspace and Lakehouse. For more information about the permission, see this article.