Note
Access to this page requires authorization. You can try signing in or changing directories.
Access to this page requires authorization. You can try changing directories.
This article outlines the steps to create an Azure Table Storage connection in Microsoft Fabric.
Supported authentication types
The Azure Table Storage connector supports the following authentication types for copy and Dataflow Gen2 respectively.
| Authentication type | Copy | Dataflow Gen2 |
|---|---|---|
| Account key | √ | √ |
Set up your connection for Dataflow Gen2
You can connect Dataflow Gen2 to Azure Table Storage in Microsoft Fabric using Power Query connectors. Follow these steps to create your connection:
- Check capabilities to make sure your scenario is supported.
- Get data in Fabric.
- Copy your account key for Azure Table Storage.
- Connect to Azure Table Storage.
Capabilities
- Import
Get data
To get data in Data Factory:
On the left side of Data Factory, select Workspaces.
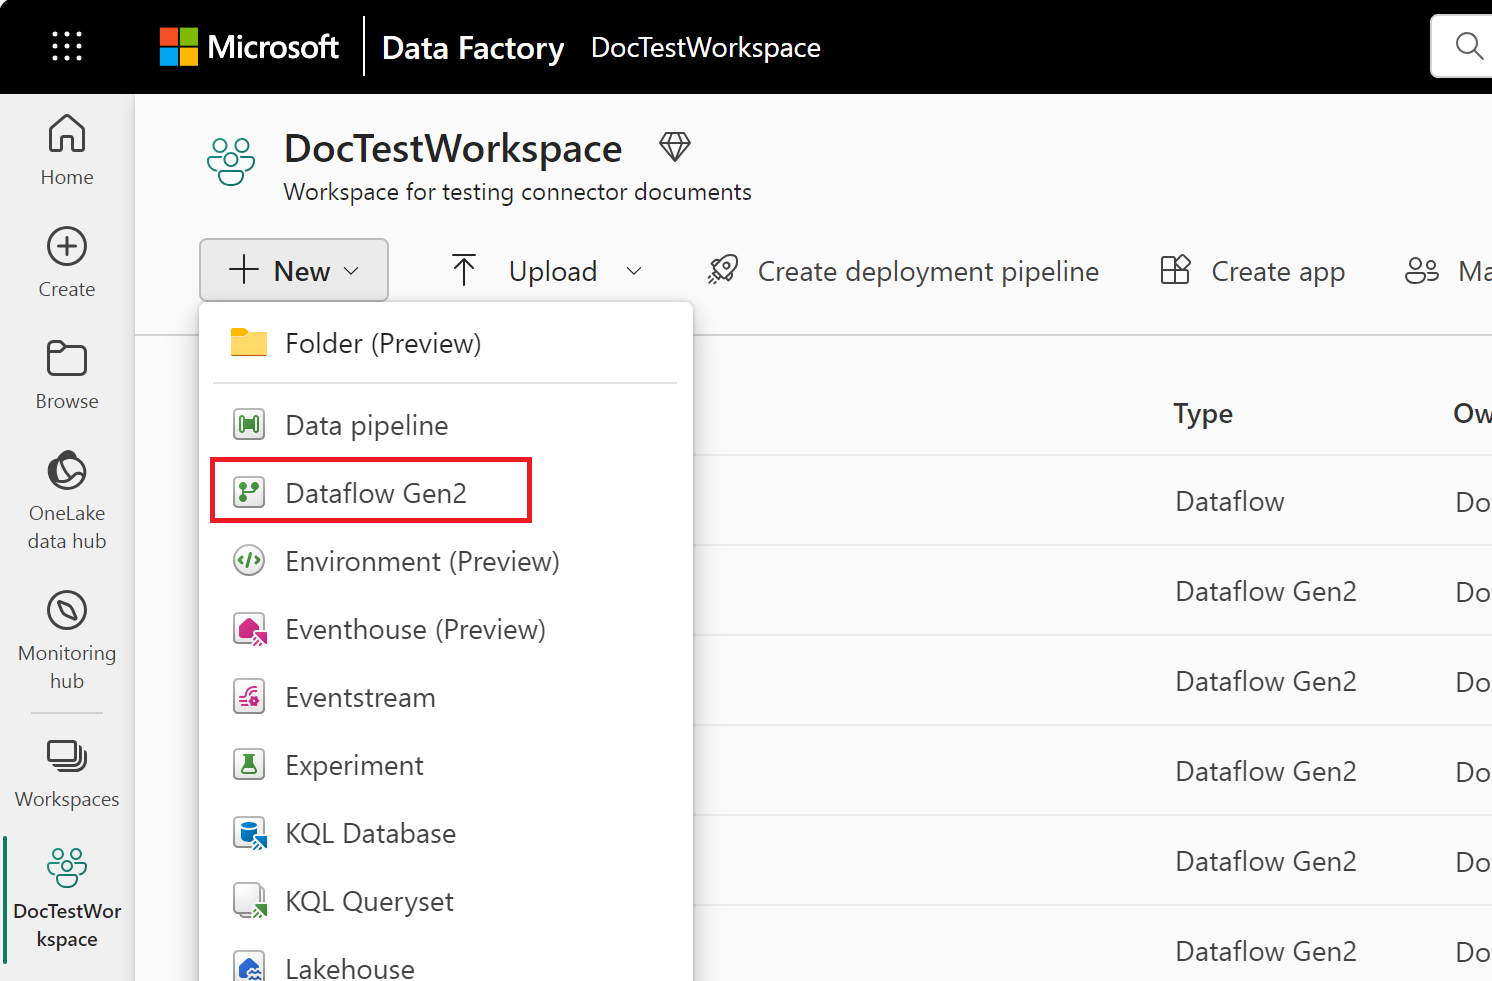
From your Data Factory workspace, select New > Dataflow Gen2 to create a new dataflow.
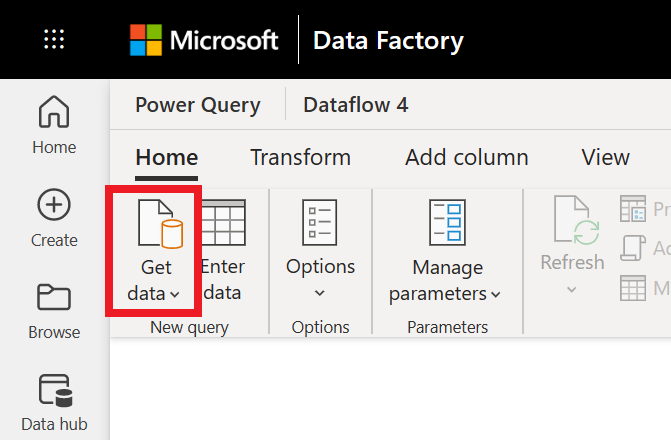
In Power Query, either select Get data in the ribbon or select Get data from another source in the current view.
In the Choose data source page, use Search to search for the name of the connector, or select View more on the right hand side the connector to see a list of all the connectors available in Power BI service.
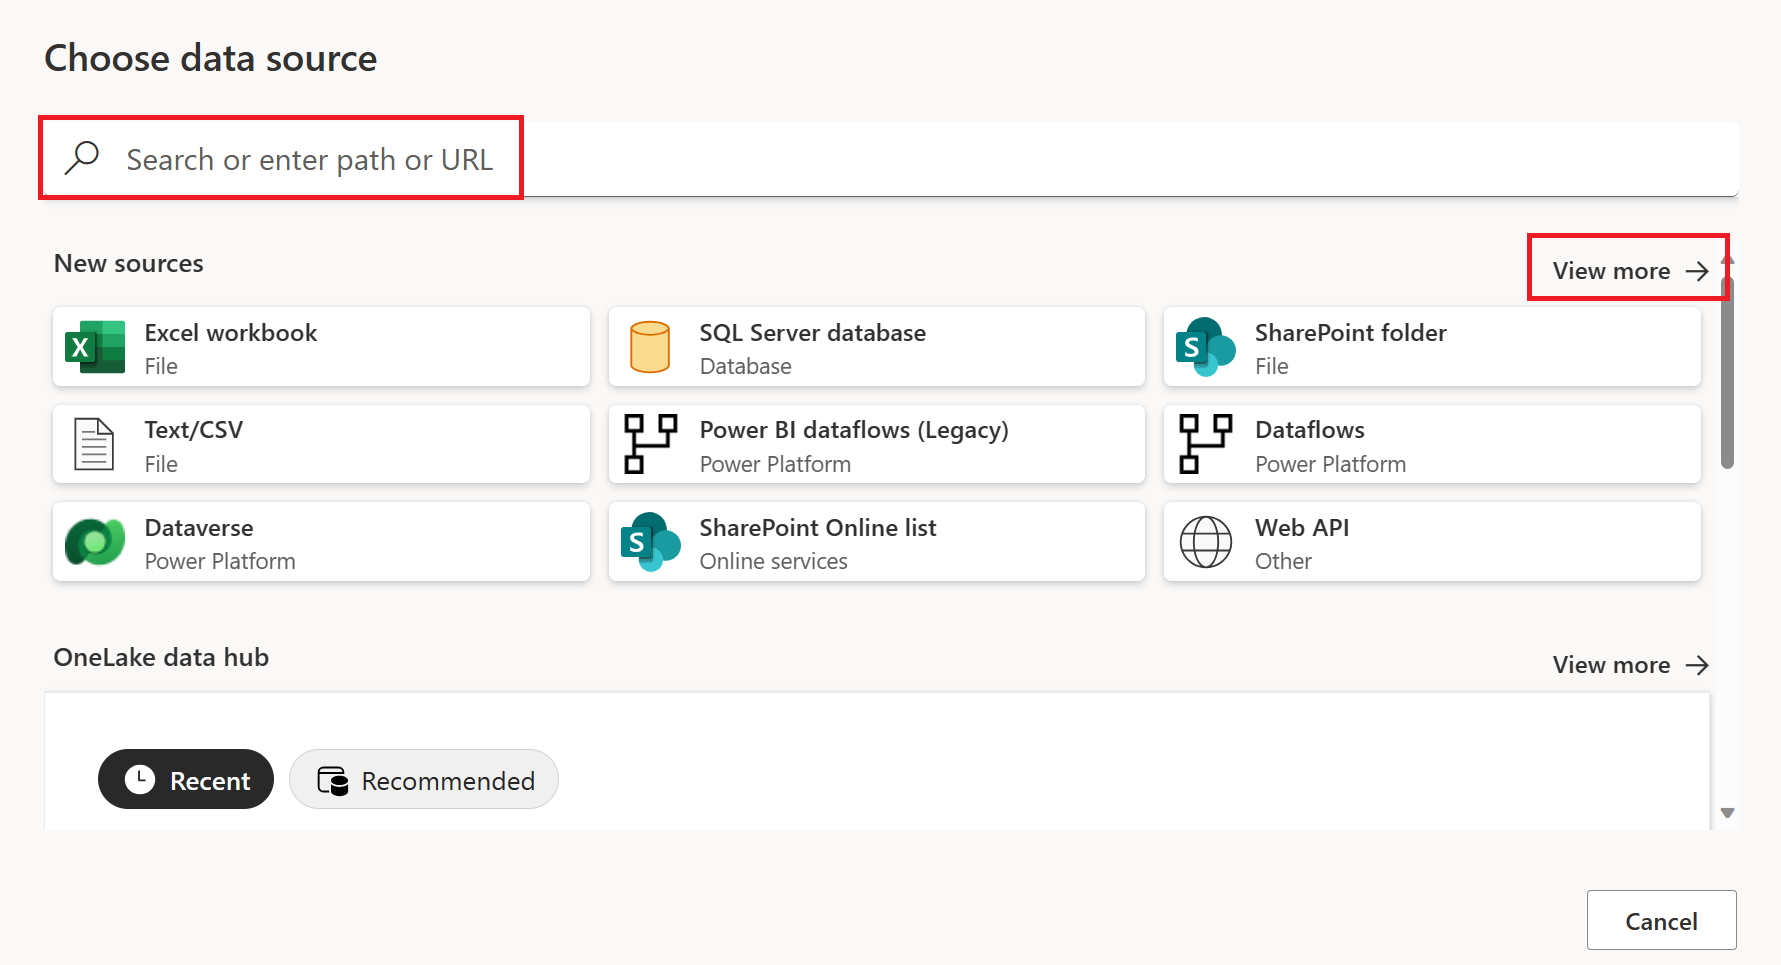
If you choose to view more connectors, you can still use Search to search for the name of the connector, or choose a category to see a list of connectors associated with that category.


Copy your account key for Azure Table Storage
Your Azure Table Storage account key is the same as your Azure Blob storage account key. To retrieve your Azure Table Storage account key to use while authenticating your account in Power Query, follow these steps:
Sign in to the Azure portal.
Locate your Azure Blob Storage account where your table is housed.
In the storage account menu pane, under Security + networking, select Access keys.

In the key1 section, locate the Key value. Select Show next to the key value.
Select the Copy to clipboard icon to copy the Key value.


Connect to Azure Table Storage
Power Query Online includes Power BI (Dataflows), Power Apps (Dataflows), and Customer Insights (Dataflows) as experiences.
To make the connection, take the following steps:
Select the Azure Table Storage option in the connector selection. More information: Where to get data
In the Azure Table Storage dialog that appears, enter the name or URL of the Azure Storage account where the table is housed. Don't add the name of the table to the URL.

Add your Azure table storage account key, and then select Next.
Select one or multiple tables to import and use, then select Transform Data to transform data in the Power Query editor.
