Note
Access to this page requires authorization. You can try signing in or changing directories.
Access to this page requires authorization. You can try changing directories.
In Microsoft Teams, on the left navigation pane, select Apps.
Search for Dynamics 365, and then select the Dynamics 365 tile.
In the Dynamics 365 window, select the down arrow next to the Add button, and choose one of the following options:
- Add to a team: Select this option to add the app to a Teams channel. In the Type a team or channel name box, enter the name of the team or channel where you want to add the app, and then select it.
- Add to a chat: Select this option to add the app to a chat. In the Type the name of a person or chat box, enter the name of the person or chat where you want to add the app, and then select it.
- Add to a meeting: Select this option to add the app to a meeting. In the Type a meeting name box, enter the name of the meeting where you want to add the app, and then select it.
You can also select Add to add the app for your personal use and install it for your Microsoft Teams later.

Select Set up.
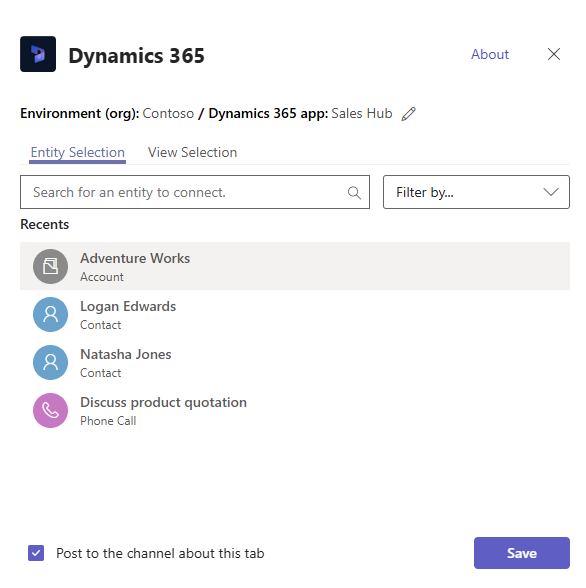
In the Dynamics 365 window, verify the environment name and the app name. To change the environment or app, do the following:
- Select the edit icon (
 ) next to the app name.
 - Select the environment and app that you want to connect to, and then select Select.
Note
- Only environments that contain customer engagement apps (such as Dynamics 365 Sales and Dynamics 365 Customer Service) appear in the list. Also, only active environments (those that are not disabled or provisioning) are displayed.
- Only Unified Interface apps are listed.
- Only app modules licensed for the selected environment are listed.
- Select the edit icon (
Select Entity Selection or View Selection.
- Entity Selection: Select an entity to connect. You can pick a recently viewed record or use search to find records. You can use Filter by to narrow the search to an entity type. Once you've picked a record, select Save.

- View Selection: Select an entity to see the list of available views. Once you've picked a view, select Save.
Note
If you select a personal view (My Views) instead of System Views, it’s recommended that you share the view with other users before you add the view to the Microsoft Teams channel. Otherwise, other team members will not have access to the view tab content.
After completing the above steps, you'll see a new Dynamics 365 tab in the selected Teams channel, chat, or meeting.
See Collaborate with Microsoft Teams for information on how you can use the tab feature to collaborate with Dynamics 365 apps.
Government GCC environment
Teams integration with Dynamics 365 isn't available for Government GCC environments. However, there's a workaround to view records using the Website app in Teams and then adding it as a tab.
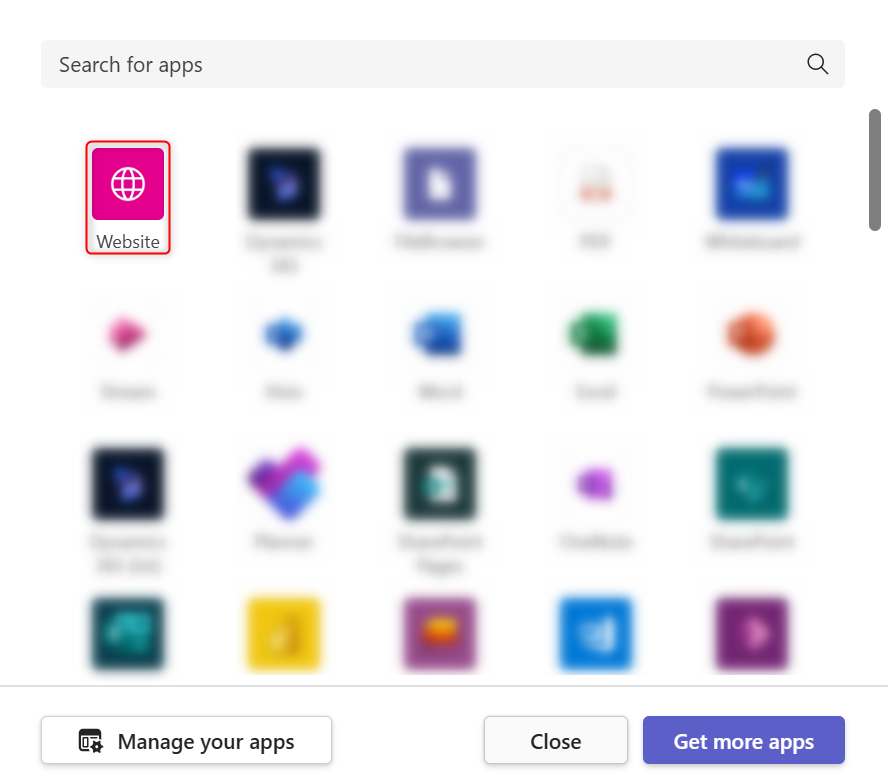
Open a Teams channel and select Add a tab.
Search for the Website app and add it.

Note
If you don't see the Website app in Teams, ask your administrator to enable this option through the Microsoft 365 admin center.
Enter a name for the tab and the URL for your Dynamics 365 app and then select Save.
