Case queues and routing
Customer Service allows you to add a case to a queue, save case records, and route them to a queue.
Add a case to a queue
If you think another group in your team has expertise on the subject, you can move the case to a queue so that someone else can pick it up.
To add a case to a queue, perform the following steps:
Go to Service > Cases.
In the list of cases, select the case that you want to add to a queue.
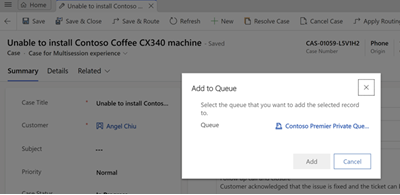
On the command bar, select Add to Queue.
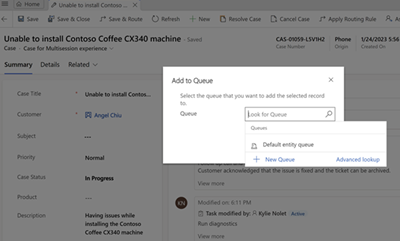
In the Queue field, select the queue that you want to add the case to, and then select Add.
If a case is already added to a queue, the Queue field displays the current queue by default.
The lookup for the Queue field displays only the queues that are configured for a specific entity. Voice and messaging queues aren't displayed in the lookup results since cases can't be added to those queues.
Select the queue you want to add the case to, and then select Add.
To know more about queues, see Work with queues.
Save and route a case
To save a case record and route it to a queue in a single action, use the Save & Route option.
From the list of cases, open a case record.
Make any changes, and on the command bar, select Save & Route.
In the Route Case dialog, select Route.
The case will be routed based on the active routing rule set.
Important
The Save & Route button is available only on active cases.
Related information
Learn the basics of the Customer Service Hub
Use the Main form and its components

