Note
Access to this page requires authorization. You can try signing in or changing directories.
Access to this page requires authorization. You can try changing directories.
Premigration validation is a set of rules that involves assessing and verifying the readiness of a source database system for migration to Azure Database for PostgreSQL. This process identifies and addresses potential issues affecting the database's migration or post-migration operation.
How do you use the premigration validation feature?
You can migrate by using Azure portal or Azure CLI.
Using the Azure portal:
Select your Azure Database for PostgreSQL flexible server.
In the resource menu, select Migration.

Select Create to go through a wizard-based series of tabs to perform a migration to a flexible server from on-premises or Azure VM.

In Migration option, select Validate or Validate and migrate.
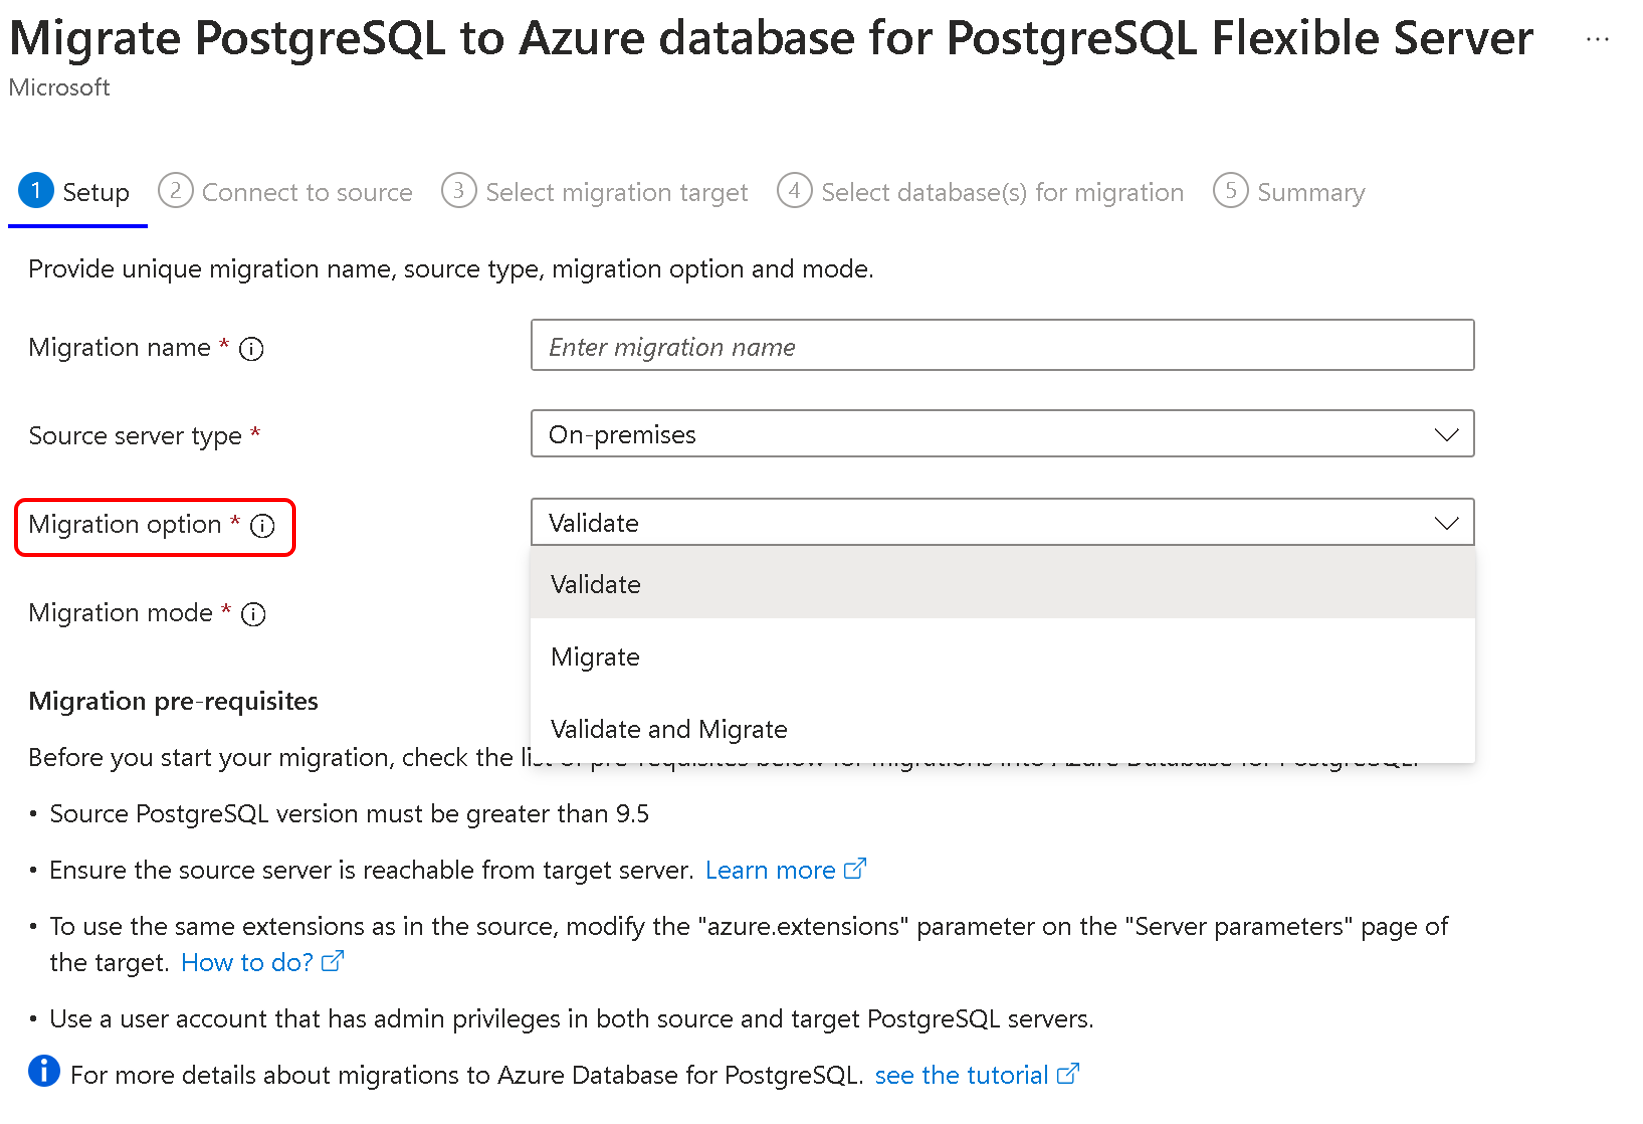


Premigration validation options
You can choose any of the following options:
- Validate: Use this option to check your server and database readiness for migration to the target. This option won't start data migration and won't require any server downtime.
- Plan your migrations better by performing premigration validations in advance to know the potential issues you might encounter while you perform migrations.
- Validate and migrate: This option performs validations, and migration gets triggered if all checks are in the Succeeded or Warning state. Validation failures don't start the migration between source and target servers.
We recommend that you use premigration validations to identify issues before you run migrations. This technique helps you to plan your migrations better and avoid any surprises during the migration process.
Choose the Validate option and run premigration validation on an advanced date of your planned migration.
Analyze the output and take any remedial actions for any errors.
Rerun step 1 until the validation is successful.
Start the migration by using the Validate and migrate option on the planned date and time.
Validation states
After you run the Validate option, you see one of the following options:
- Succeeded: No issues were found and you can plan for the migration.
- Failed: Errors were found during validation, which can cause the migration to fail. Review the list of errors and their suggested workarounds. Take corrective measures before you plan the migration.
- Warning: Warnings are informative messages you must remember while you plan the migration.