Note
Access to this page requires authorization. You can try signing in or changing directories.
Access to this page requires authorization. You can try changing directories.
Learn how to set up the Azure Machine Learning Visual Studio Code extension for your machine learning workflows. You only need to set up this extension when using the VS Code desktop application. If you use VS Code for the Web, this process is handled for you.
The Azure Machine Learning extension for VS Code provides a user interface to:
- Manage Azure Machine Learning resources like experiments, virtual machines, models, and deployments.
- Develop locally by using remote compute instances.
- Train machine learning models.
- Debug machine learning experiments locally.
- Get schema-based language support, autocompletion, and diagnostics for specification file authoring.
Prerequisites
- Azure subscription. If you don't have one, sign up to try the free or paid version of Azure Machine Learning.
- Visual Studio Code. If you don't have it, install it.
- Python 3.10 or later
- (Optional) To create resources by using the extension, install the CLI (v2). For setup instructions, see Install, set up, and use the CLI (v2).
- Clone the community driven repository
git clone https://github.com/Azure/azureml-examples.git --depth 1
Install the extension
Open Visual Studio Code.
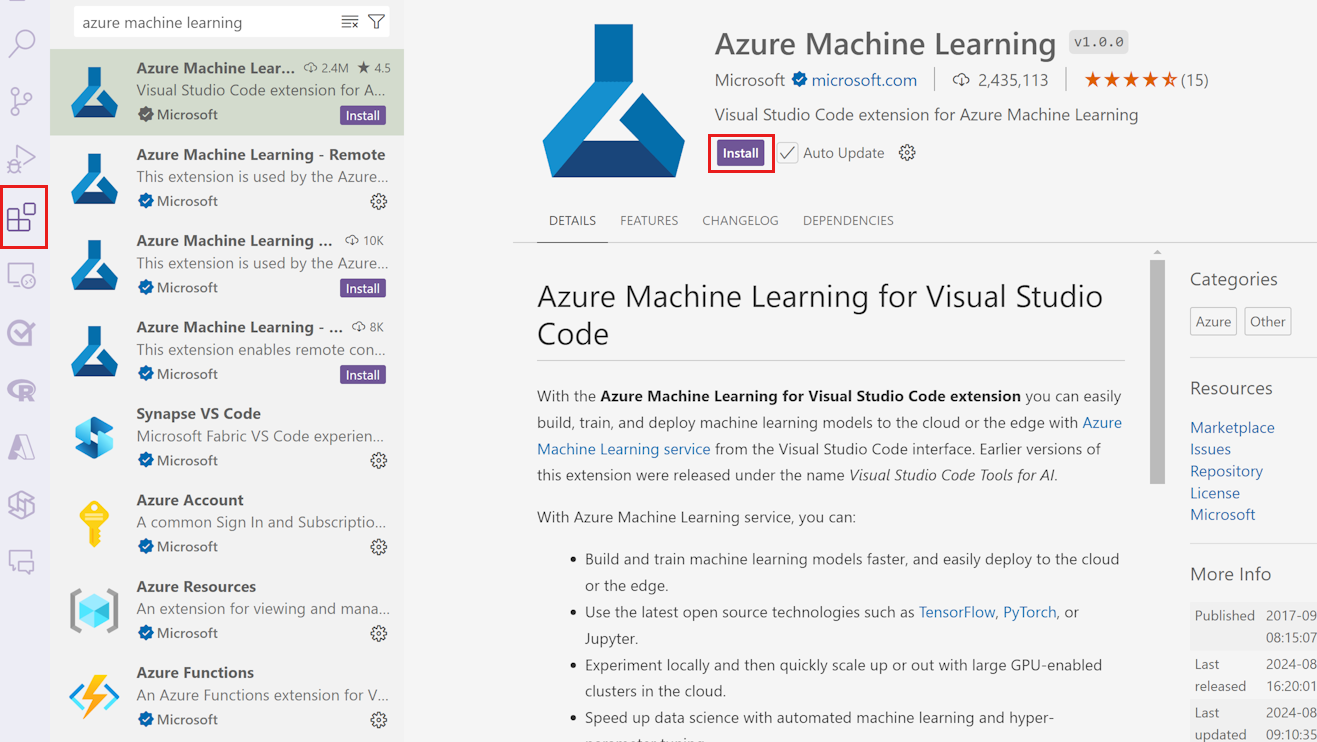
Select the Extensions icon from the Activity Bar to open the Extensions view.
In the Extensions view search bar, type "Azure Machine Learning" and select the first extension.
Select Install.
Important
The Azure Machine Learning VS Code extension uses the CLI (v2) by default. Support for CLI v1 ends on September 30, 2025. If you're still using CLI v1, transition to CLI v2 as soon as possible. For more information, see Upgrade to v2.
Sign in to your Azure Account
To provision resources and job workloads on Azure, sign in by using your Azure account credentials. To help with account management, Azure Machine Learning automatically installs the Azure Account extension. For more information, see learn more about the Azure Account extension.
To sign in to your Azure account, select the Azure: Sign In button in the bottom right corner on the Visual Studio Code status bar to start the sign in process.
Choose your default workspace
When you choose a default Azure Machine Learning workspace, you get the following benefits when you author CLI (v2) YAML specification files:
- Schema validation
- Autocompletion
- Diagnostics
If you don't have a workspace, create one. For more information, see manage Azure Machine Learning resources with the VS Code extension.
To choose your default workspace, select the Set Azure Machine Learning Workspace button on the Visual Studio Code status bar and follow the prompts to set your workspace.
Alternatively, use the > Azure ML: Set Default Workspace command in the command palette and follow the prompts to set your workspace.
To open the command palette, select View > Command Palette or press Ctrl+Shift+P (Cmd+Shift+P on macOS). Then type Azure ML: Set Default Workspace.