Note
Access to this page requires authorization. You can try signing in or changing directories.
Access to this page requires authorization. You can try changing directories.
The Defender for Servers plan in Microsoft Defender for Cloud provides vulnerability scanning for your machines.
Defender for Cloud uses Microsoft Defender Vulnerability Management to scan your machines. It supports both agentless and agent-based modes.
Scanning is on by default when you enable Defender for Servers. Use the manual steps below only if you need to turn on scanning yourself. Before you begin, review the prerequisites.
Prerequisites
Make sure you meet the following requirements before you enable vulnerability scanning.
| Requirement | Details |
|---|---|
| Agentless vulnerability scanning | Review agentless scanning requirements. Agentless scanning is on by default when Defender for Servers Plan 2 or the Defender for Servers Cloud Security Posture Management (CSPM) plan is enabled. |
| Agent-based vulnerability scanning | For agent-based scanning, enable Defender for Servers Plan 1 (P1) or Plan 2 (P2). |
| Machine support | Review supported machines. |
| Permissions | You need Owner (resource group level) permissions to deploy the scanner. You need Security Reader to view findings. |
Enable vulnerability scanning on a subscription
To enable vulnerability scanning for an entire subscription, complete the following steps:
In Defender for Cloud, open Environment settings.
Select the relevant subscription.
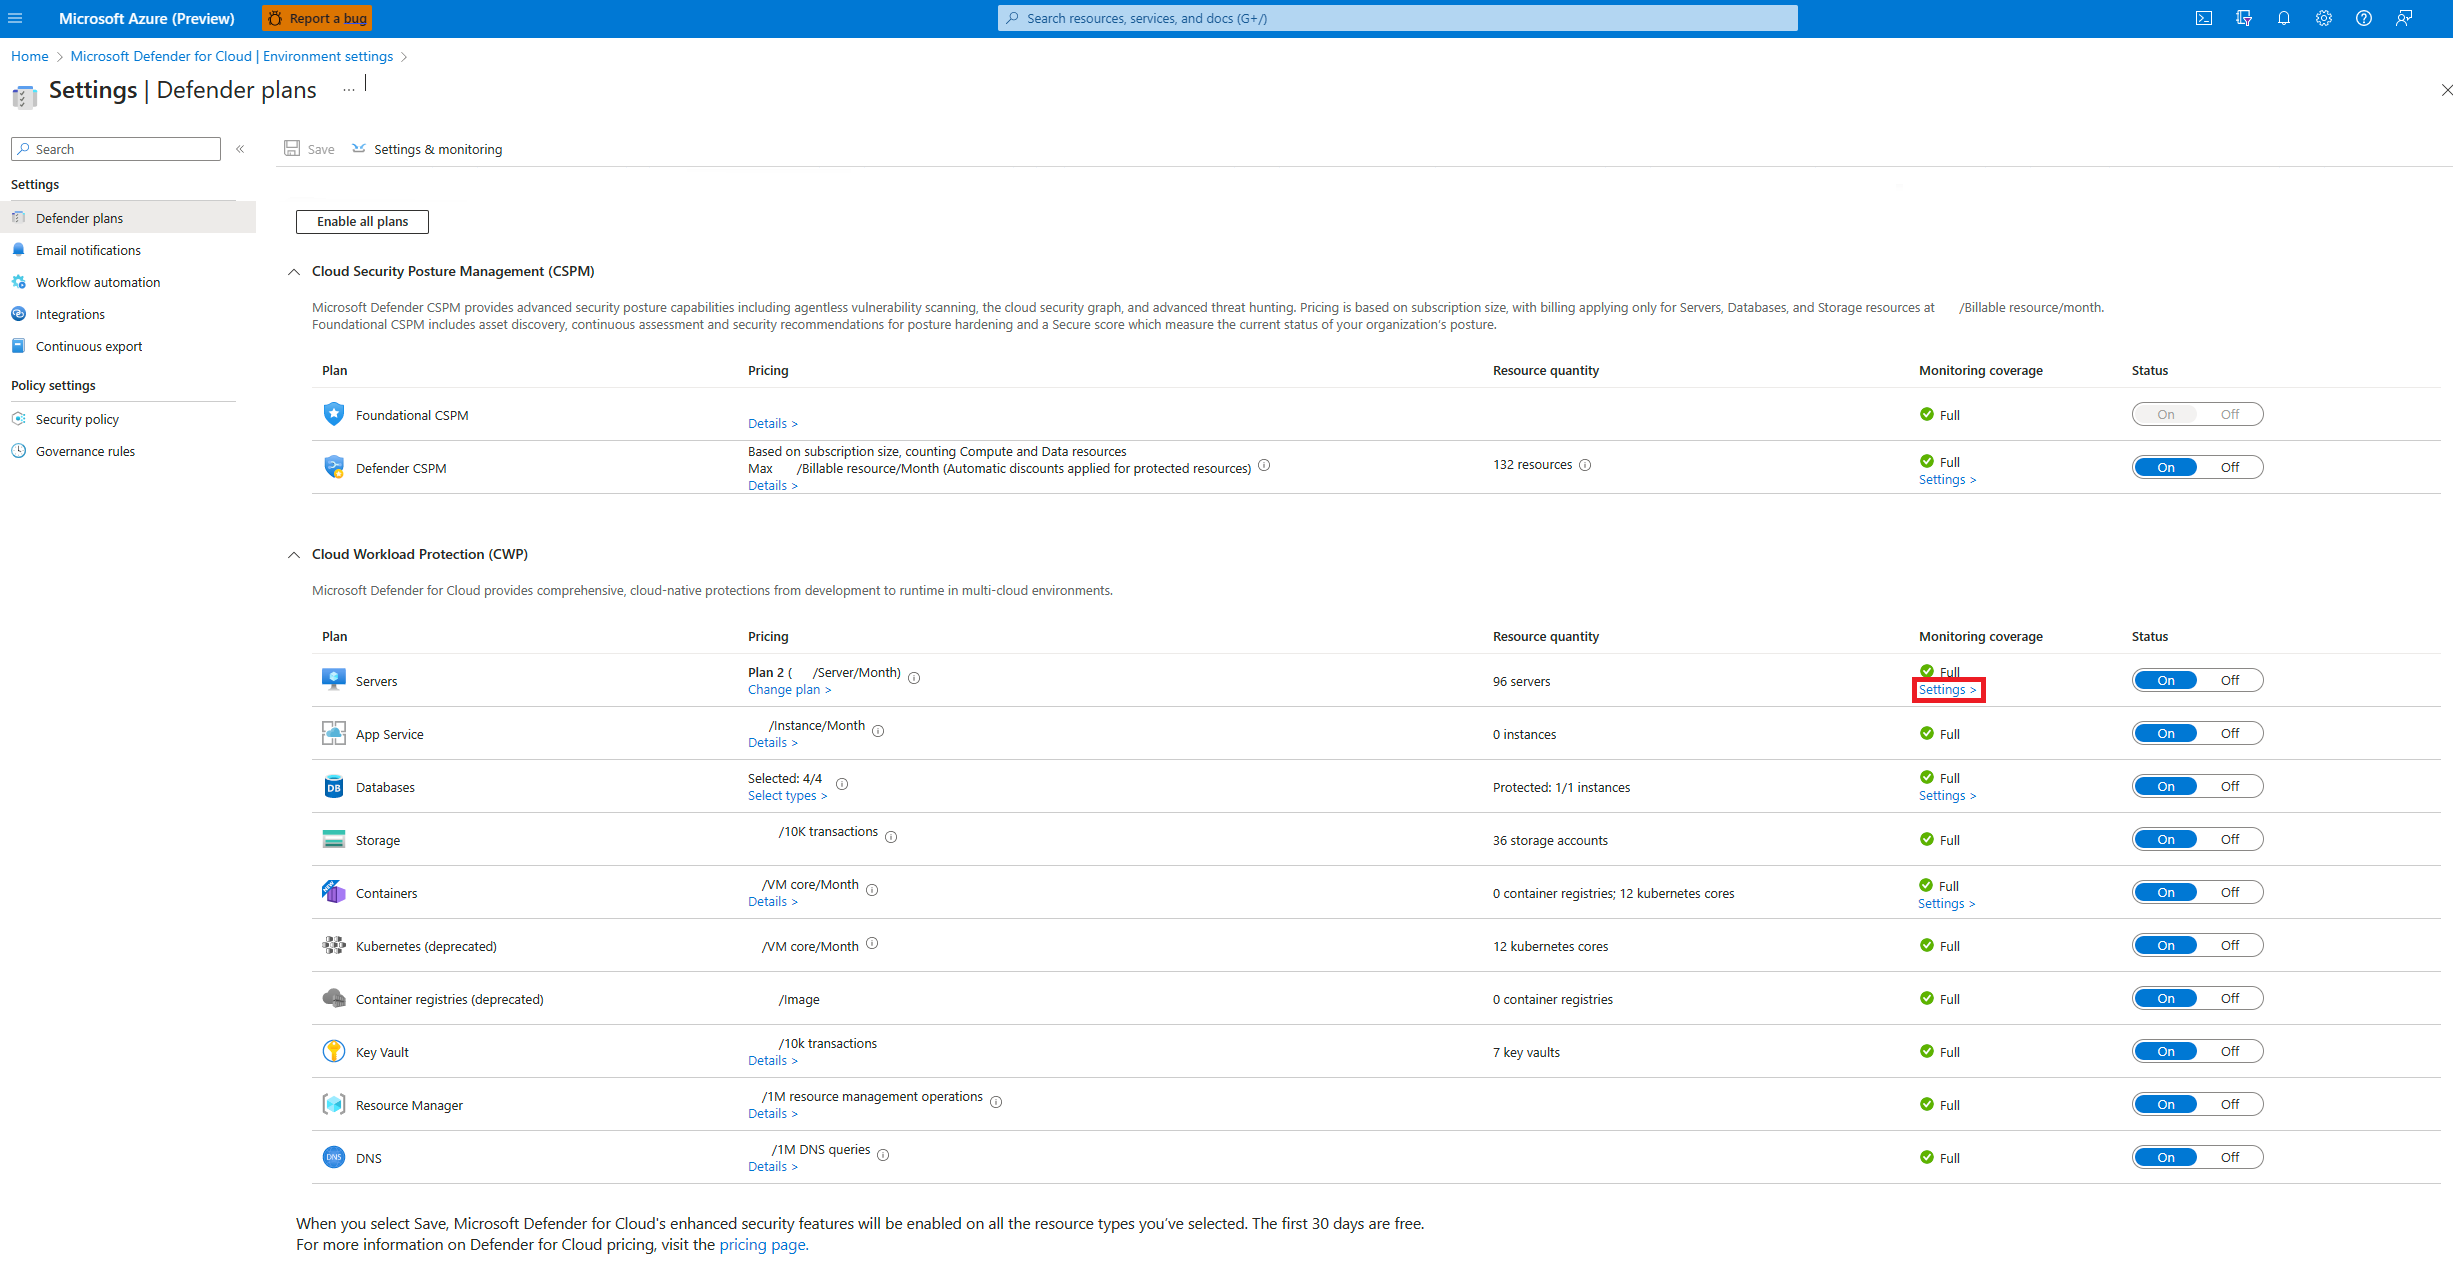
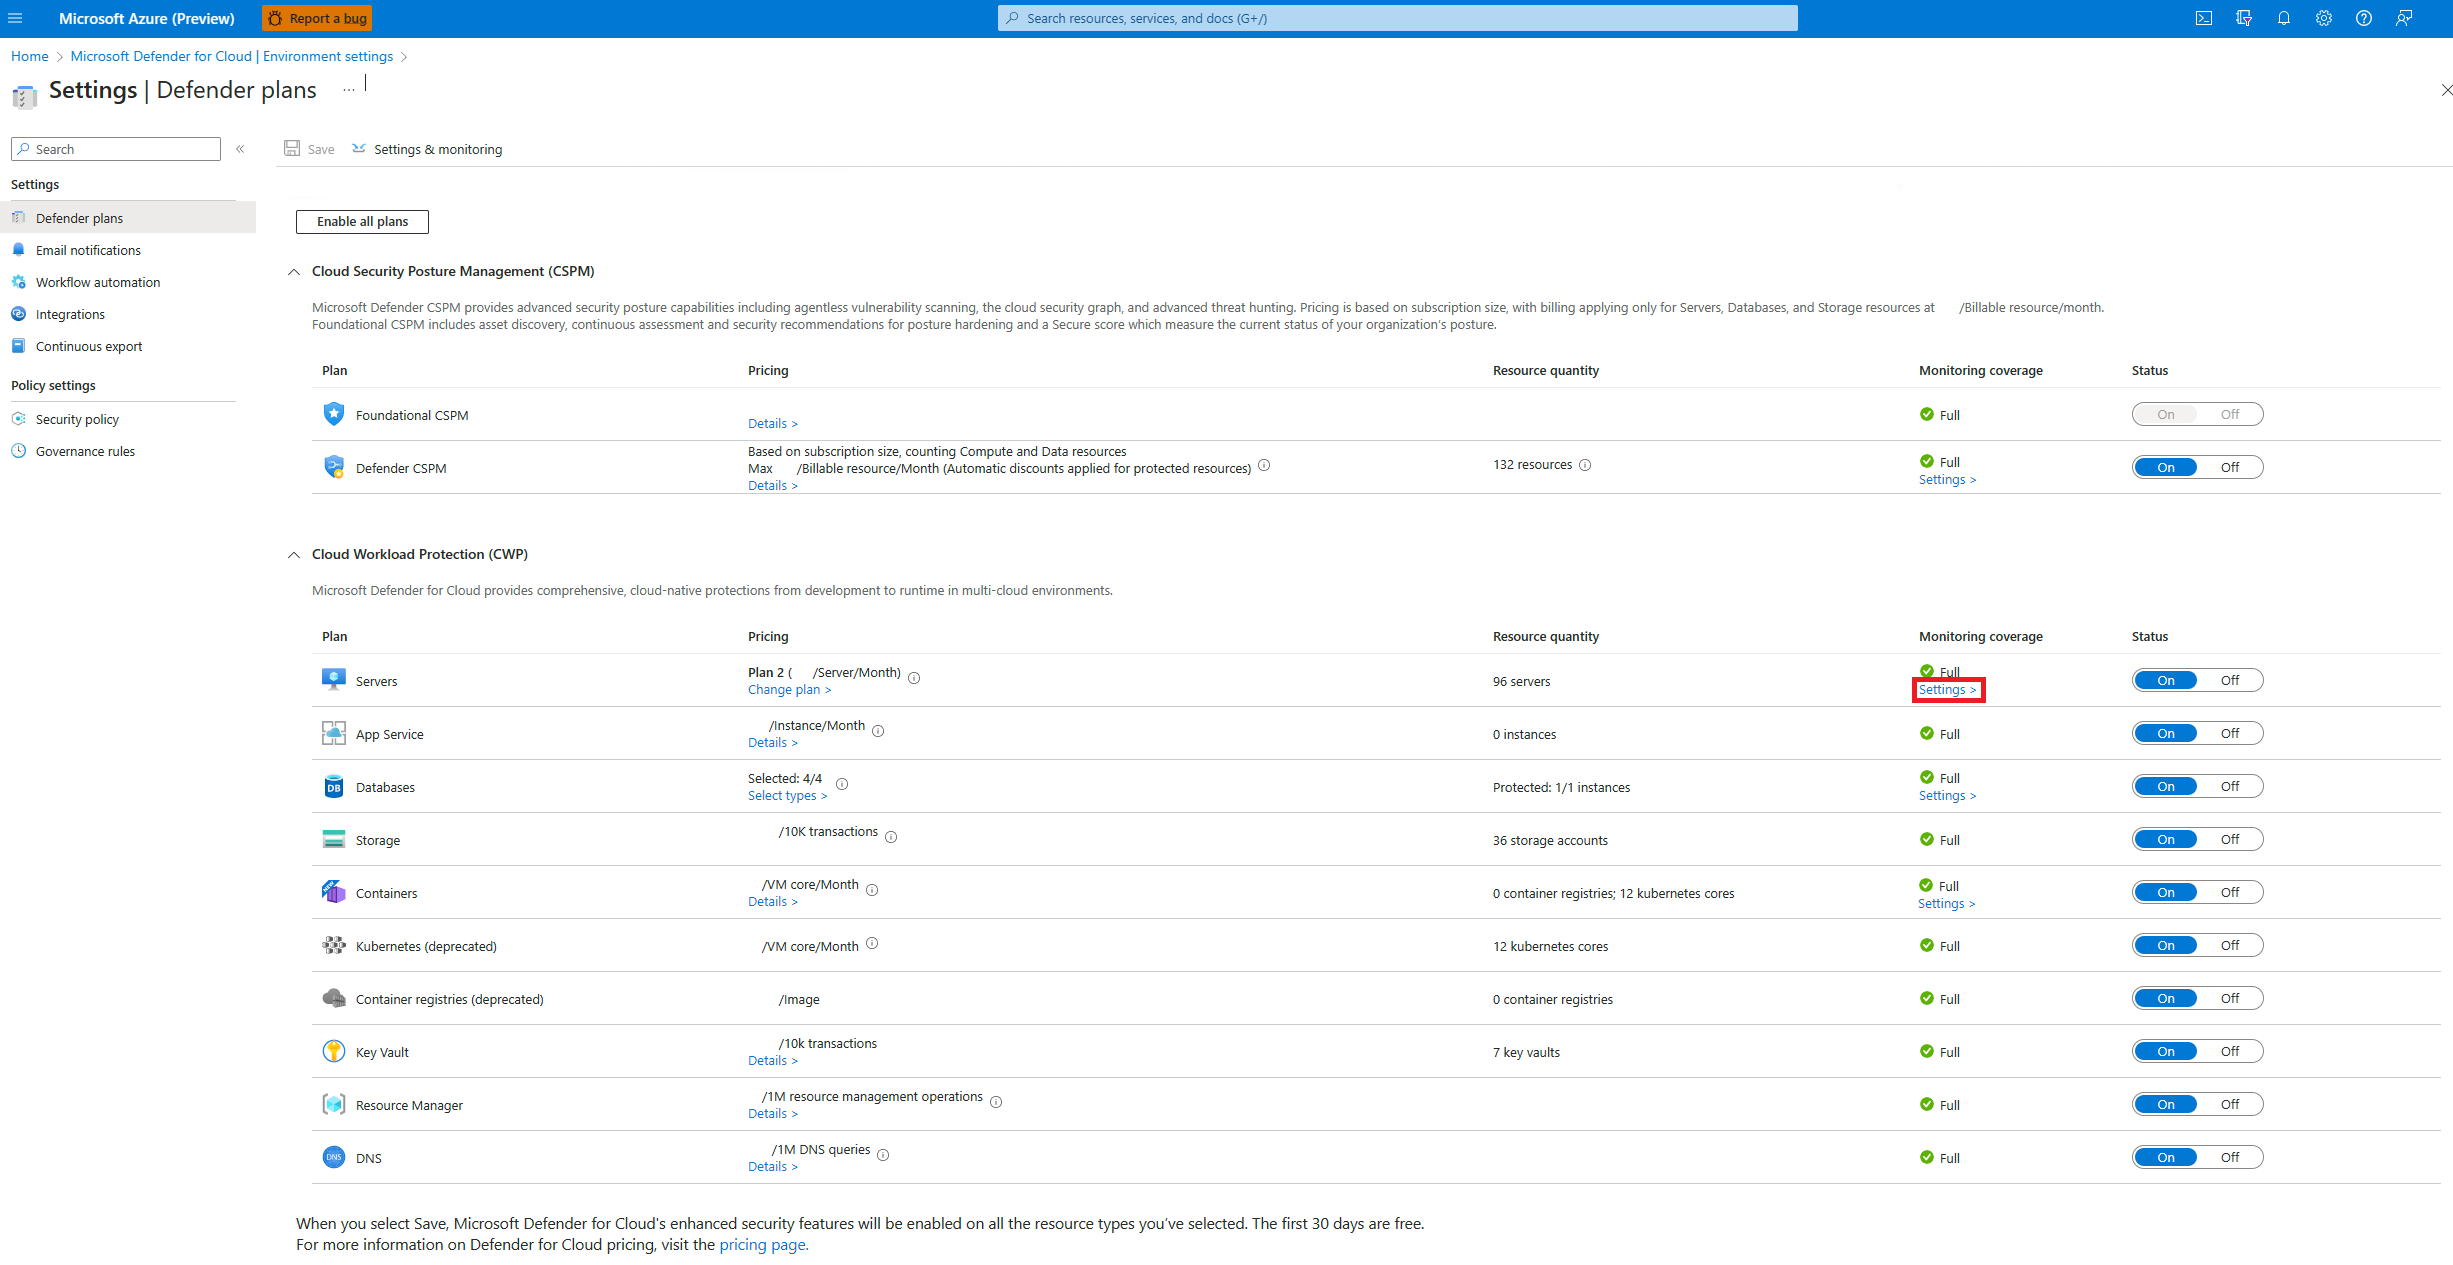
Locate Defender for Servers plan, select Monitoring coverage > Settings.
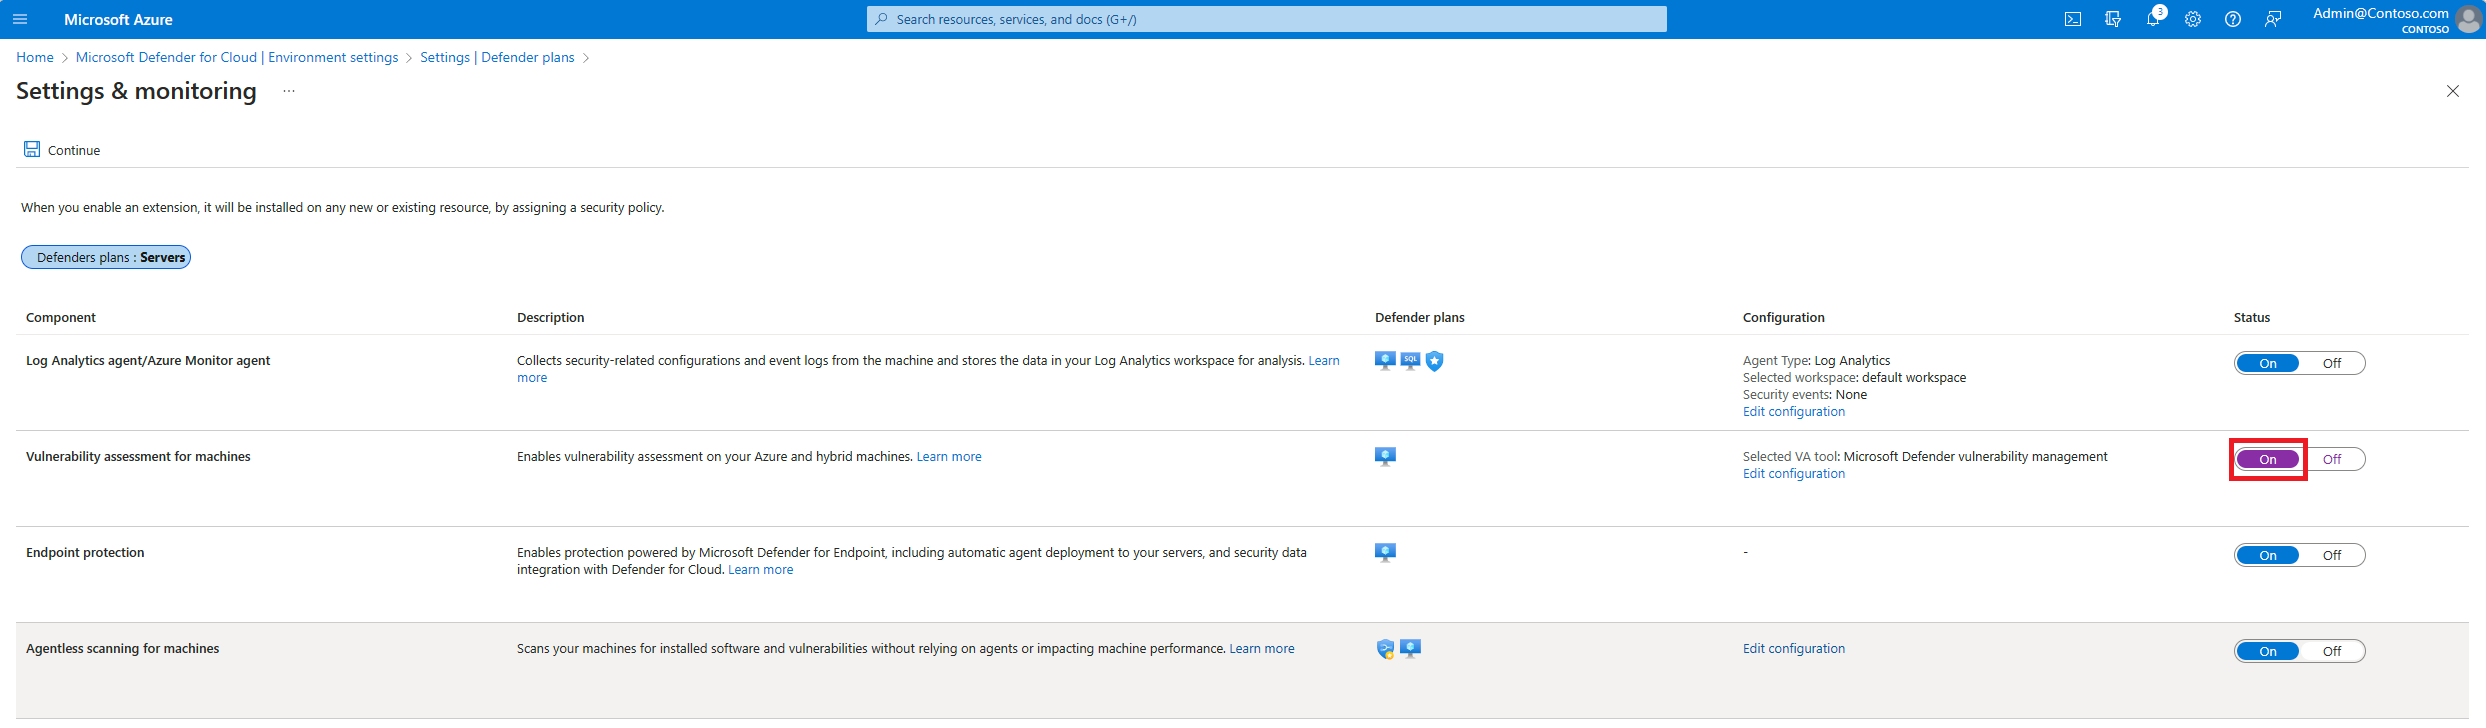
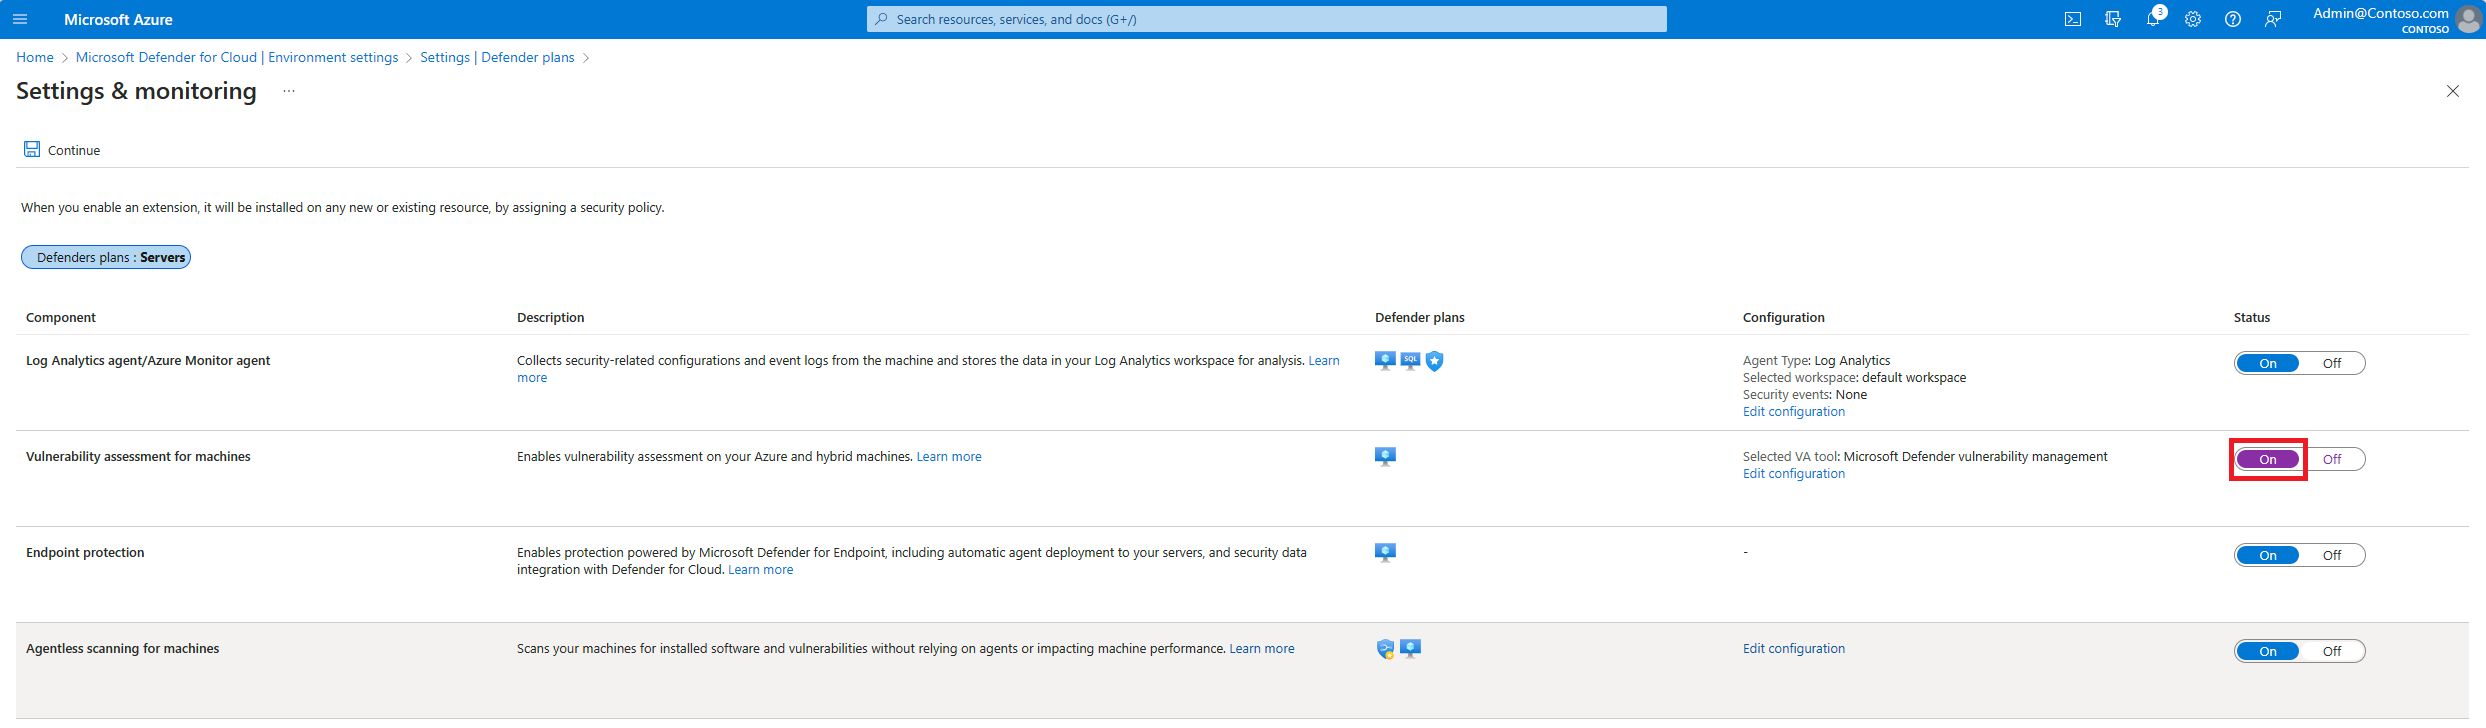
In Settings and monitoring, turn on Vulnerability assessment for machines as needed.
Select Edit configuration to choose an assessment solution.
Select Apply > Save.
Configure with the REST API
To enable or disable scanning through the REST API, send a PUT (enable) or DELETE (disable) request to the following URL. Replace each placeholder with your own values.
https://management.azure.com/subscriptions/{subscriptionId}/resourceGroups/{resourceGroup}/providers/Microsoft.Compute/virtualMachines/{vmName}/providers/Microsoft.Security/serverVulnerabilityAssessments/mdetvm?api-version=2015-06-01-preview
| Placeholder | Description |
|---|---|
{subscriptionId} |
Your Azure subscription ID. |
{resourceGroup} |
The resource group that contains the VM. |
{vmName} |
The name of the virtual machine. |
Enable vulnerability scanning for a machine
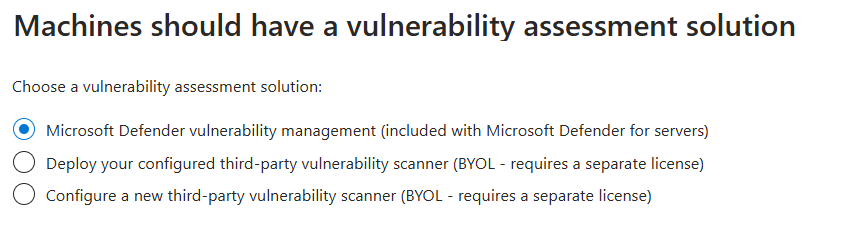
If a specific machine doesn't have scanning turned on, the Machines should have a vulnerability assessment solution recommendation appears in Defender for Cloud. Use that recommendation to enable it.
Open the Inventory page and select Unhealthy resources.
Filter by Recommendations and search for:
Machines should have a vulnerability assessment solution.Open the recommendation.
Follow the steps to fix each machine that lacks a solution.
Select a vulnerability solution.
After remediation completes, it can take up to 24 hours for resources to move to the Healthy resources tab.